Folding Traditional Origami Bases
Origami bases are a good way to get the fundamentals of folding as well as for creating your own designs.
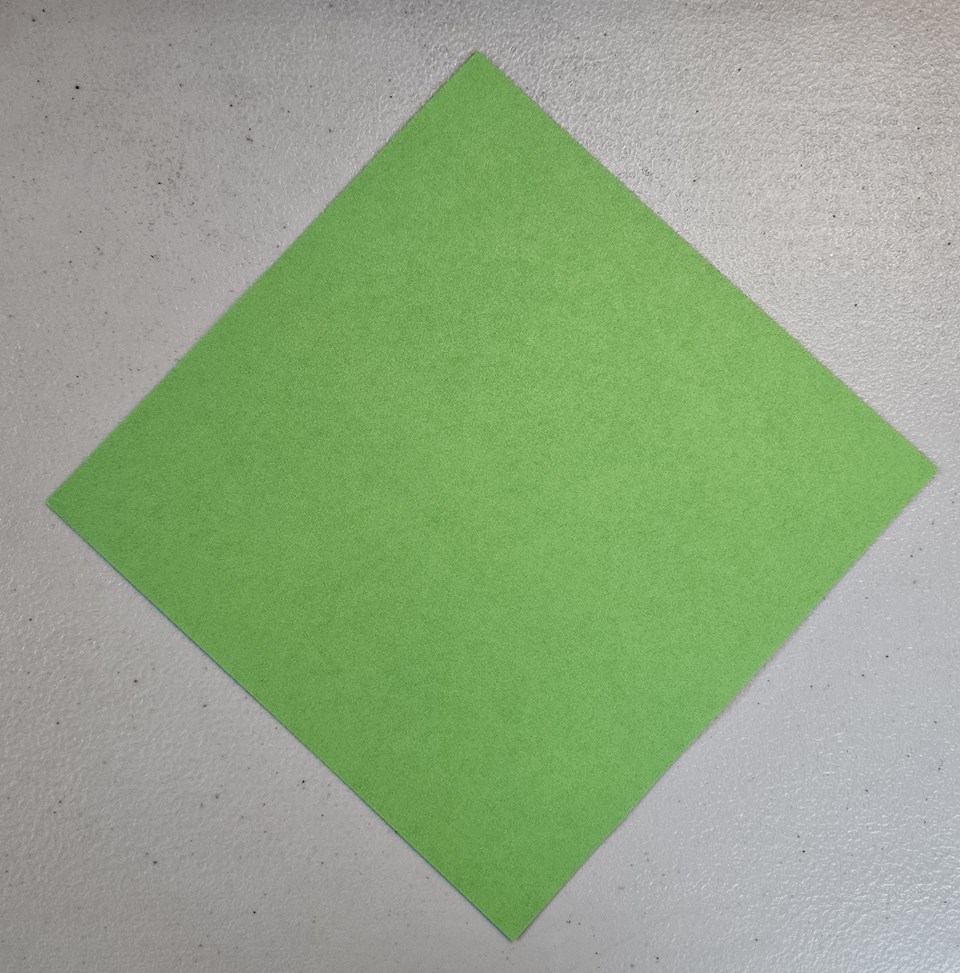
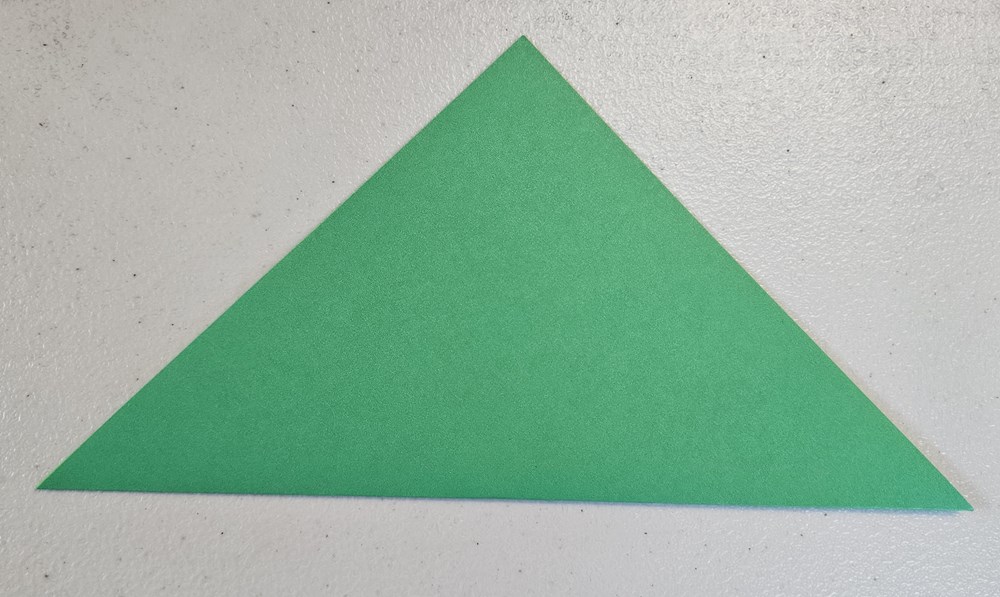
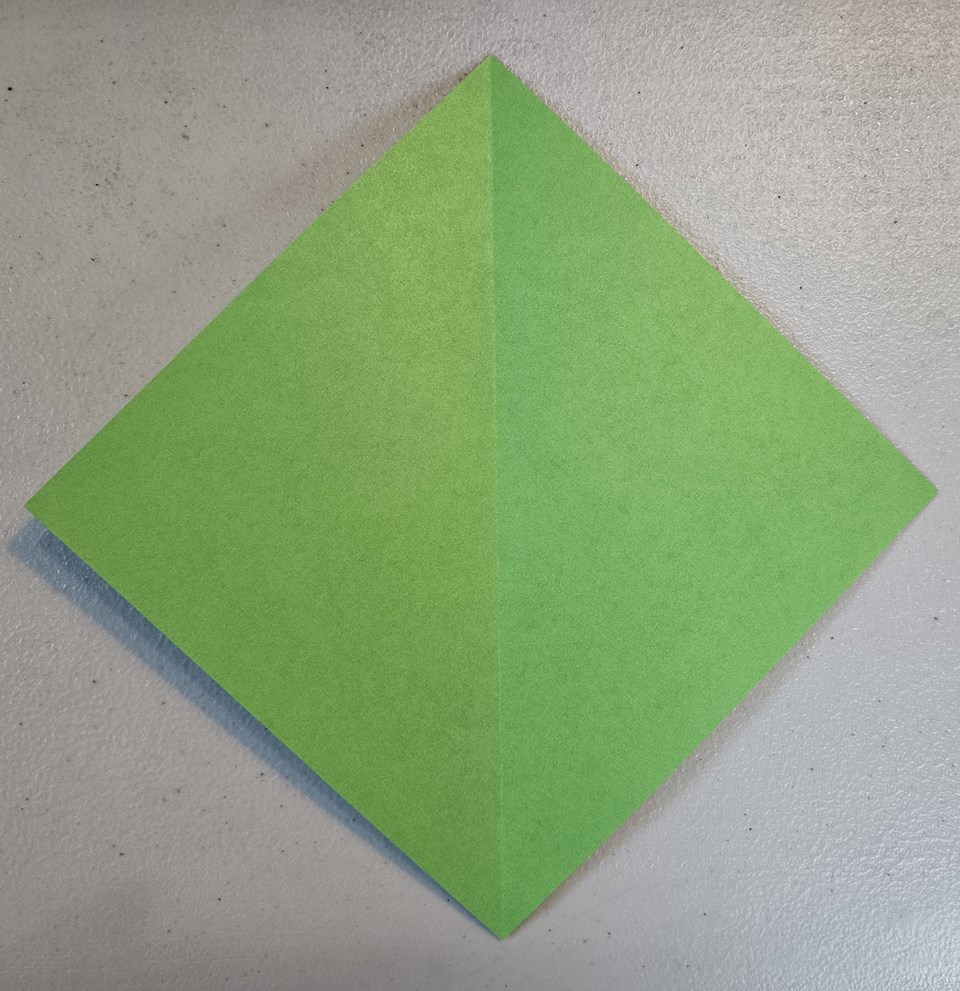
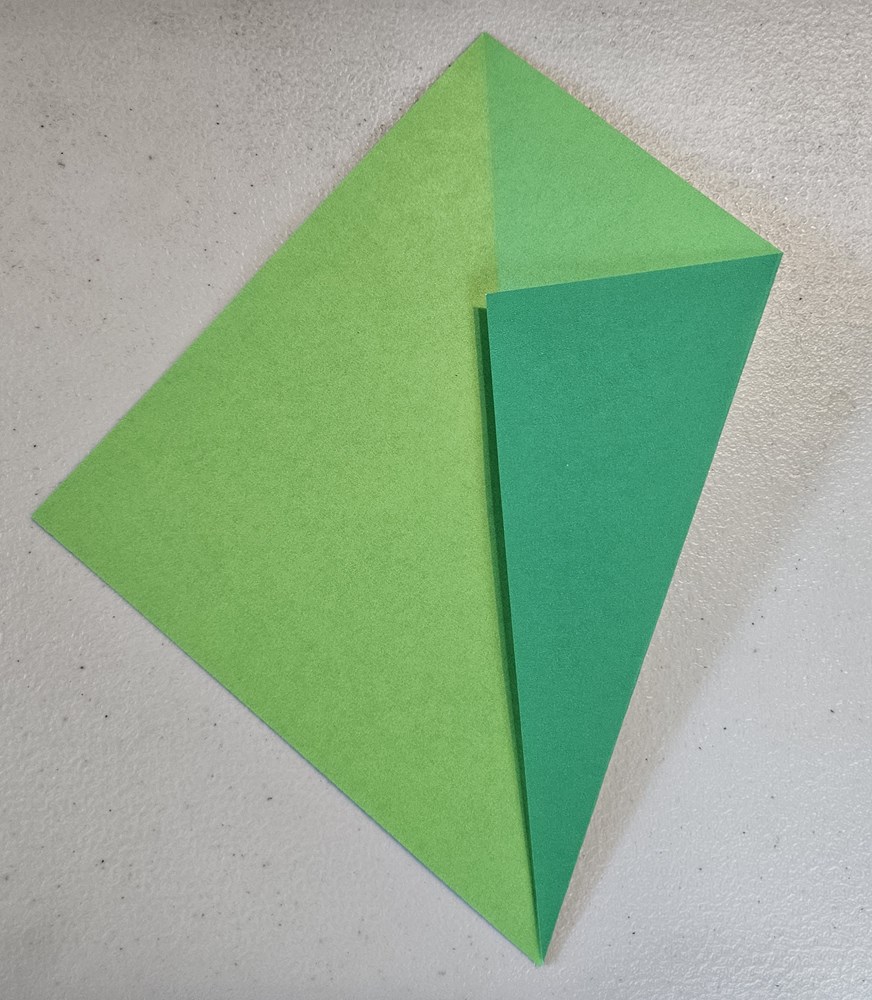
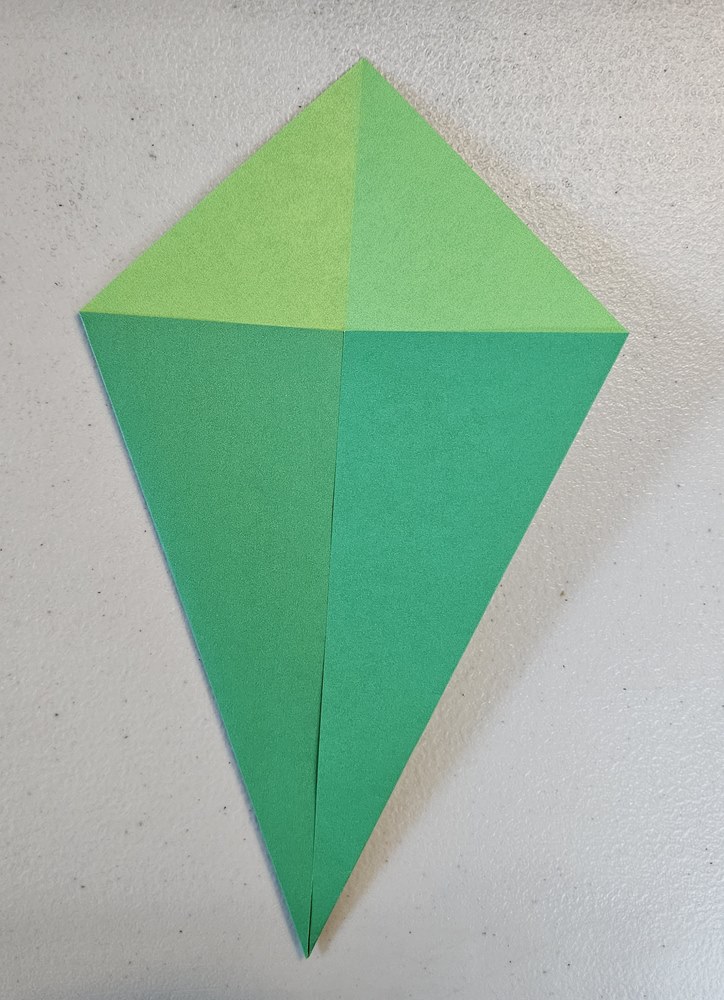
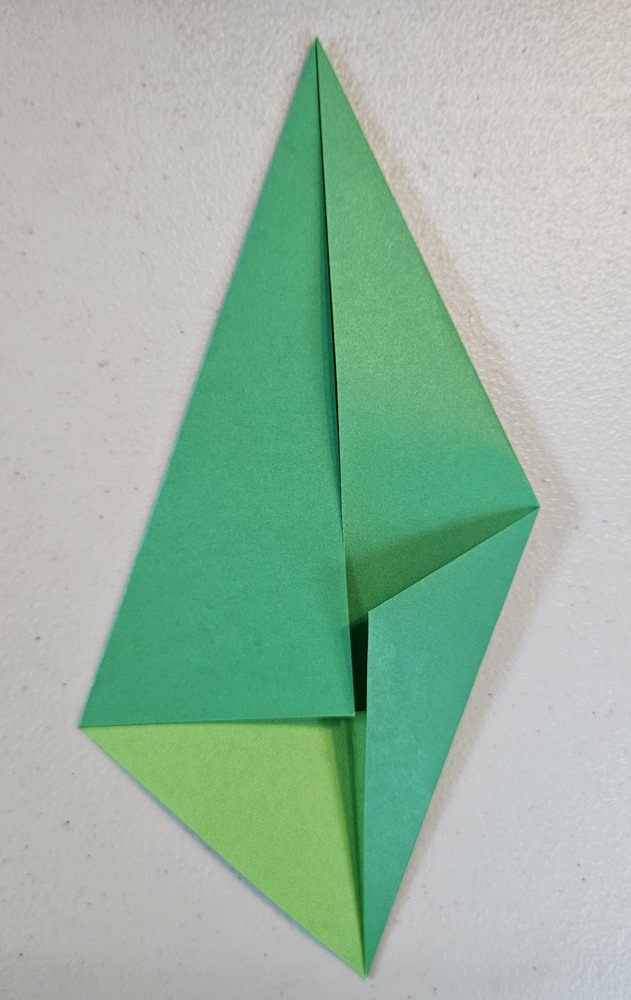
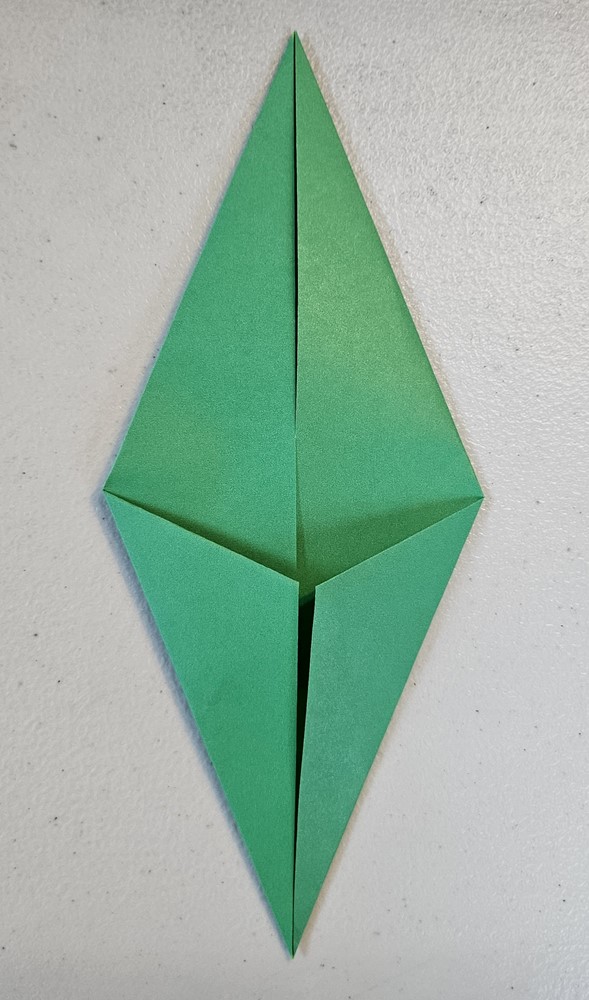
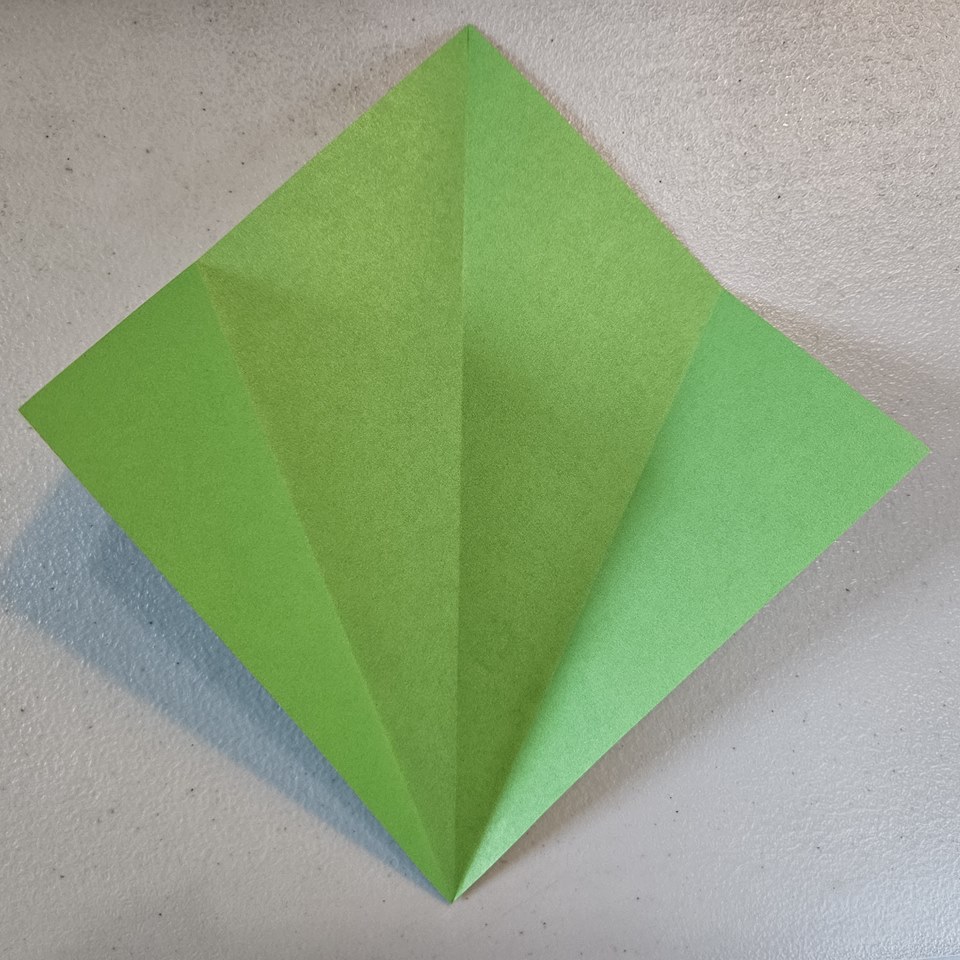
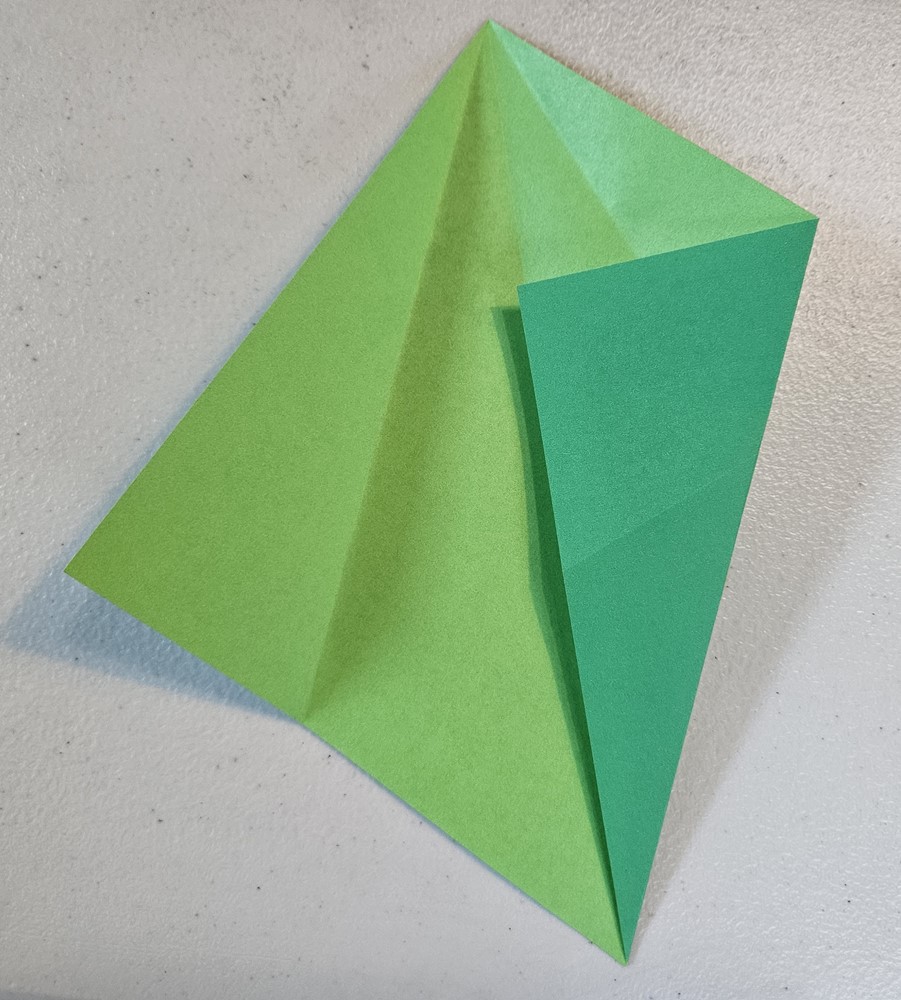
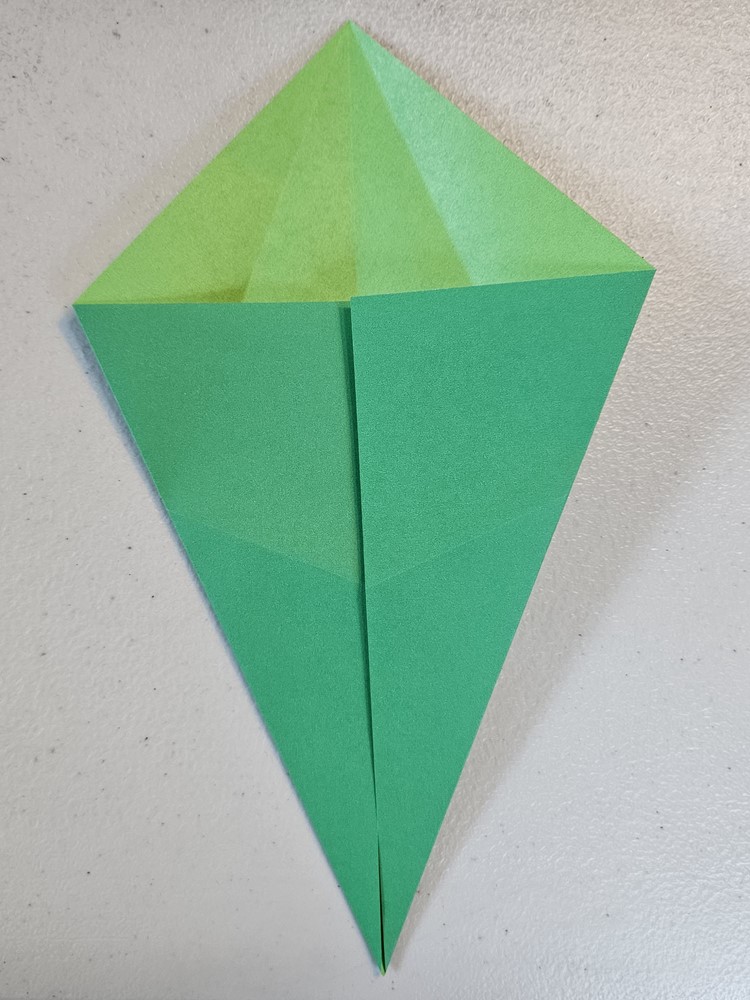
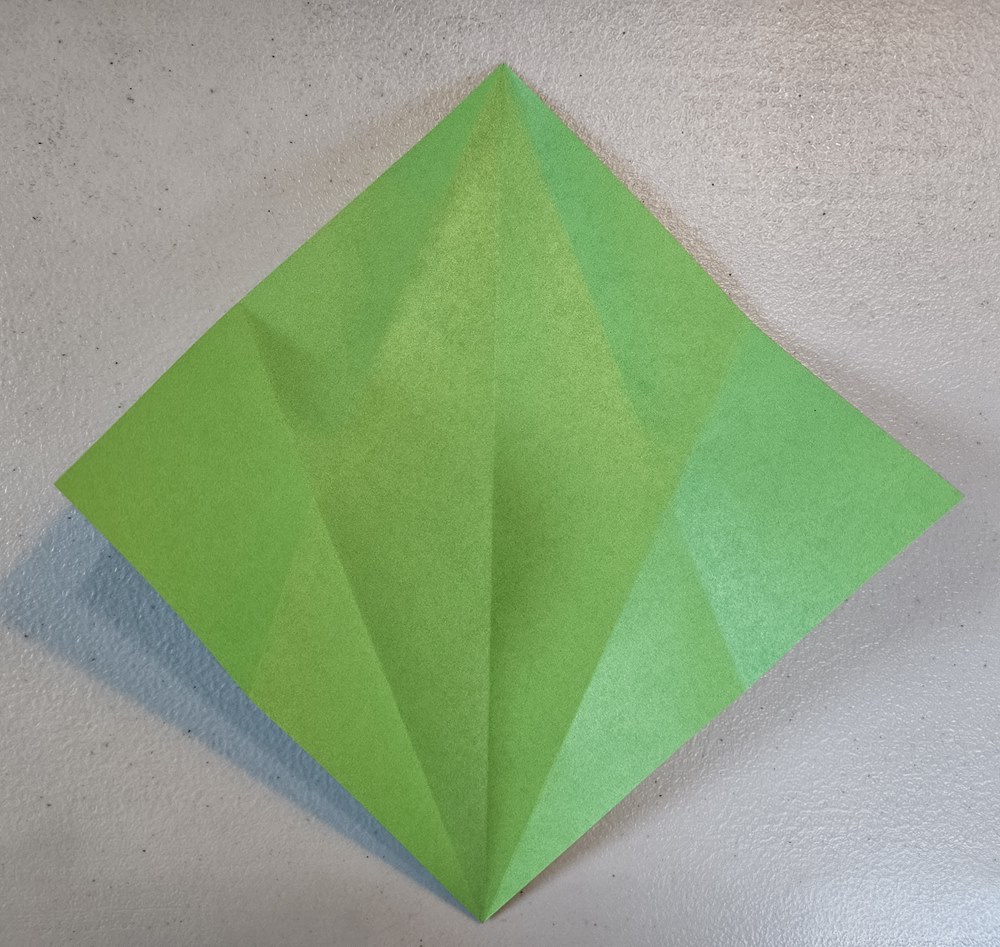
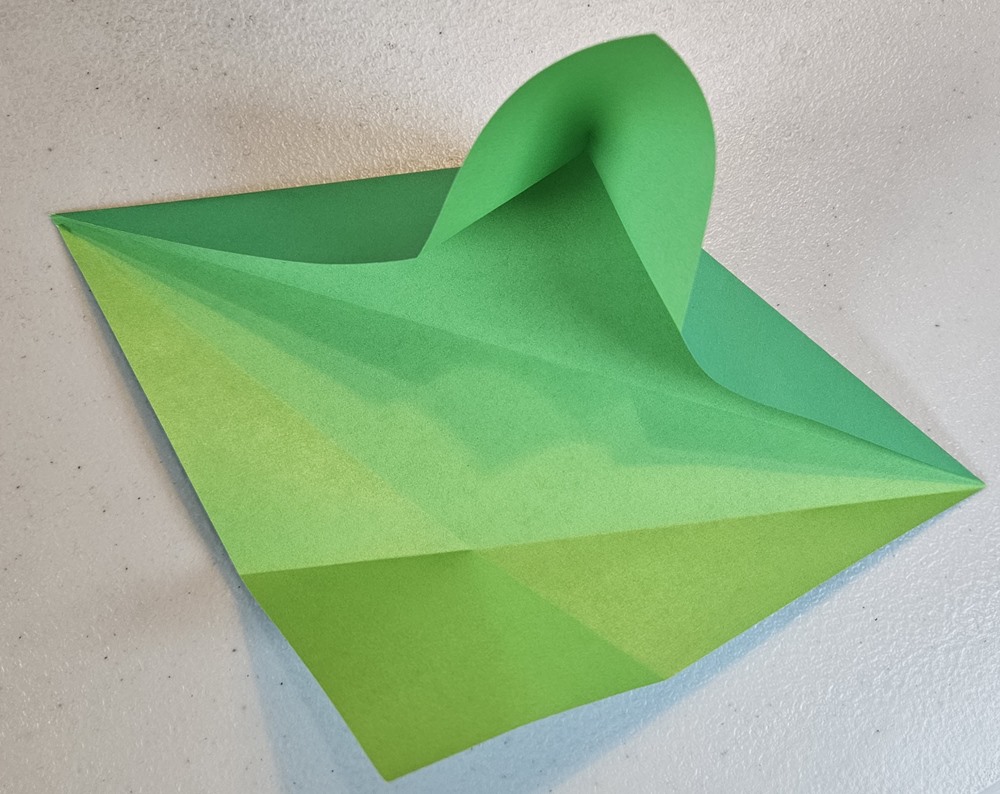
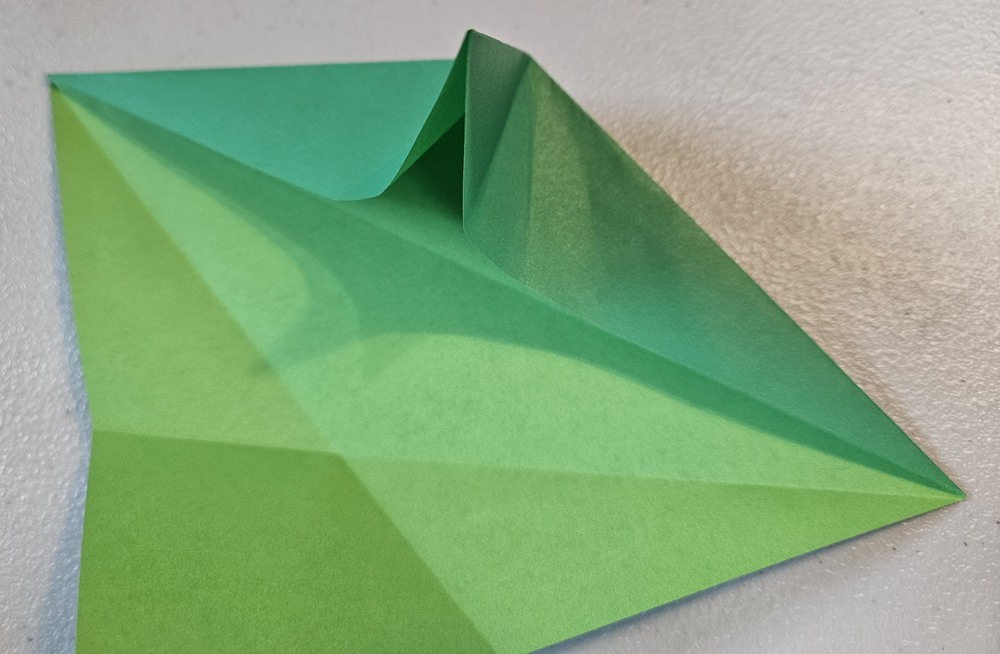
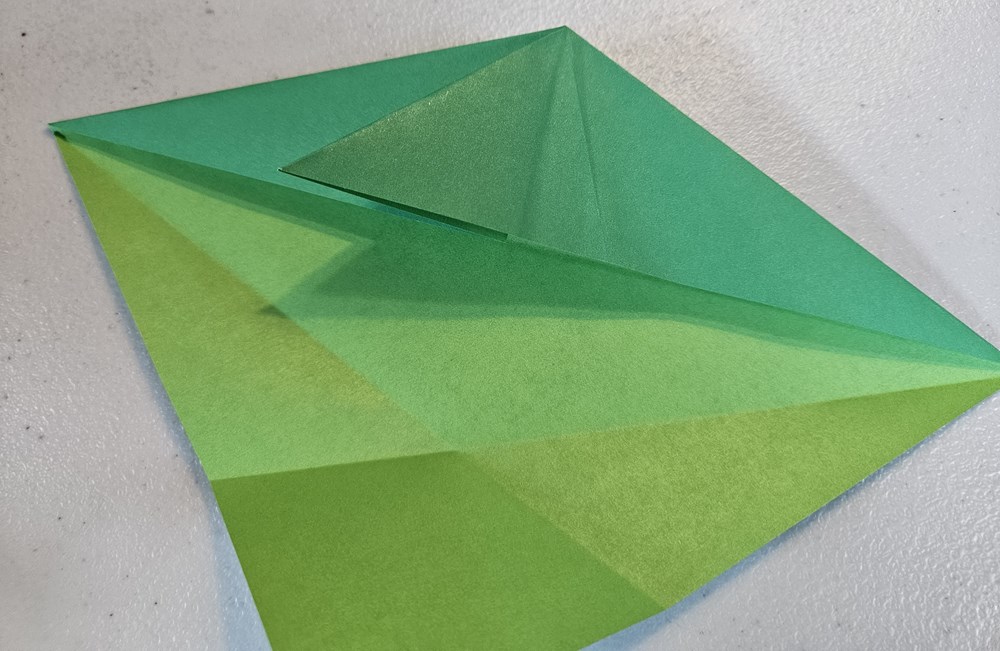
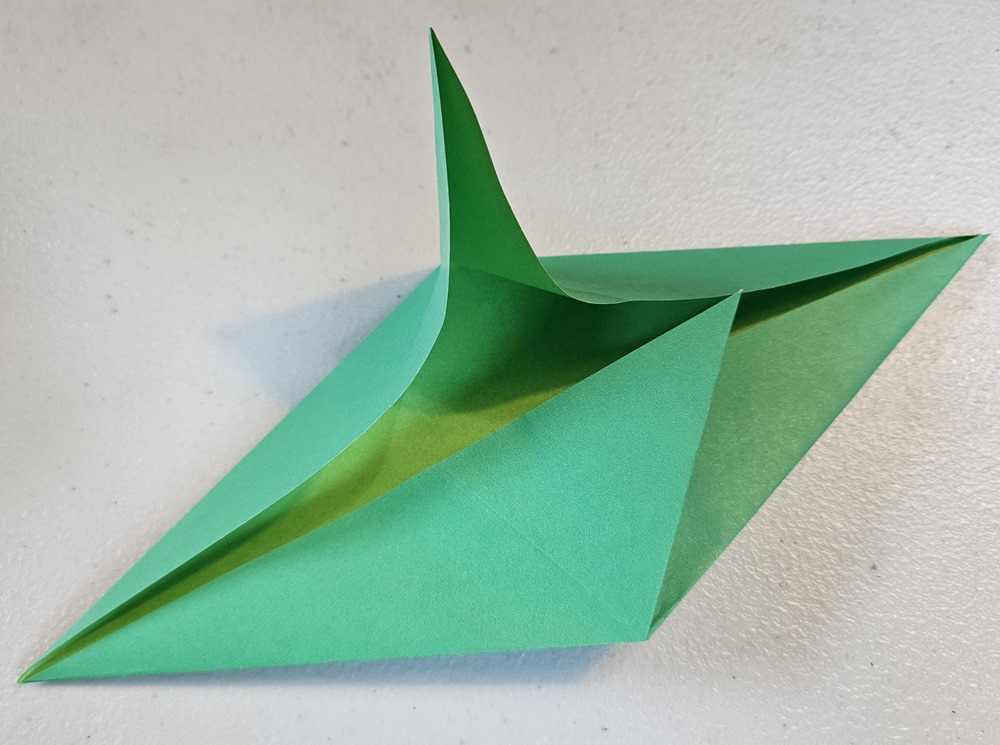
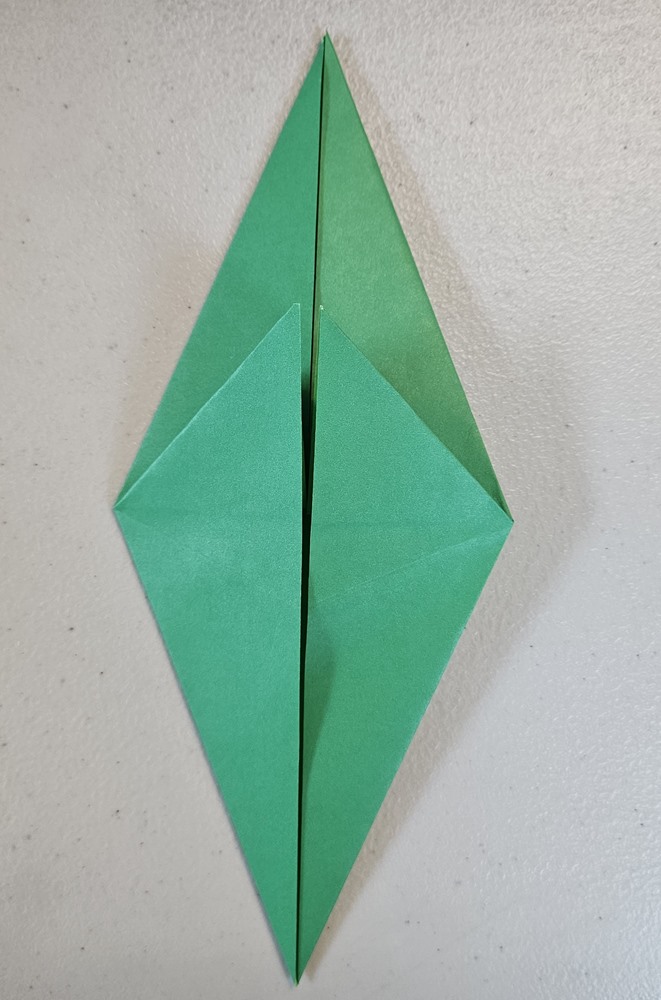
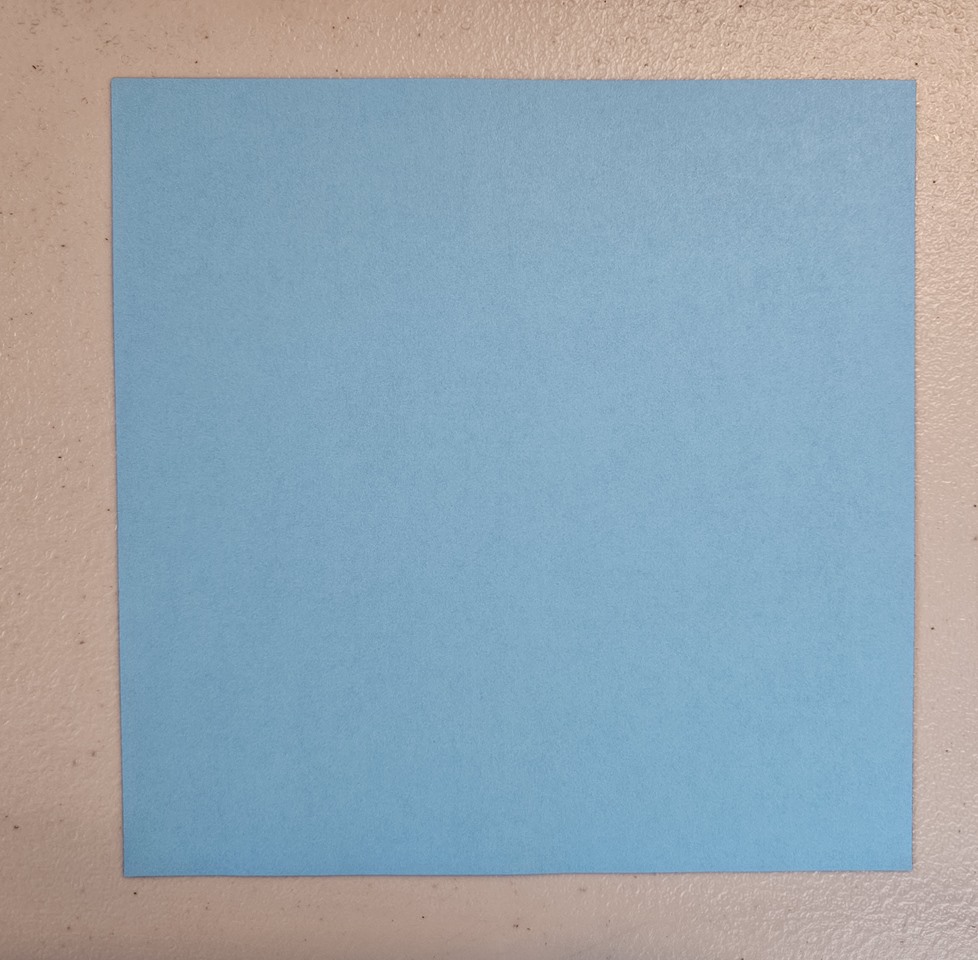
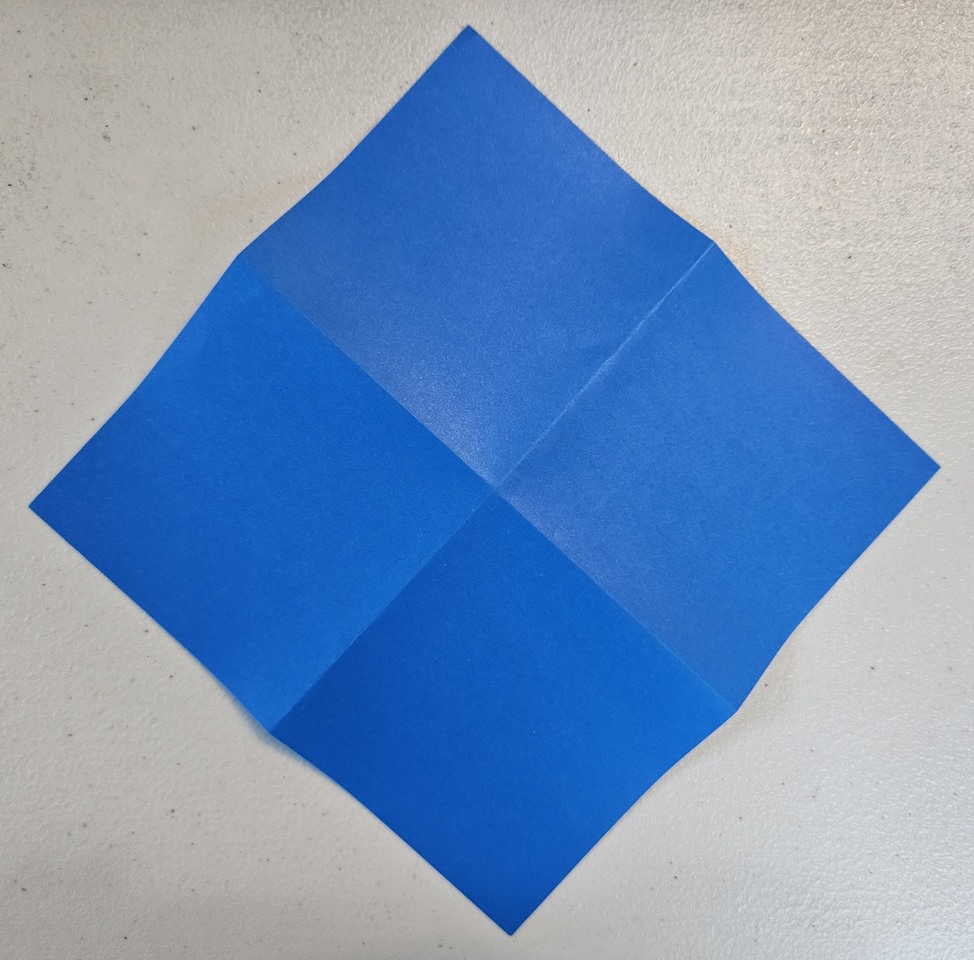
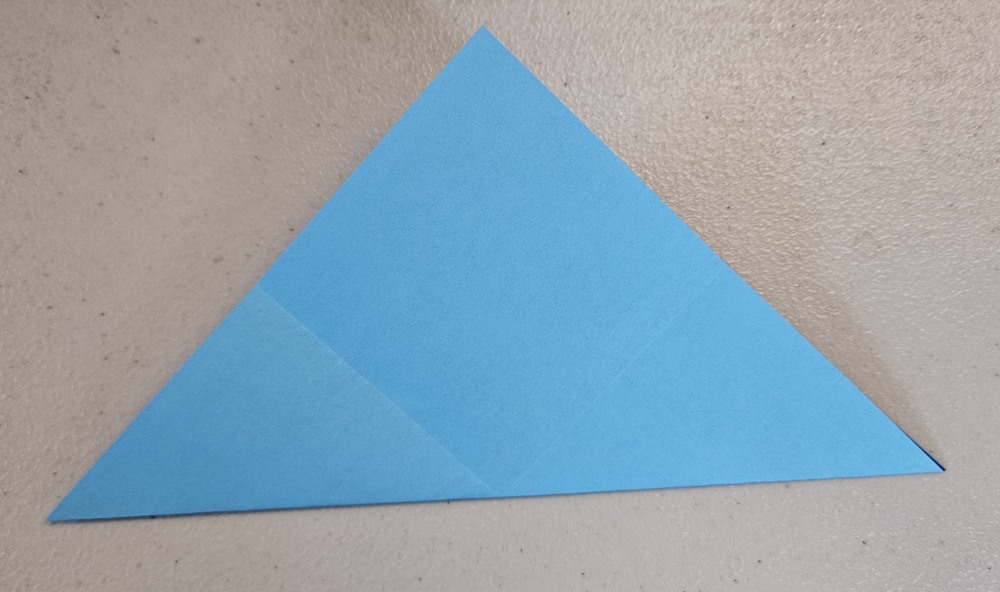
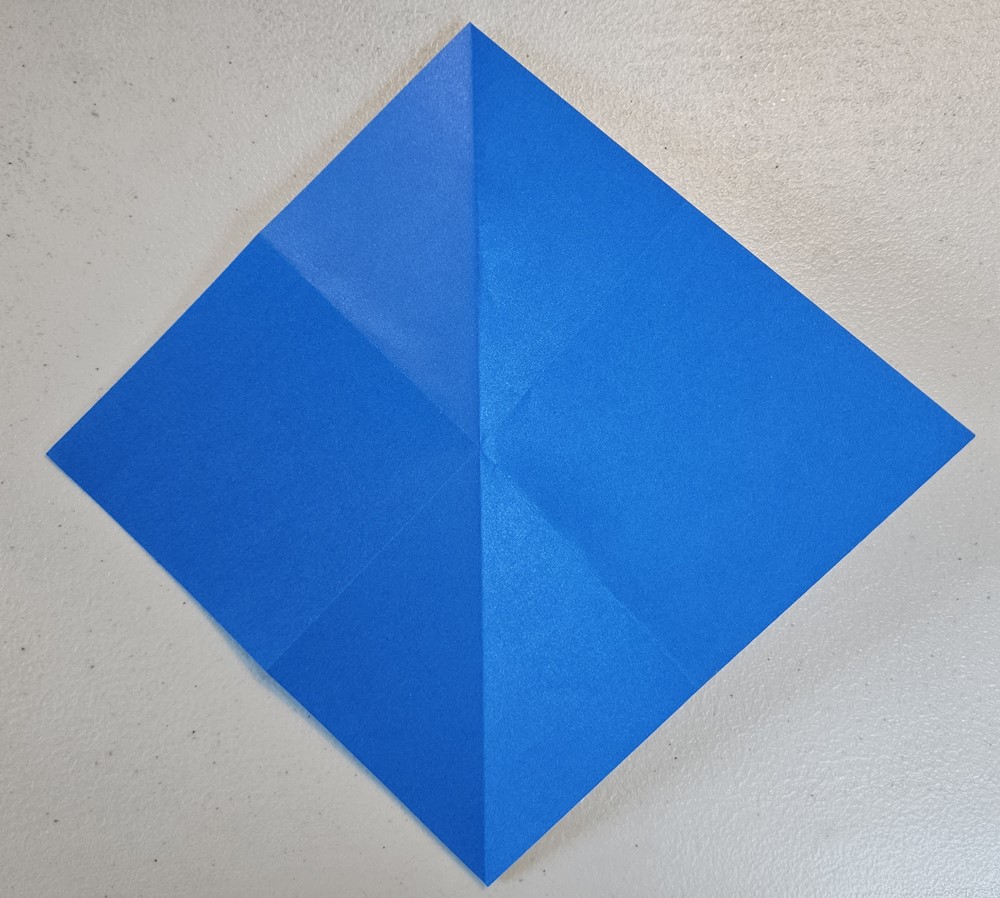
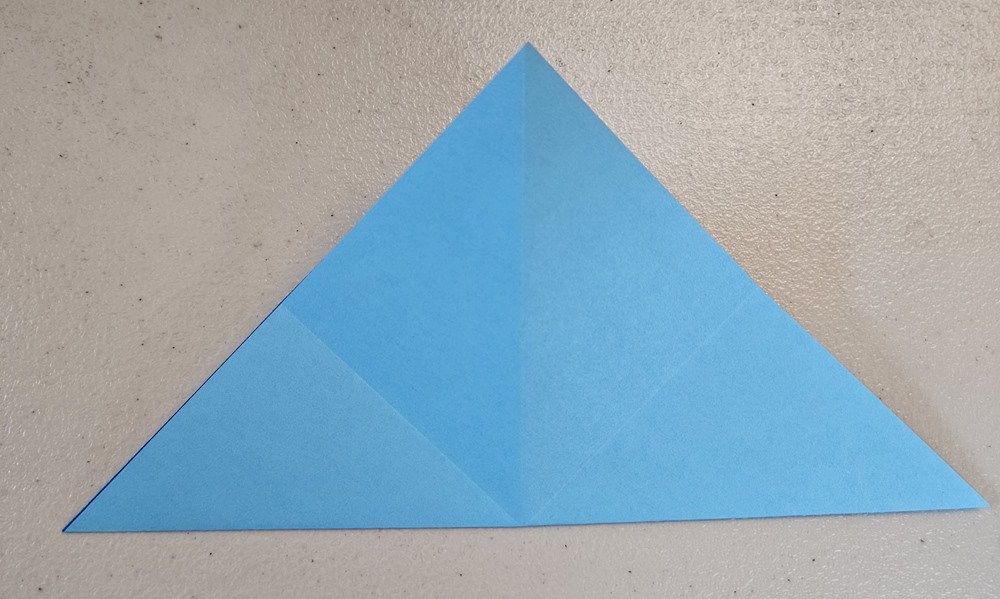
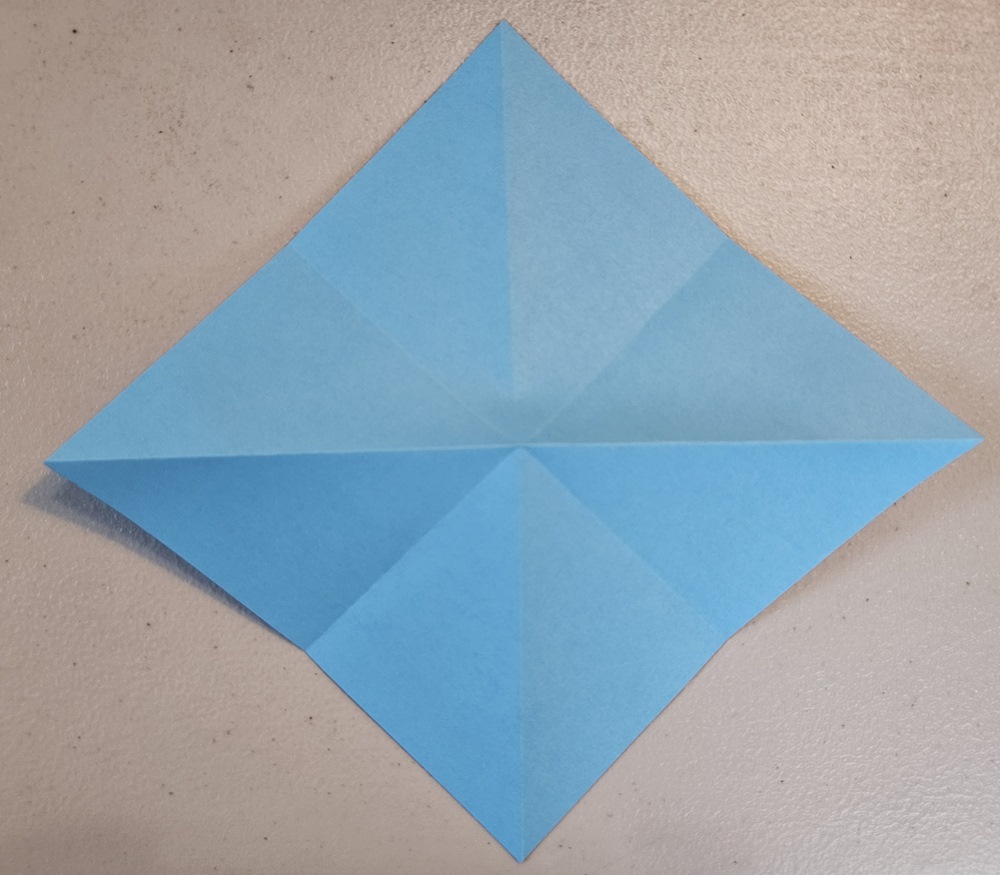
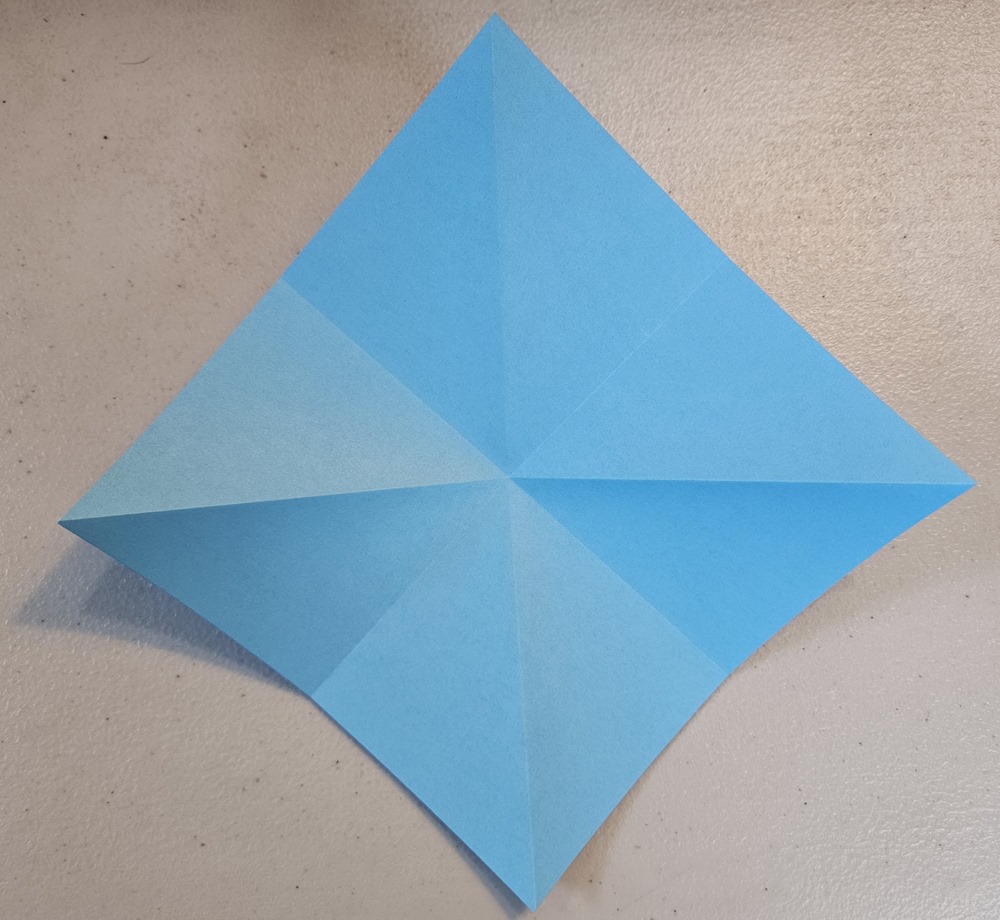
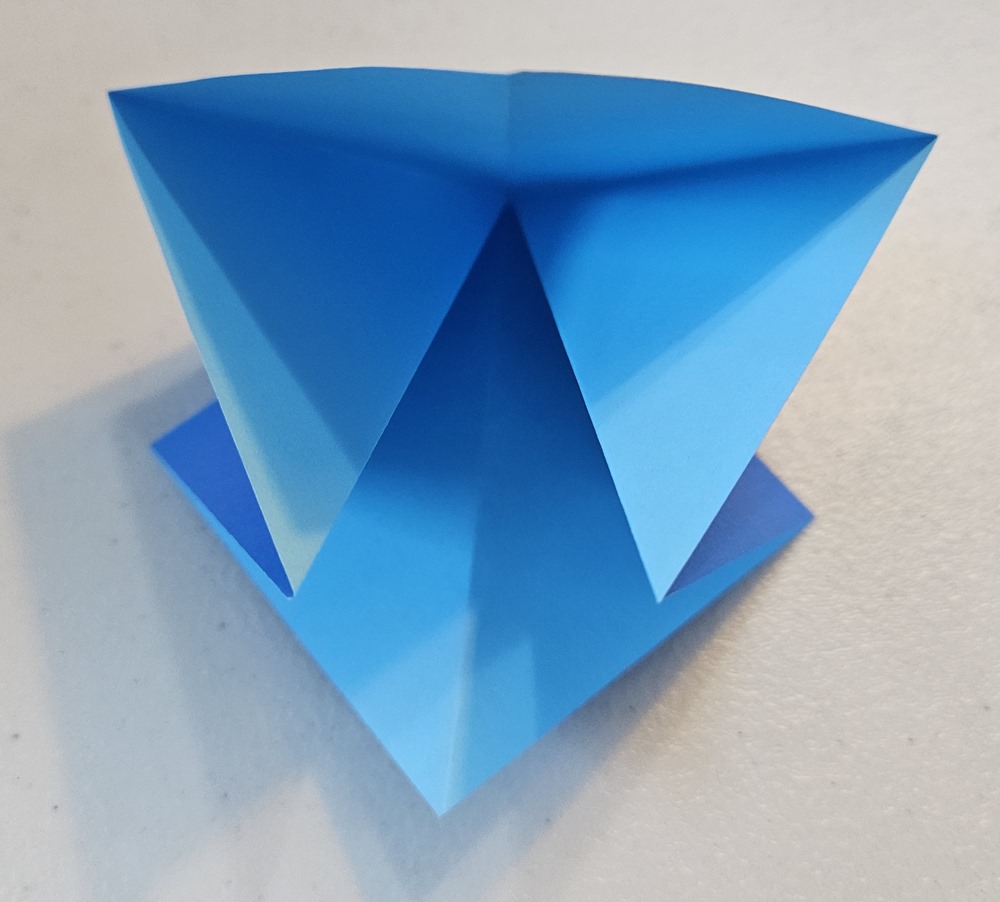
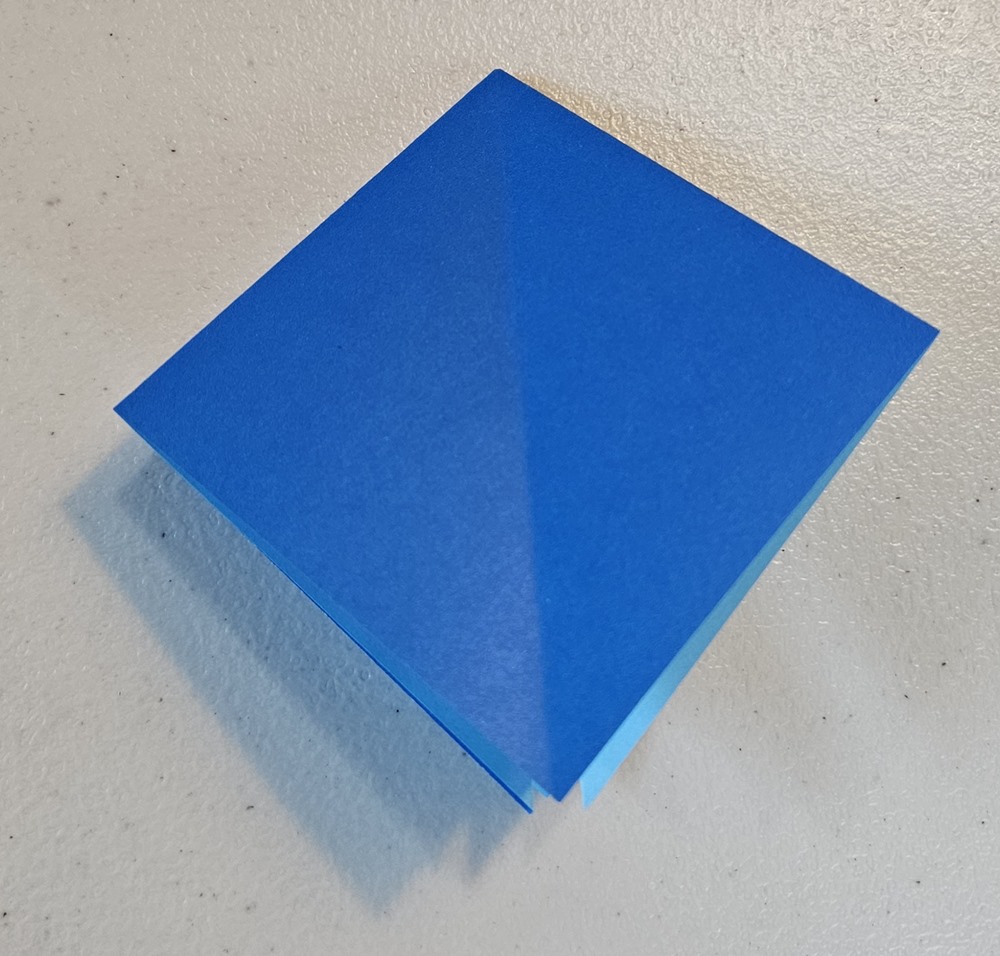
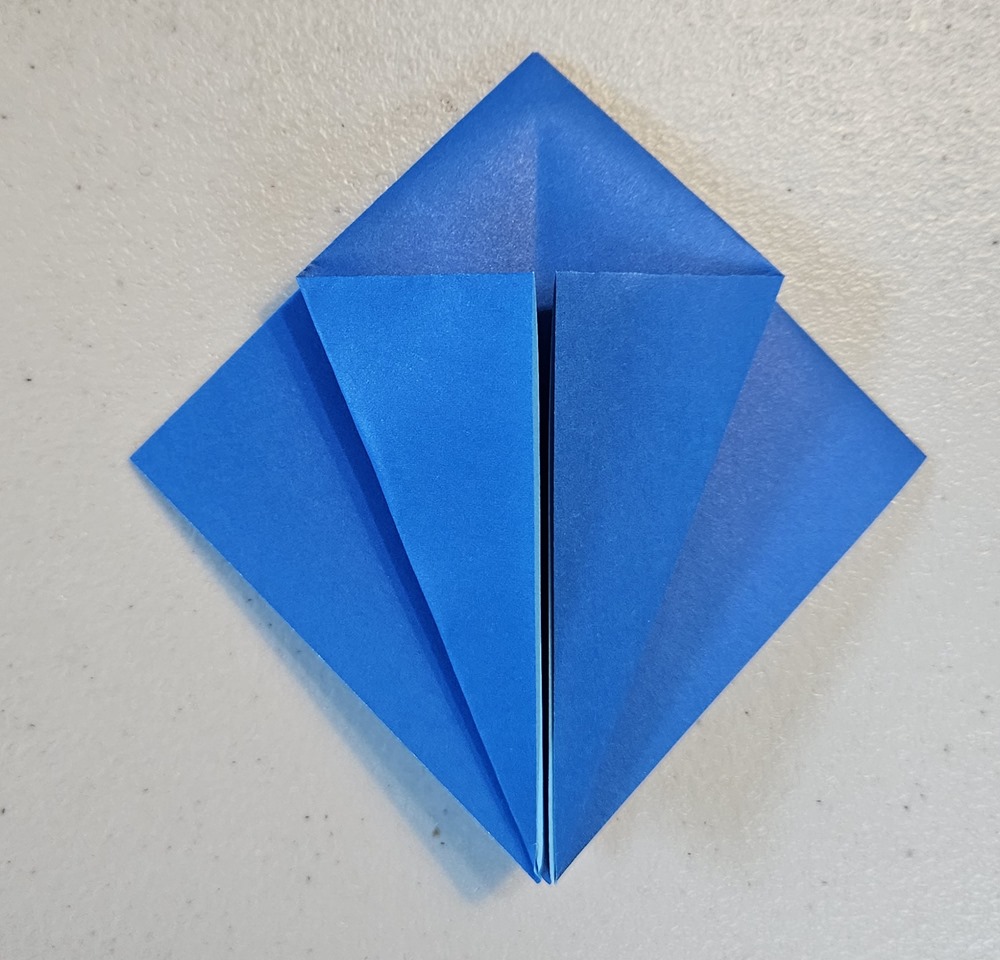
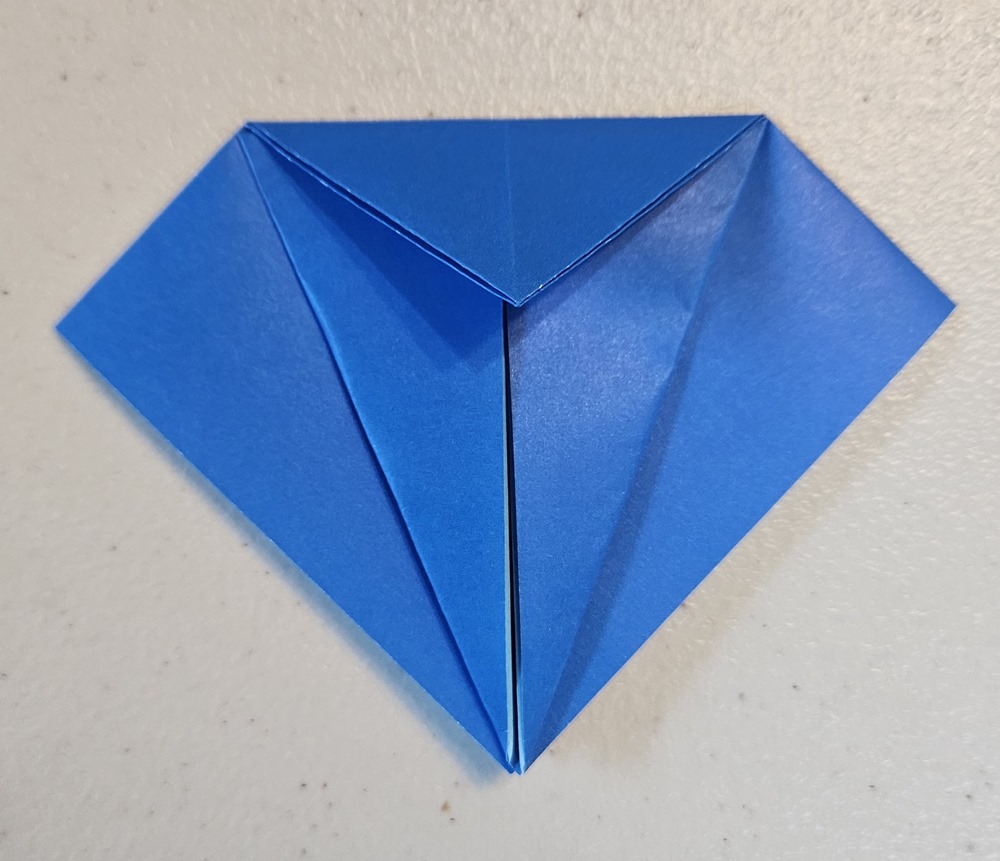
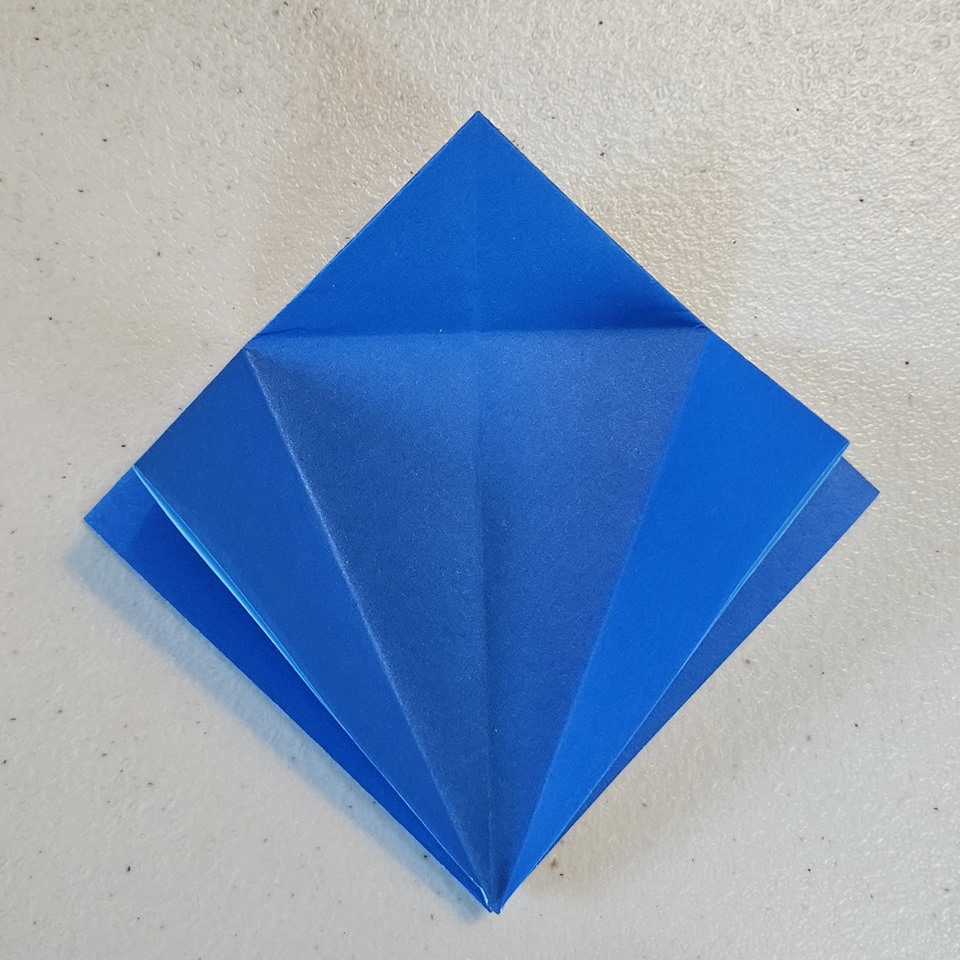
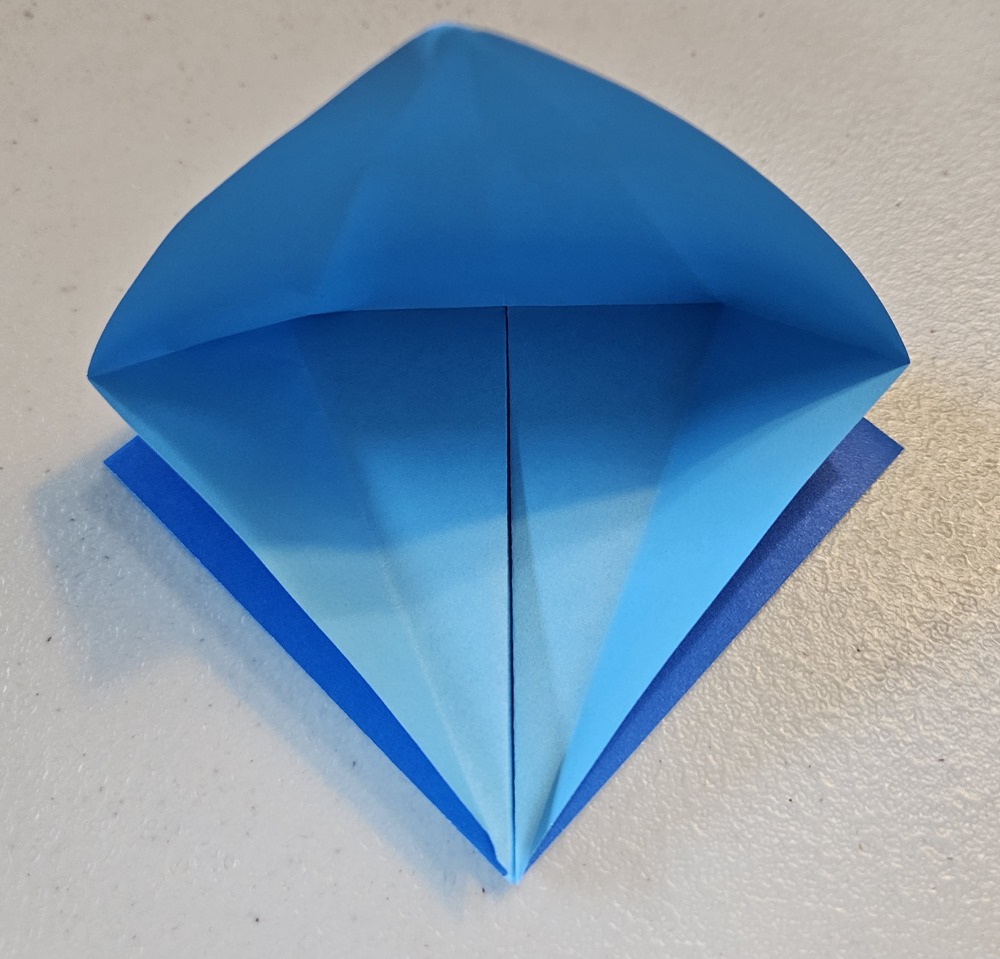
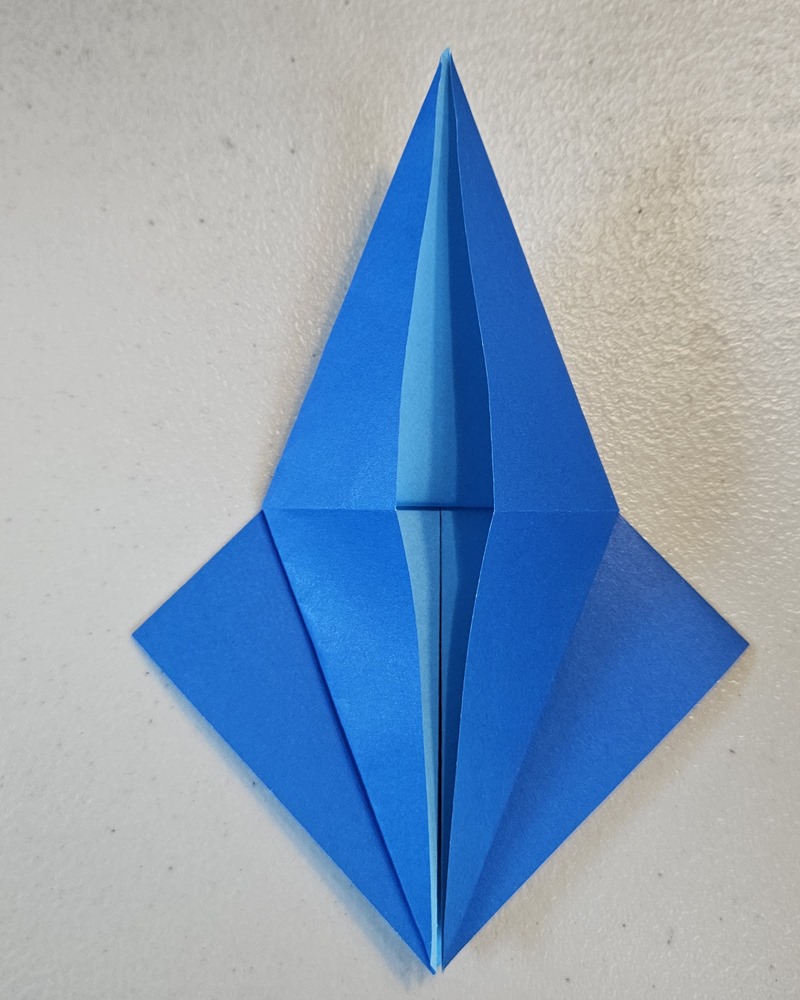

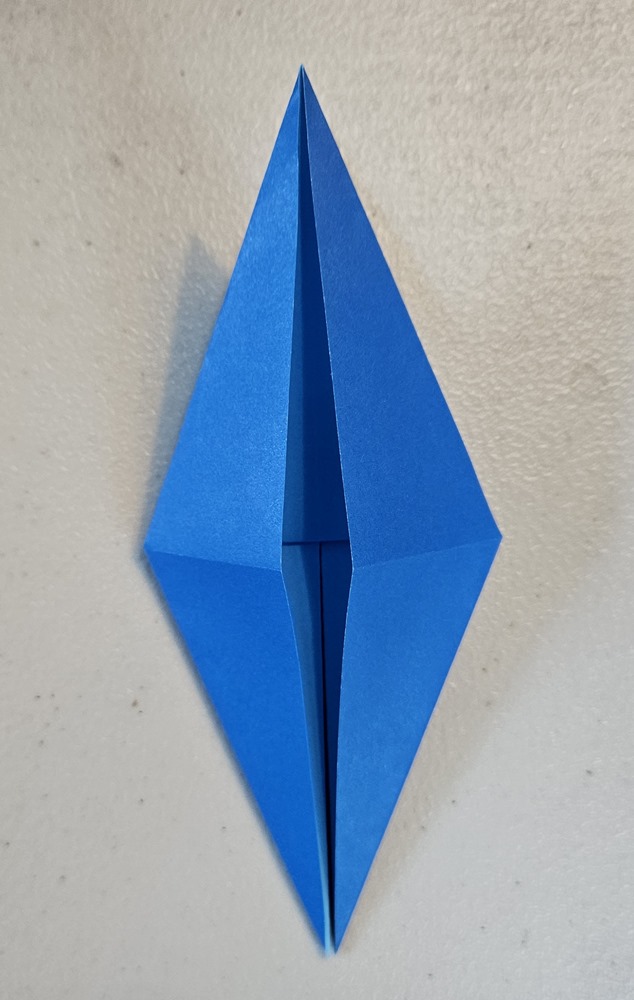
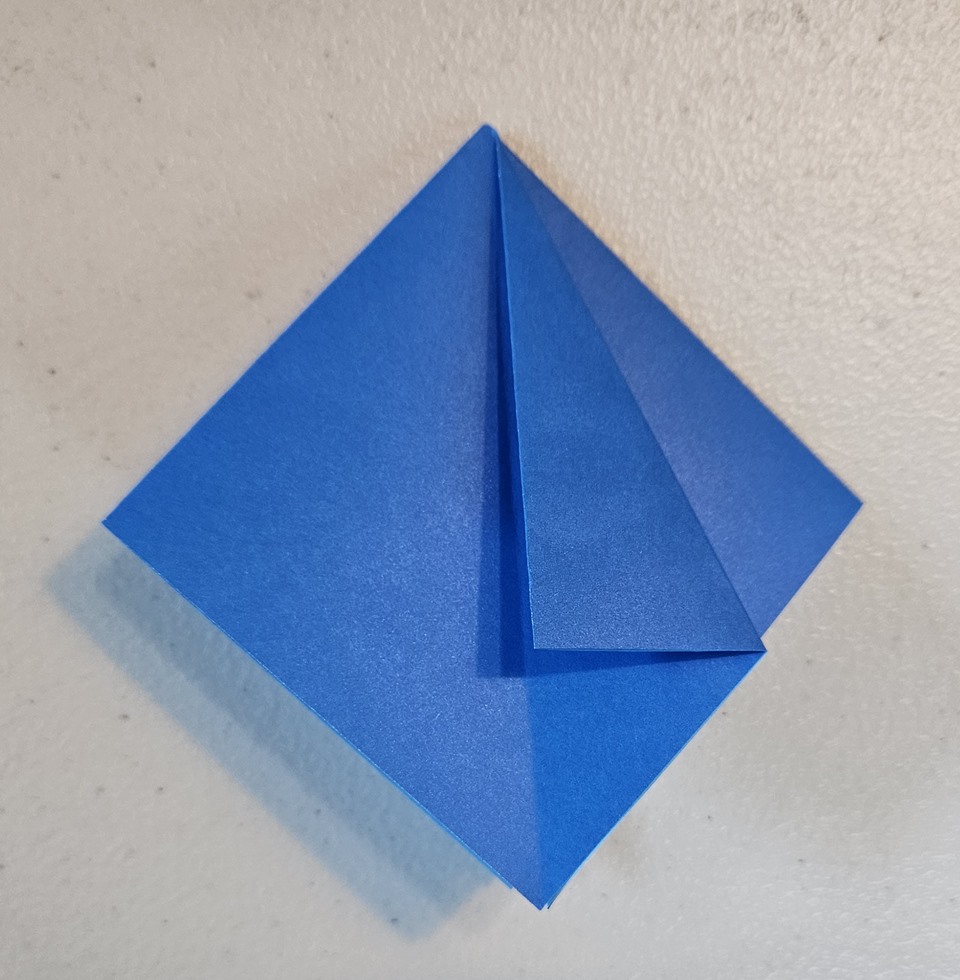
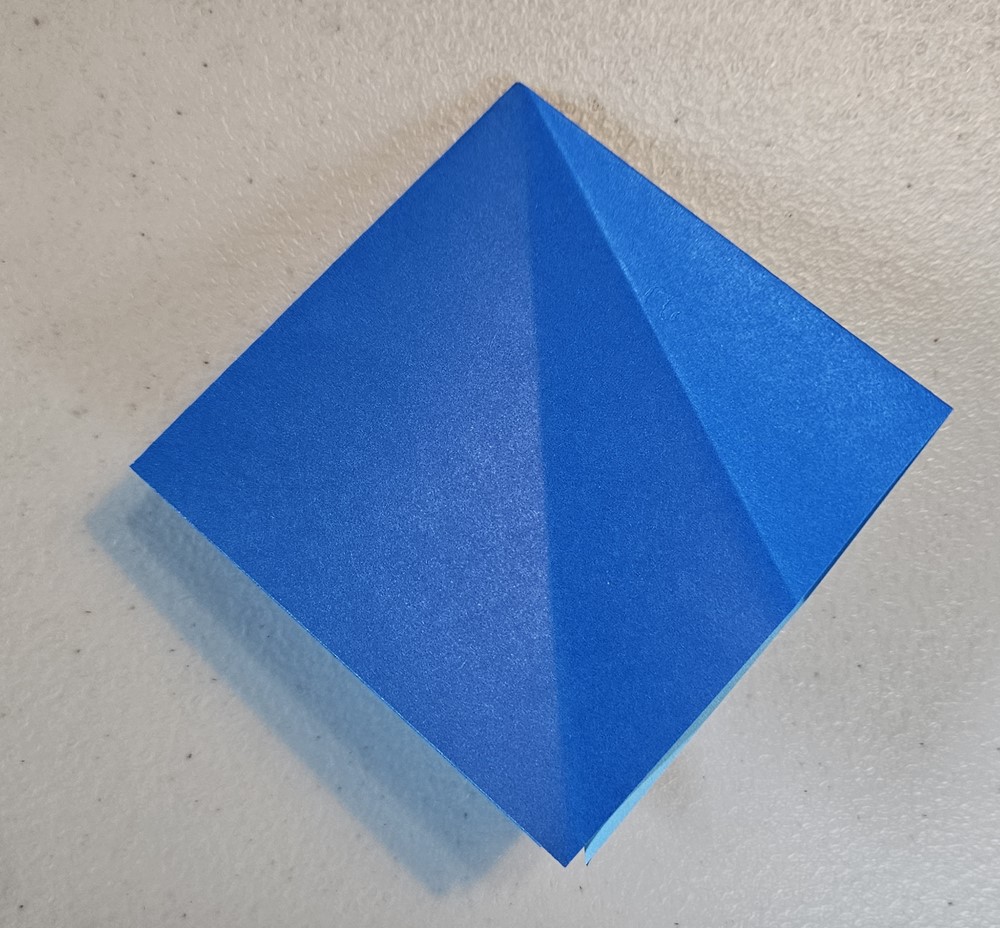
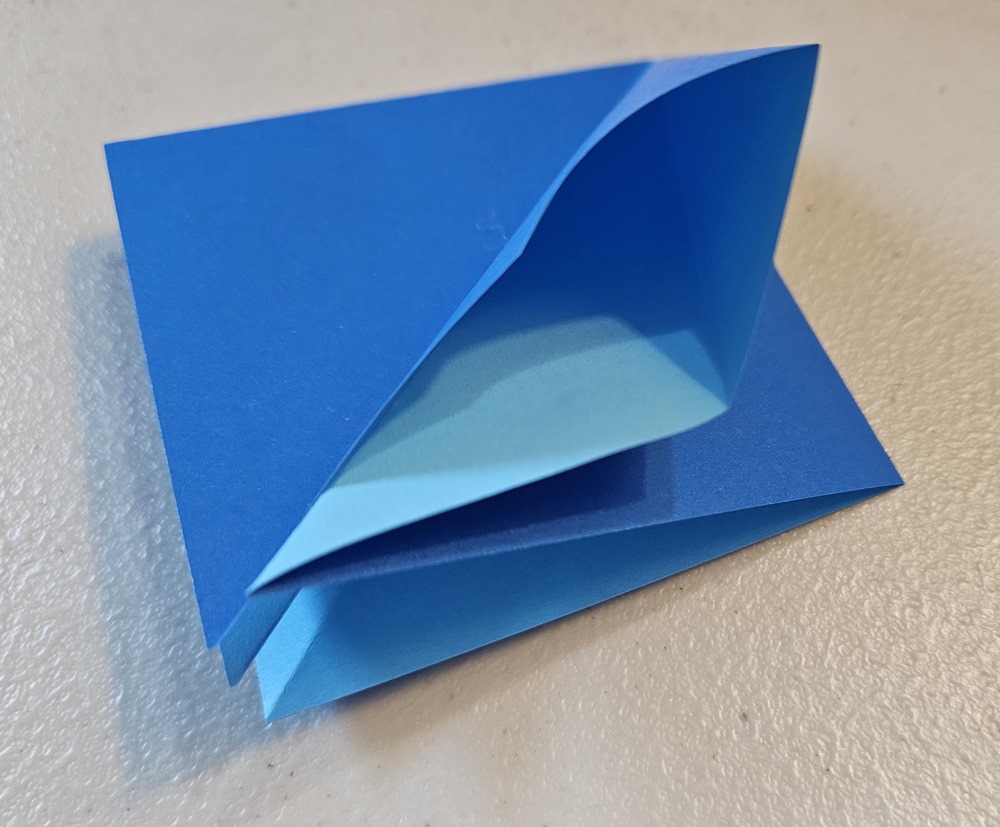
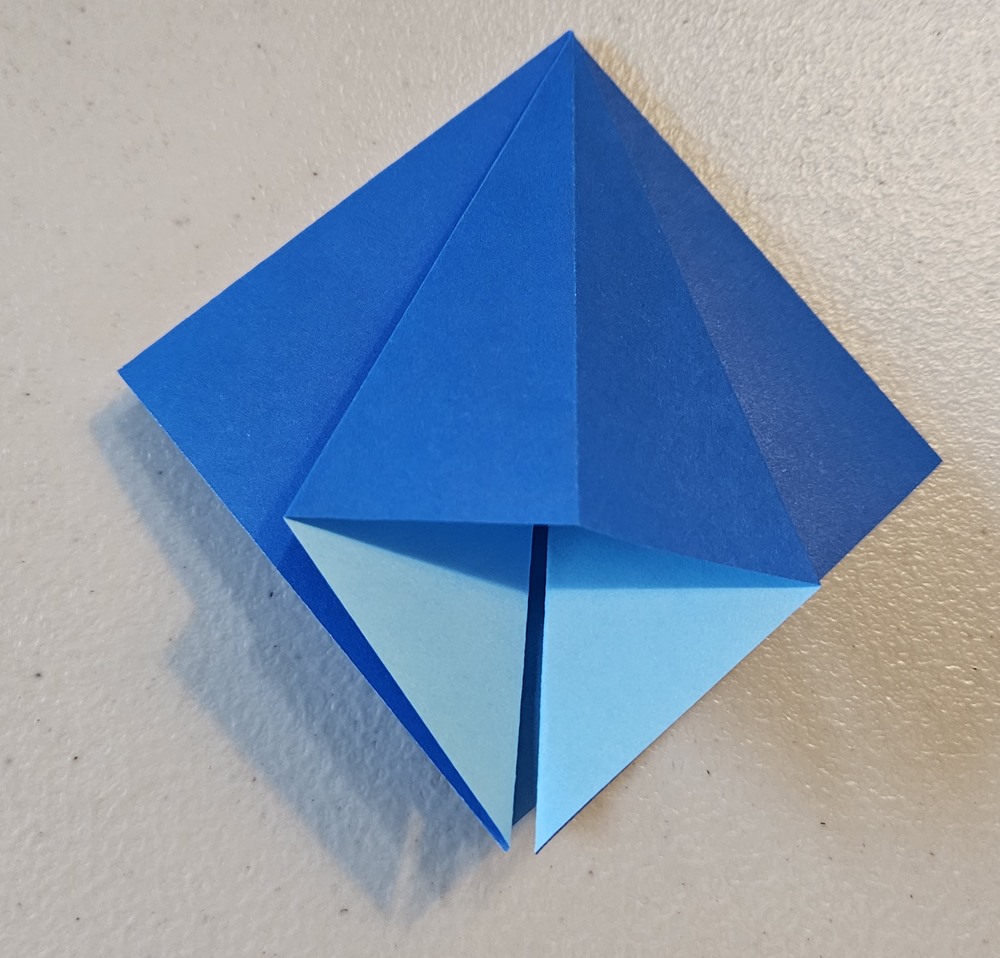
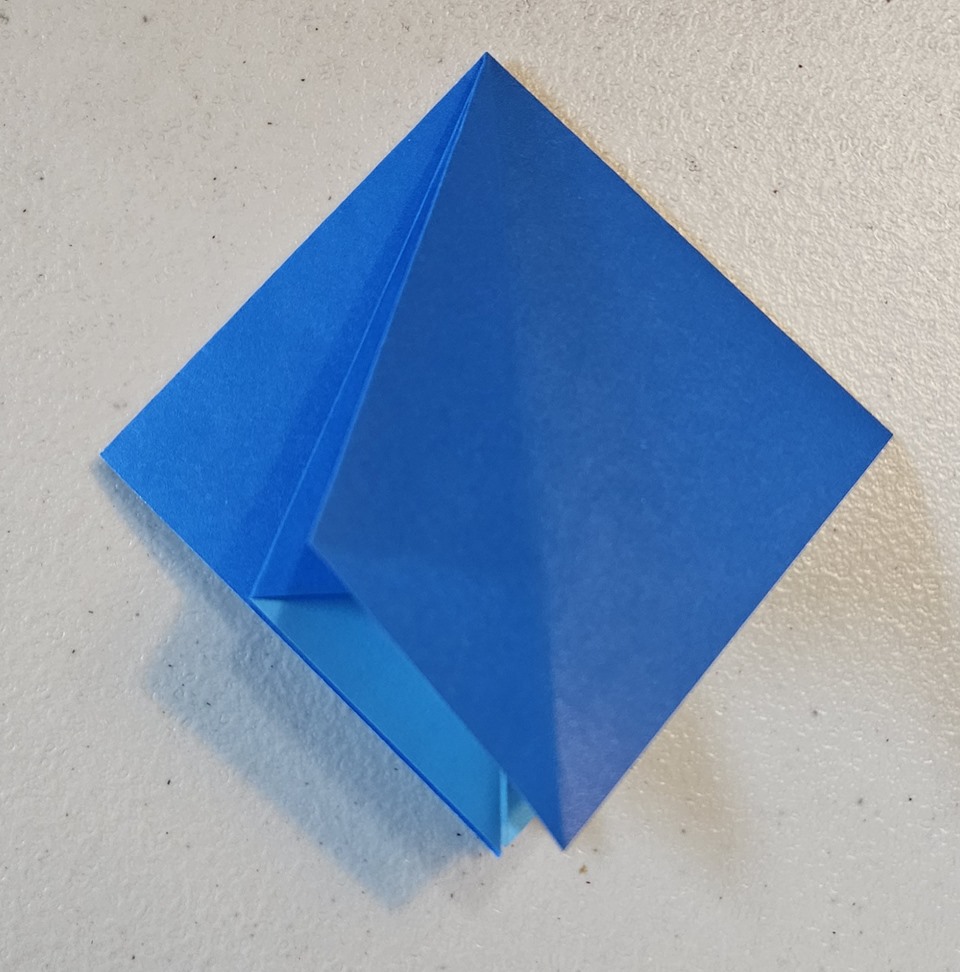
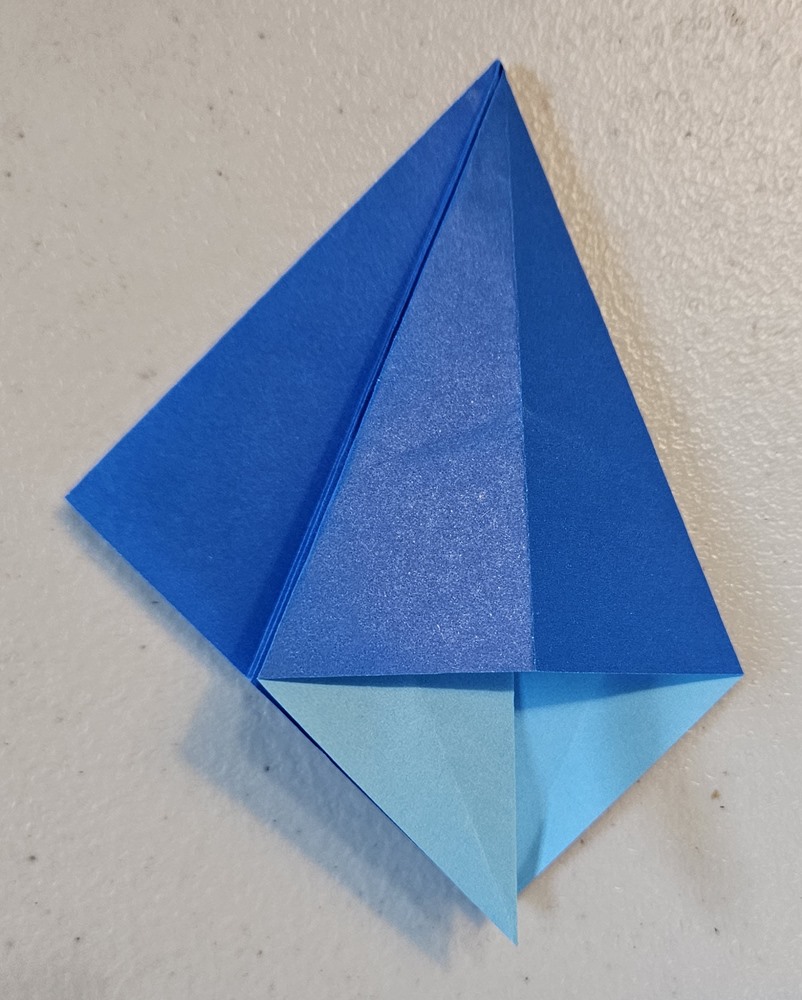
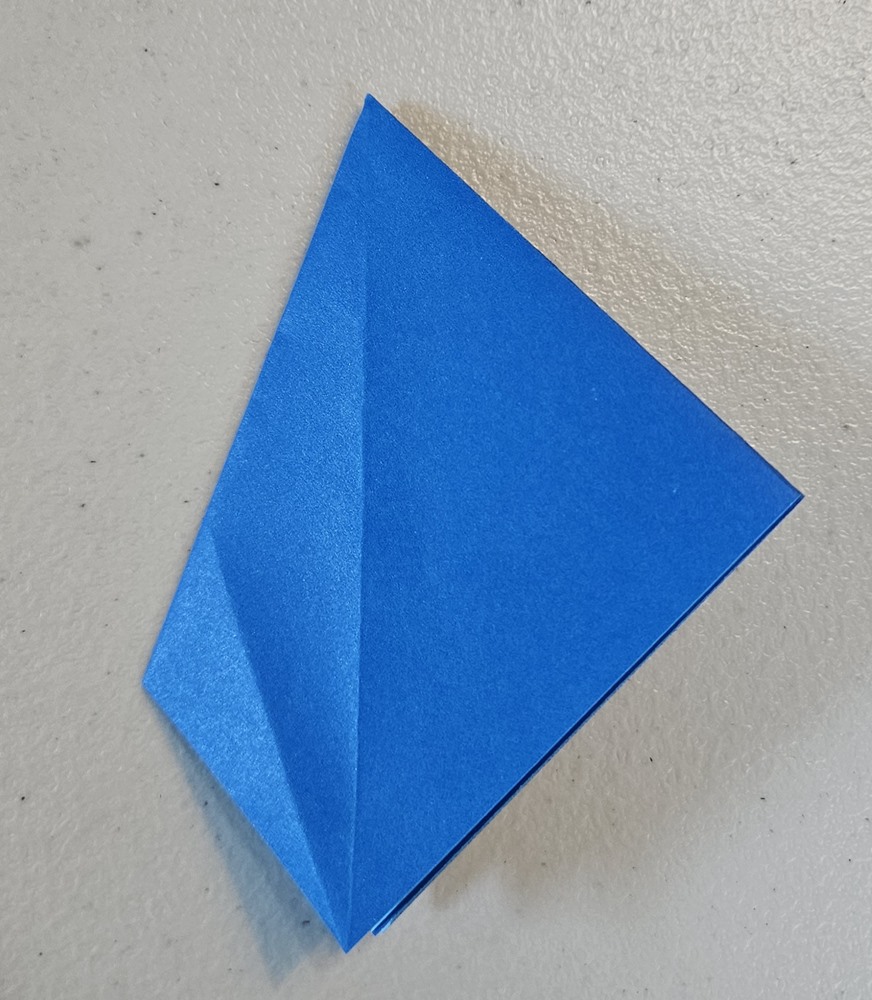
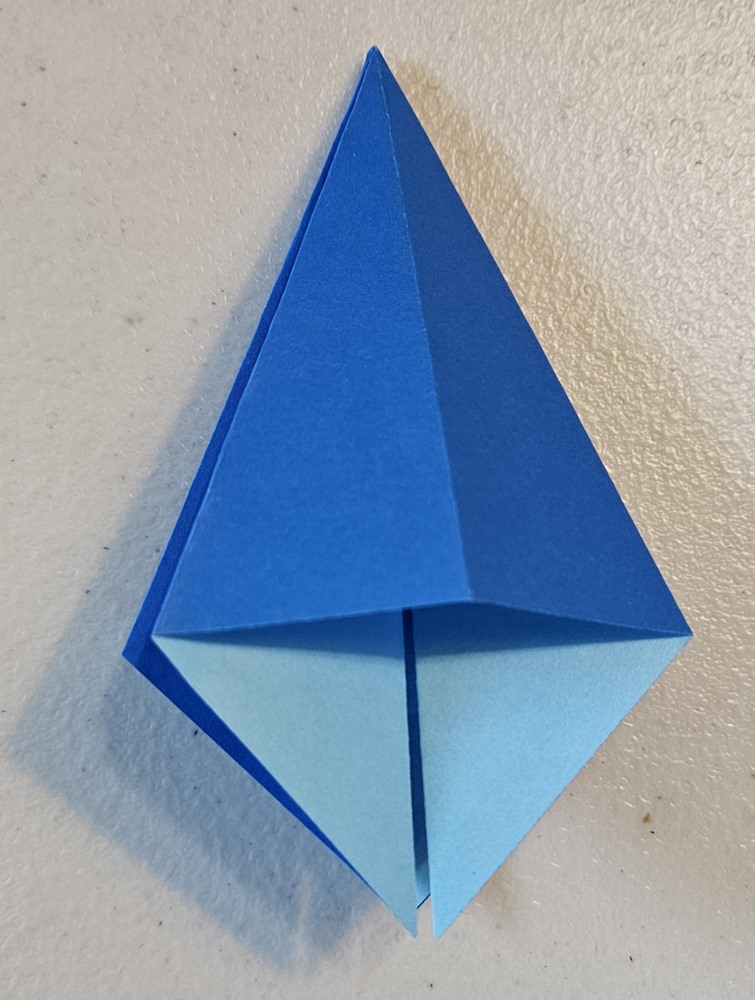
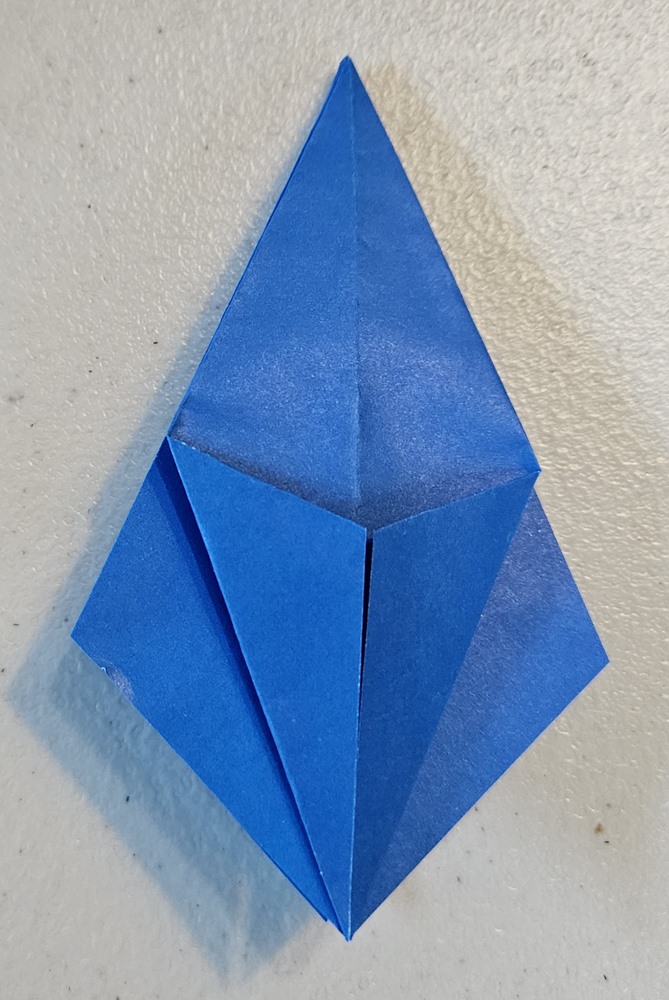
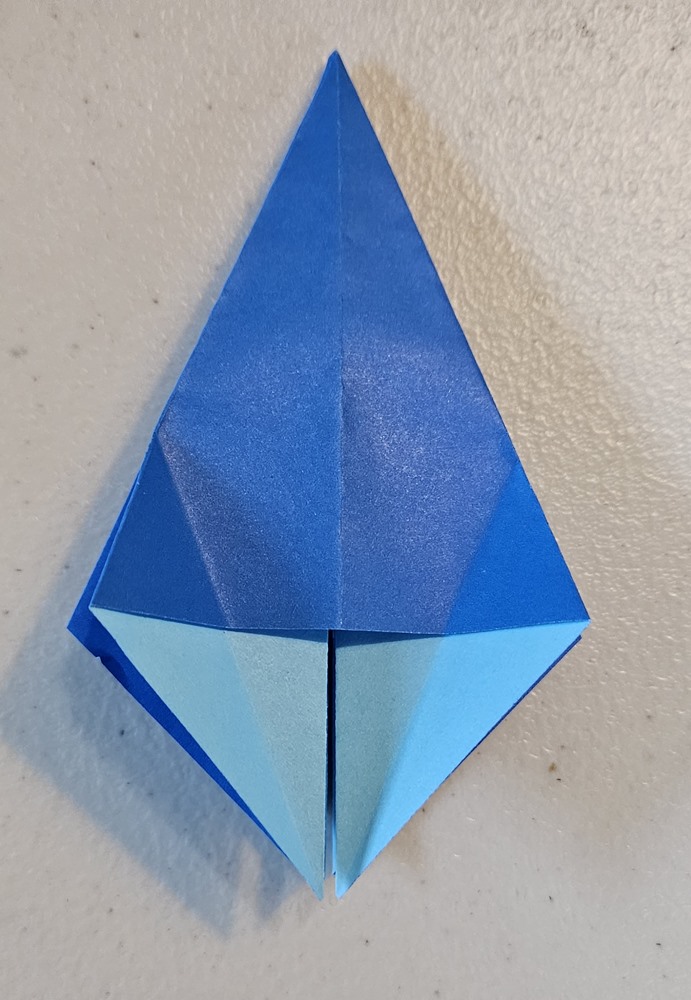
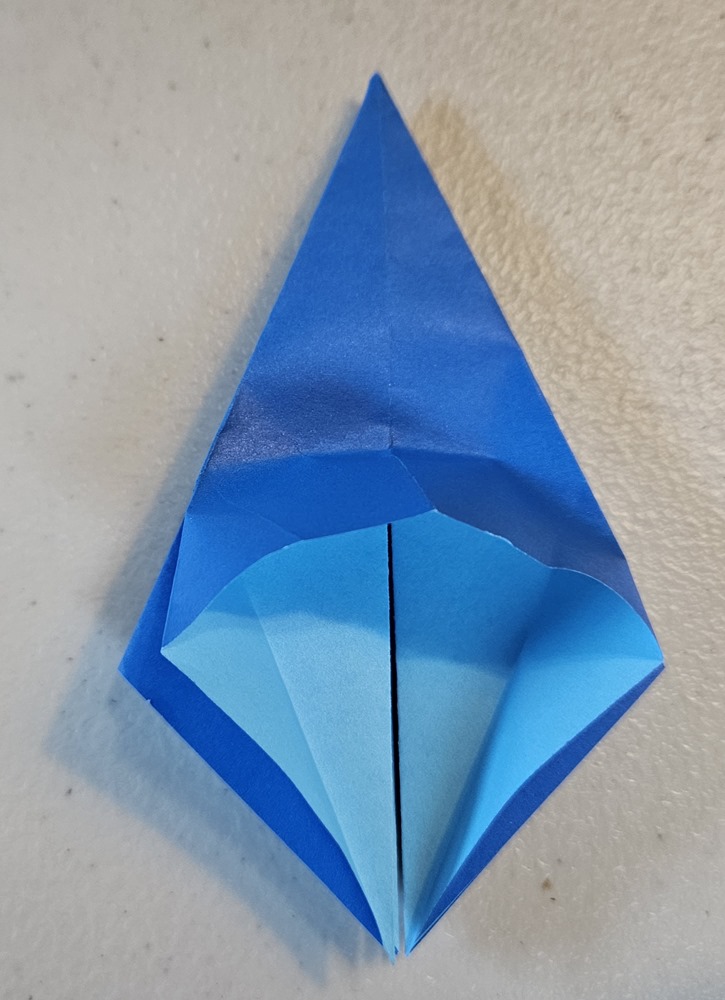
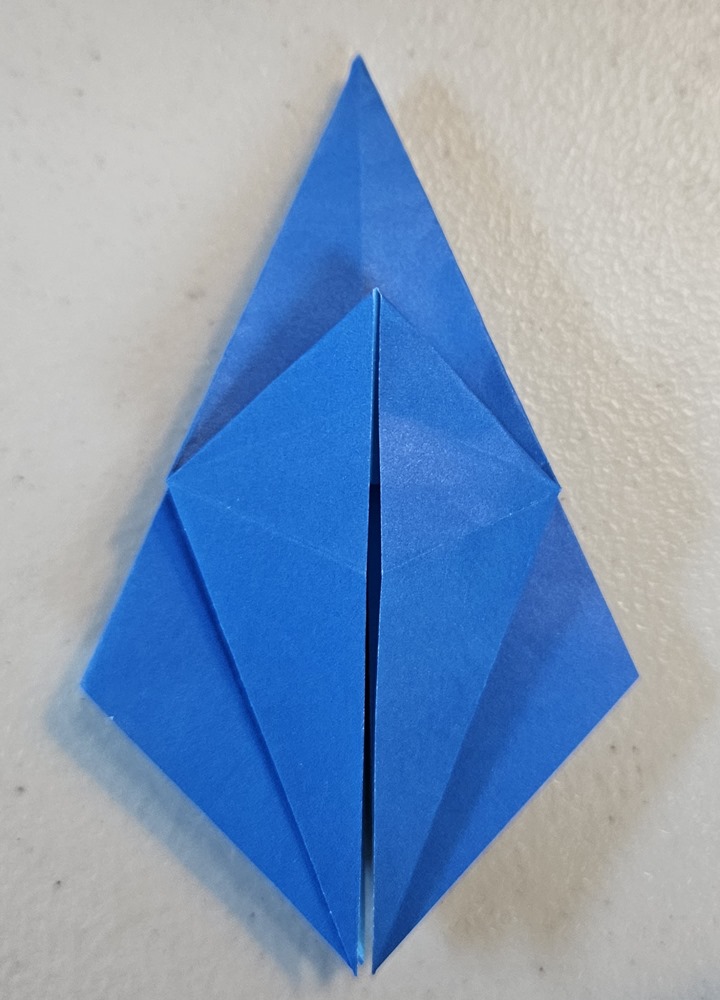
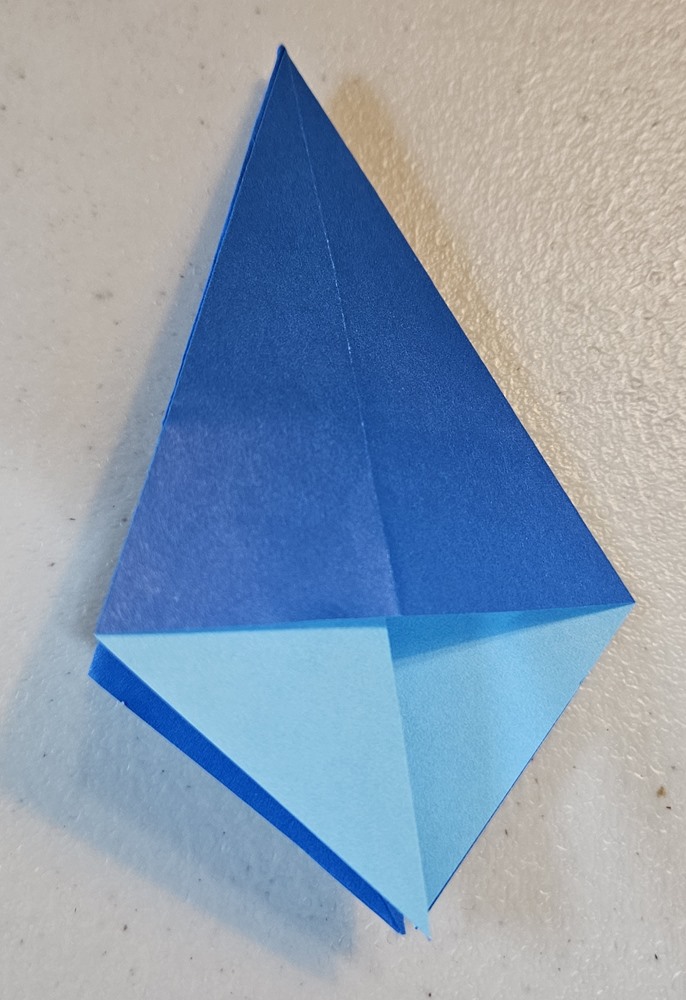
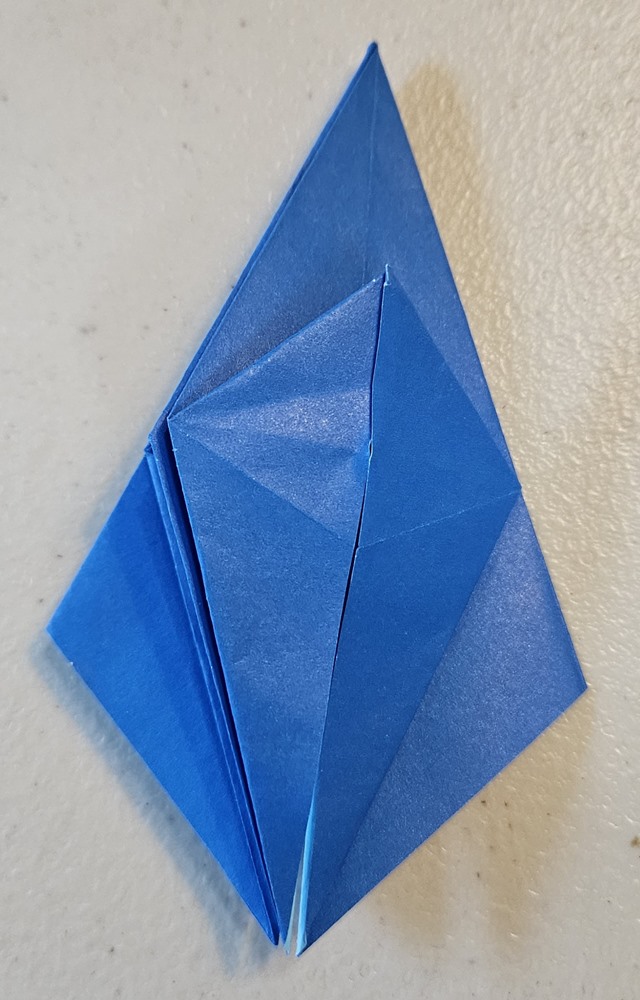
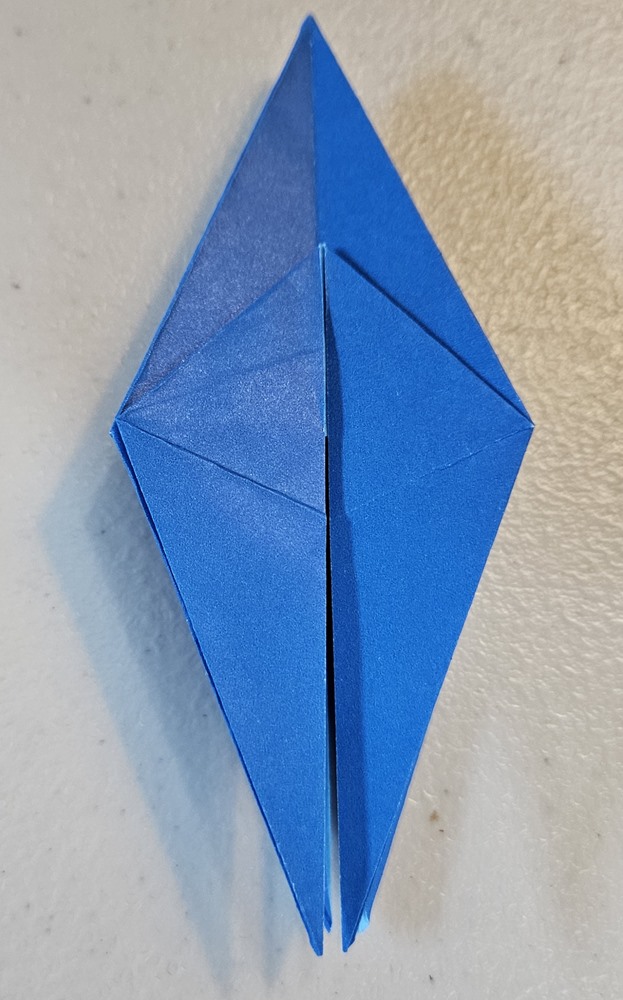
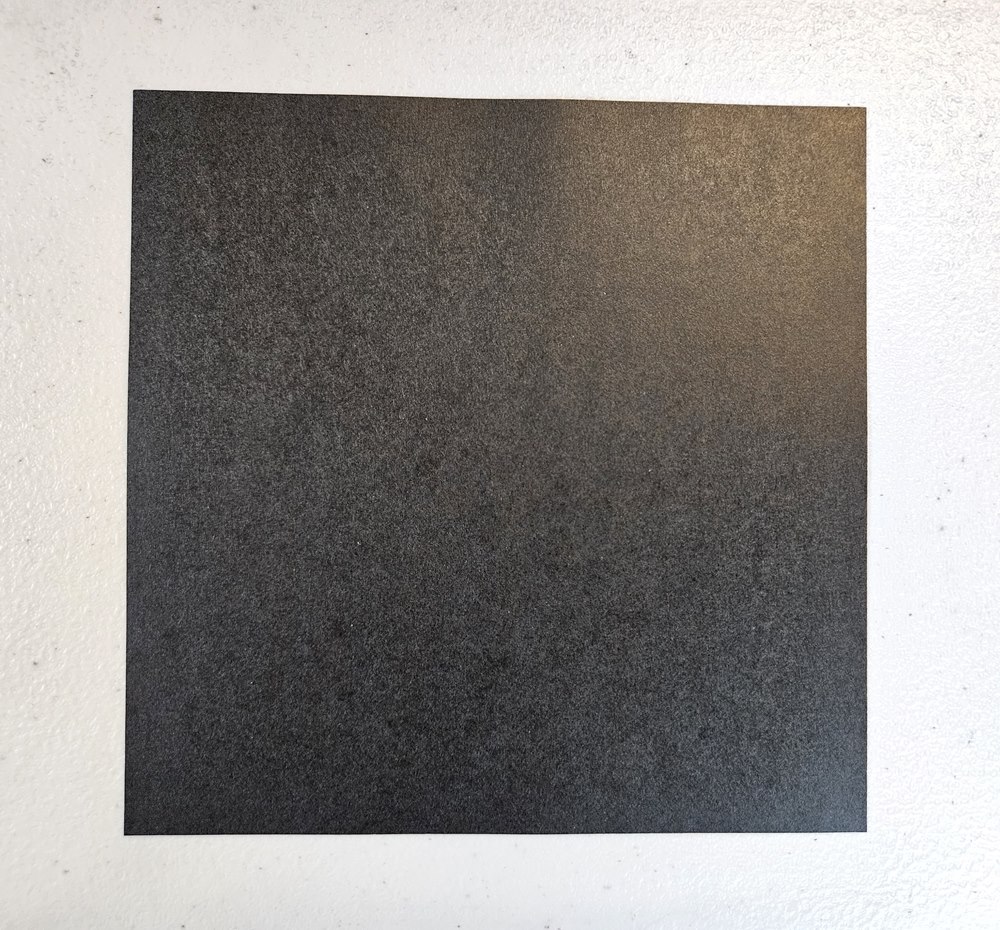
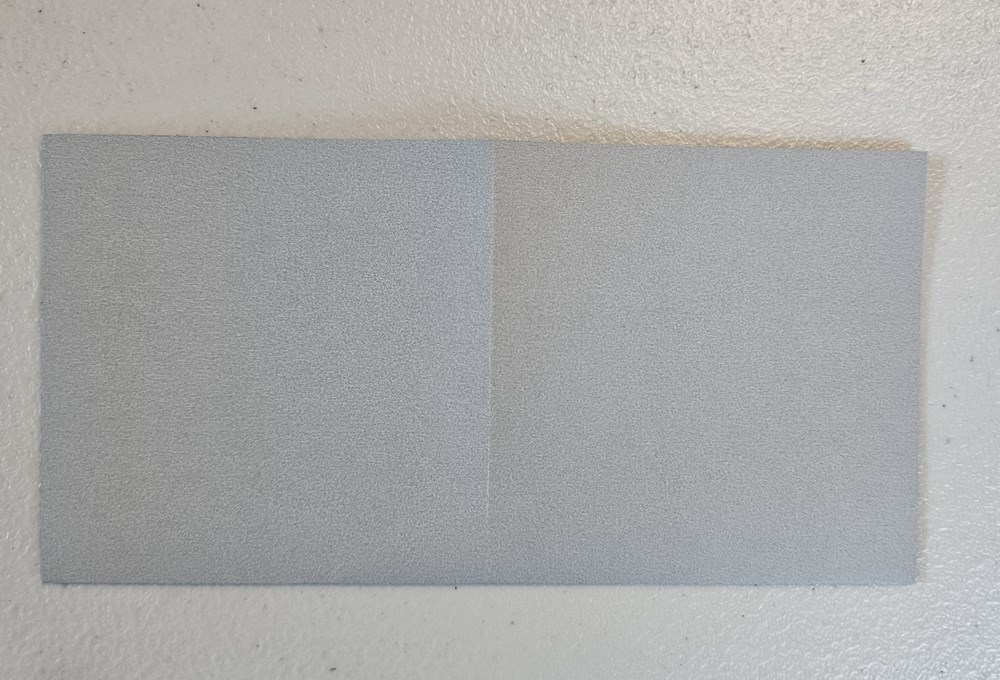
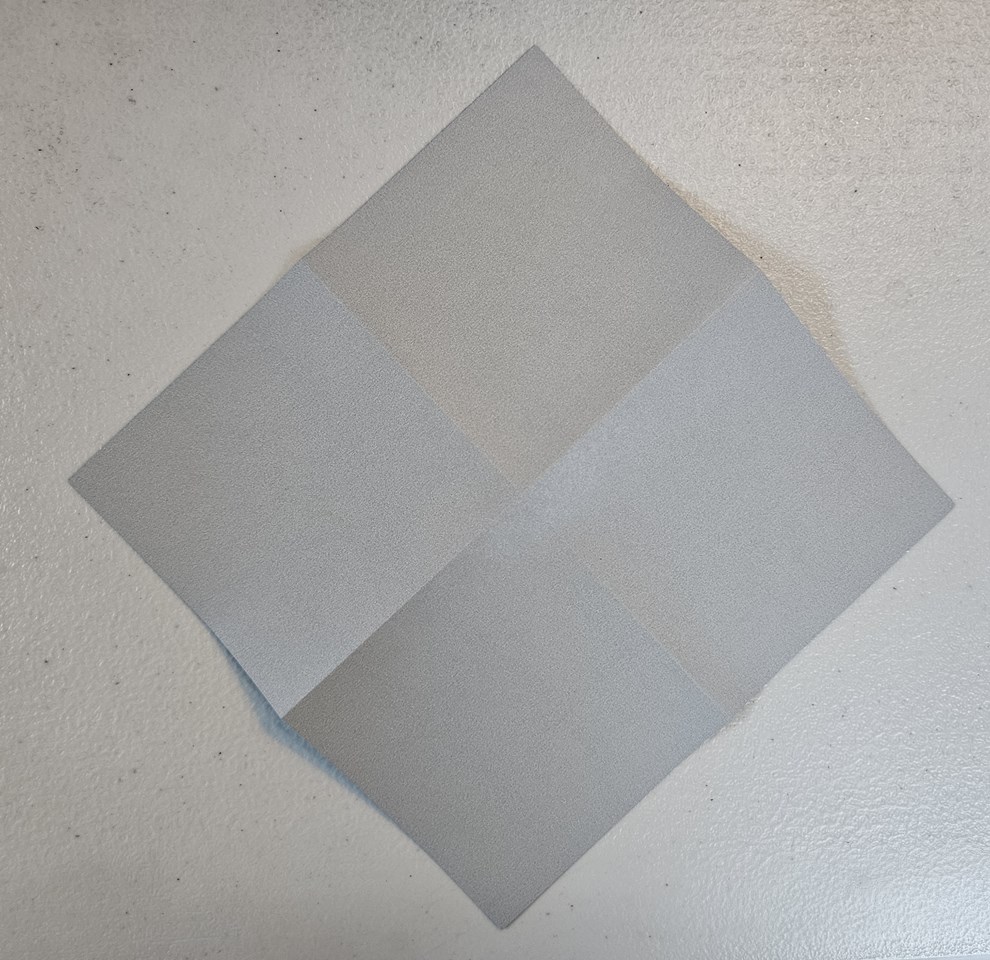
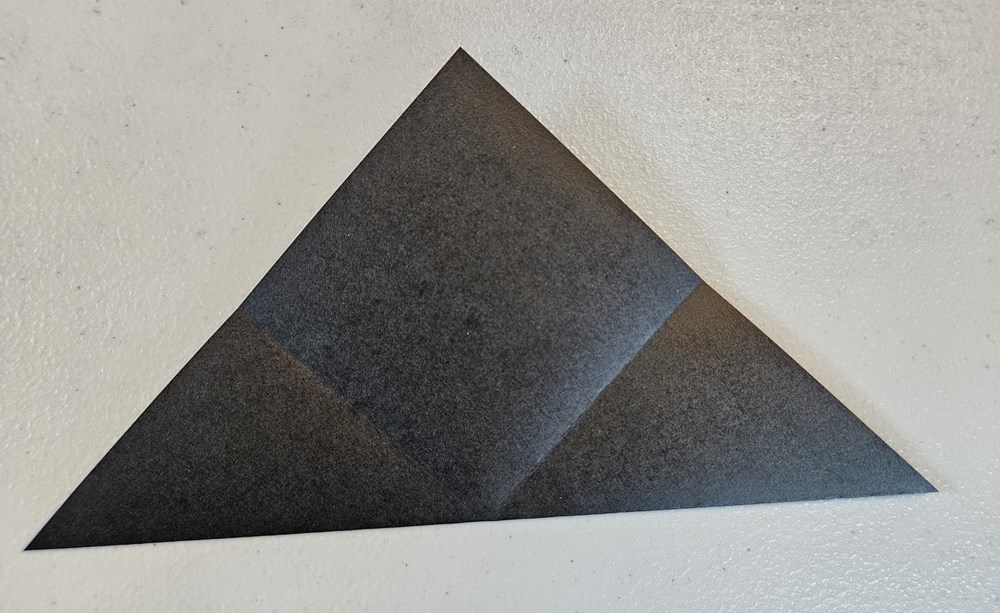
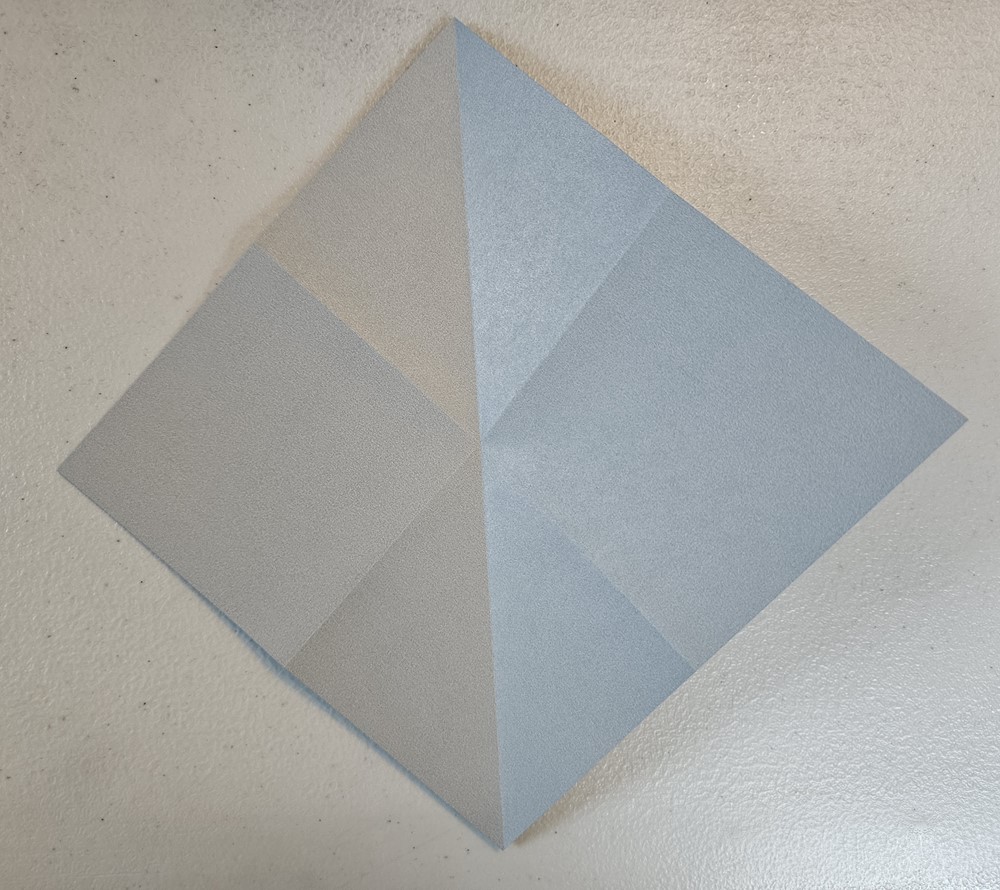
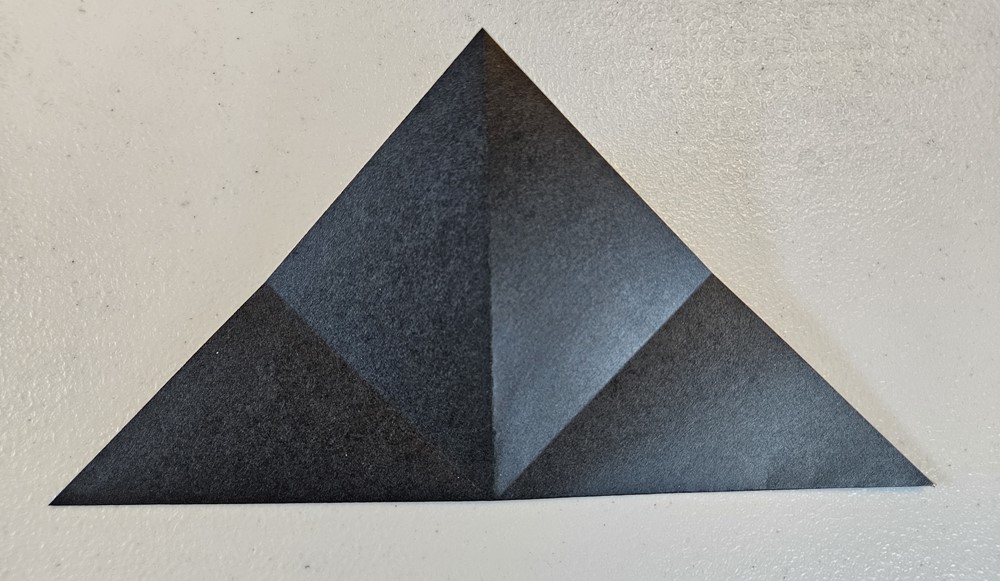
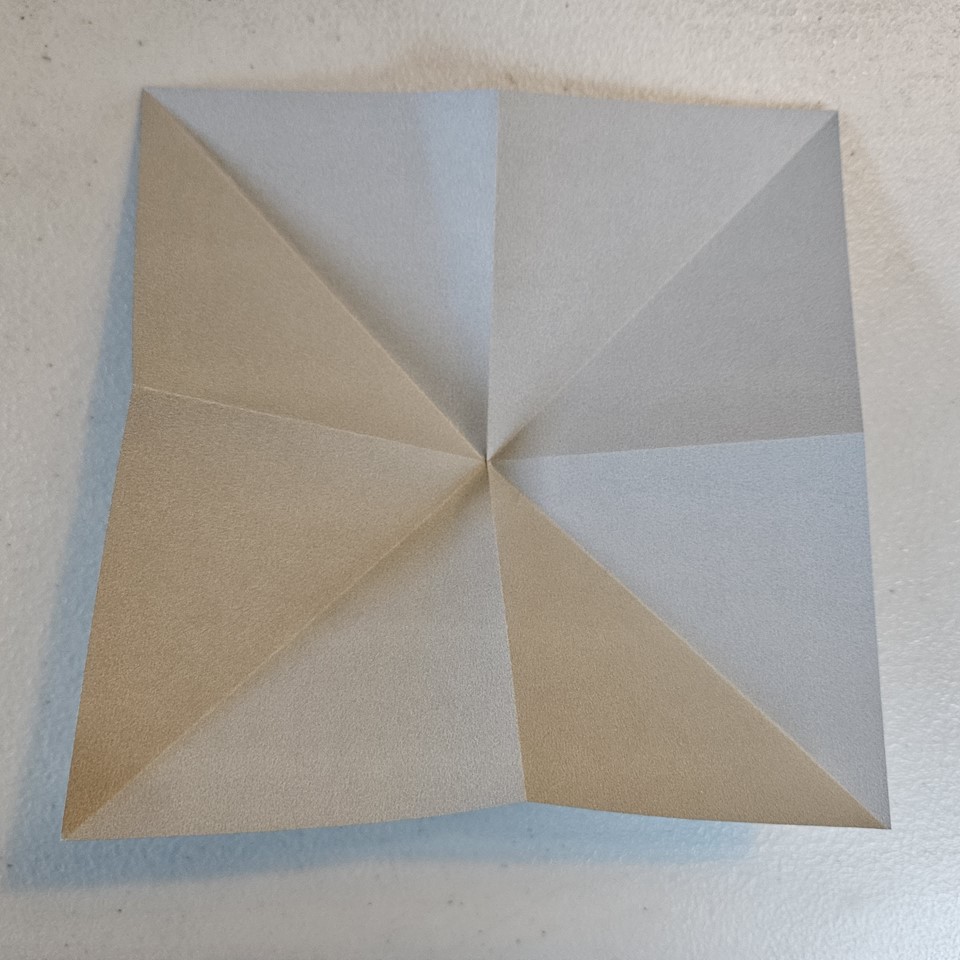
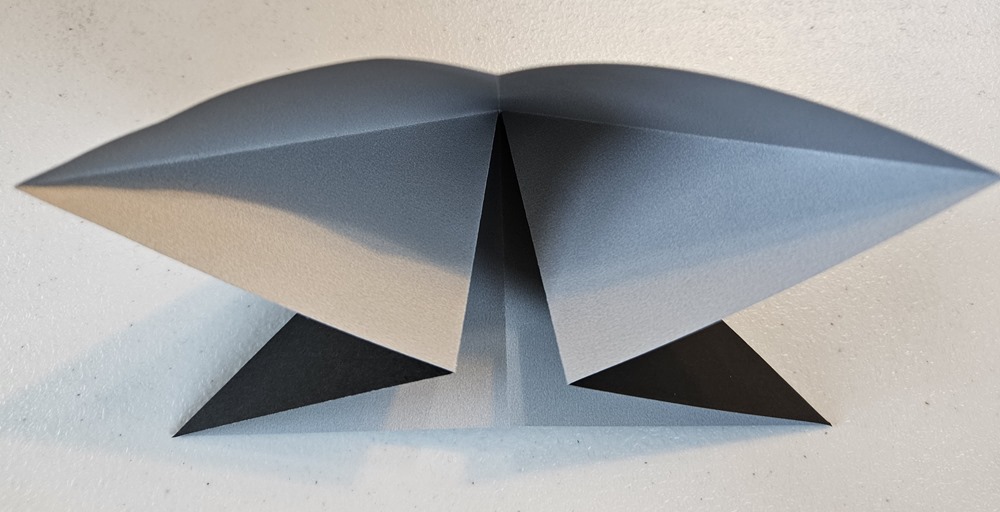
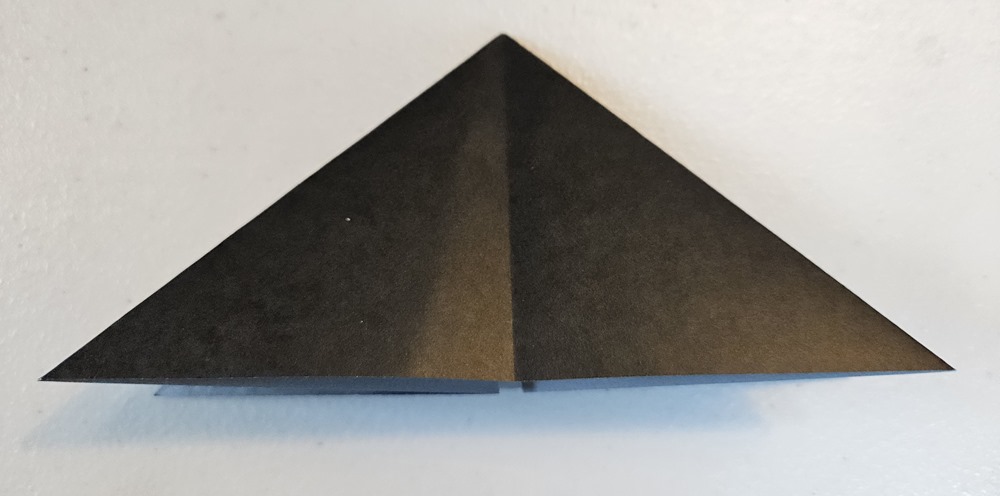
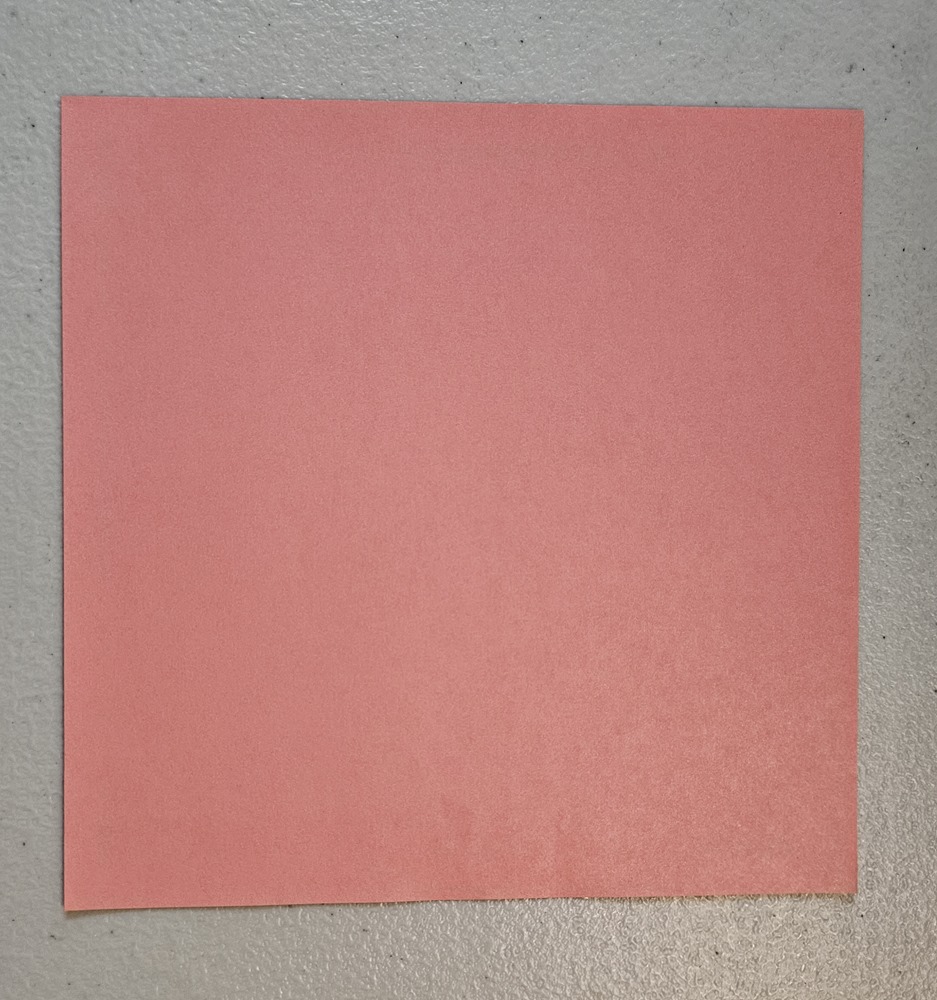
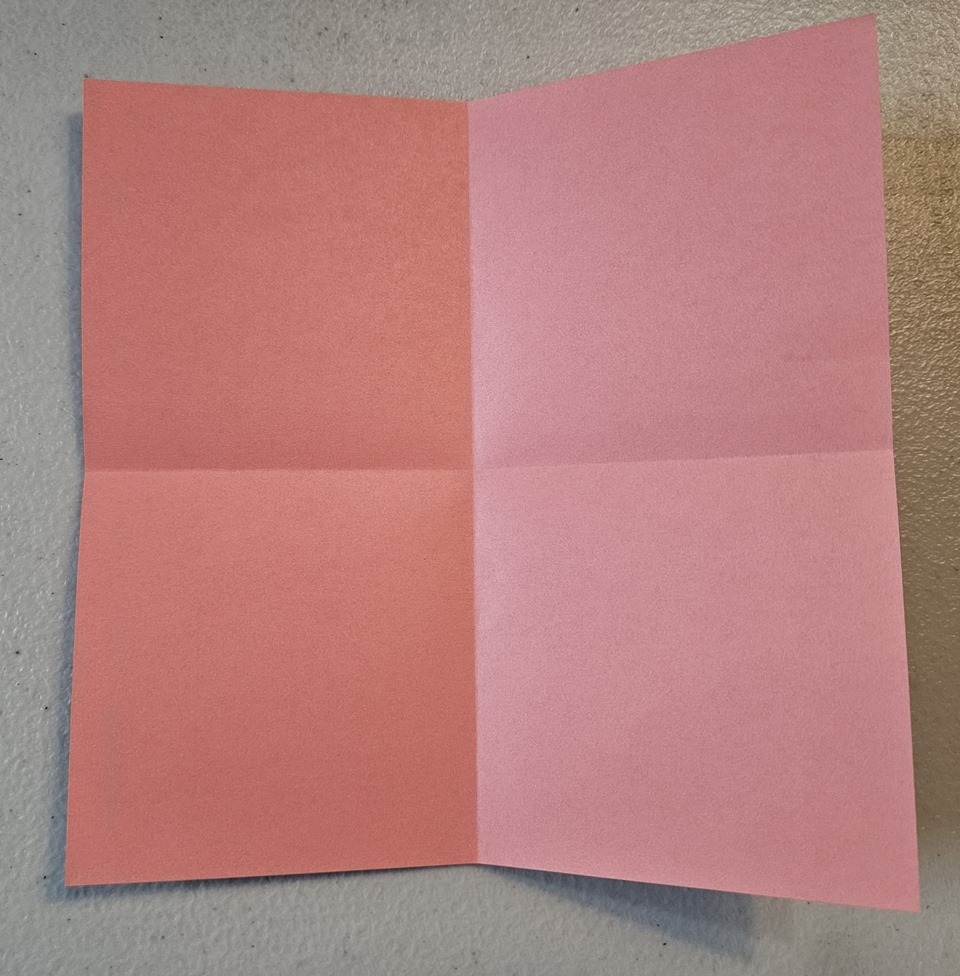
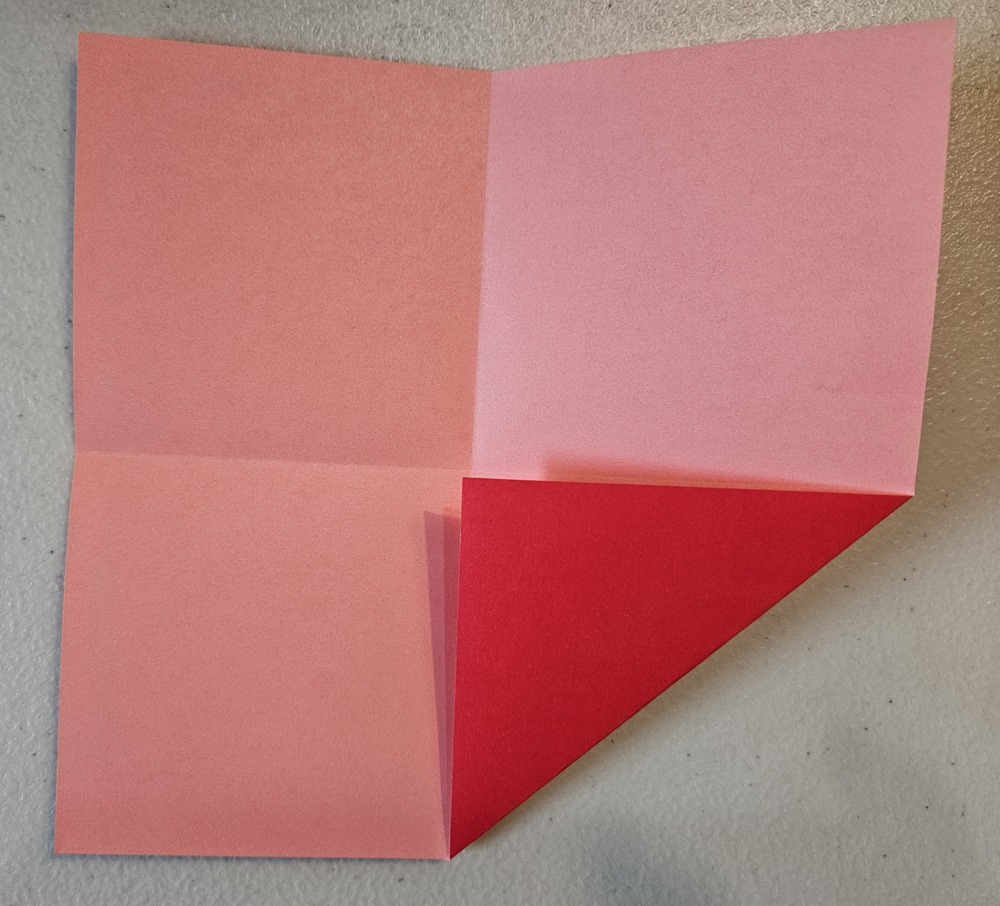
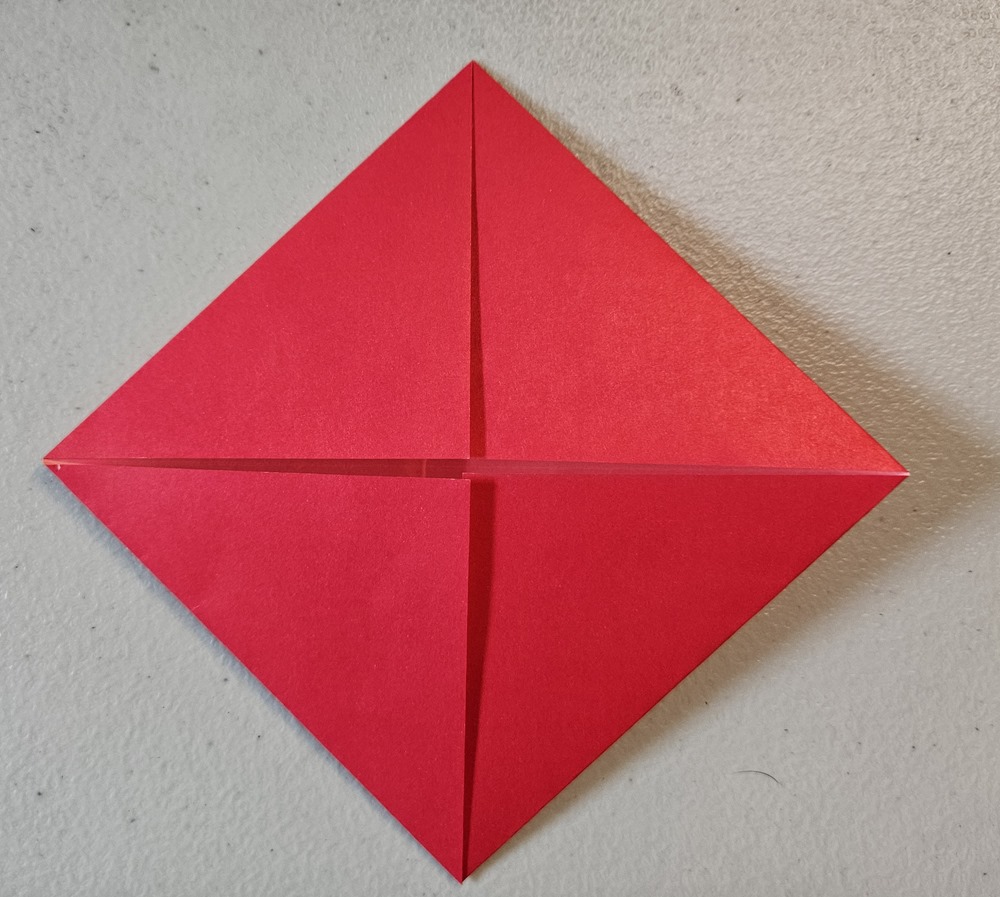
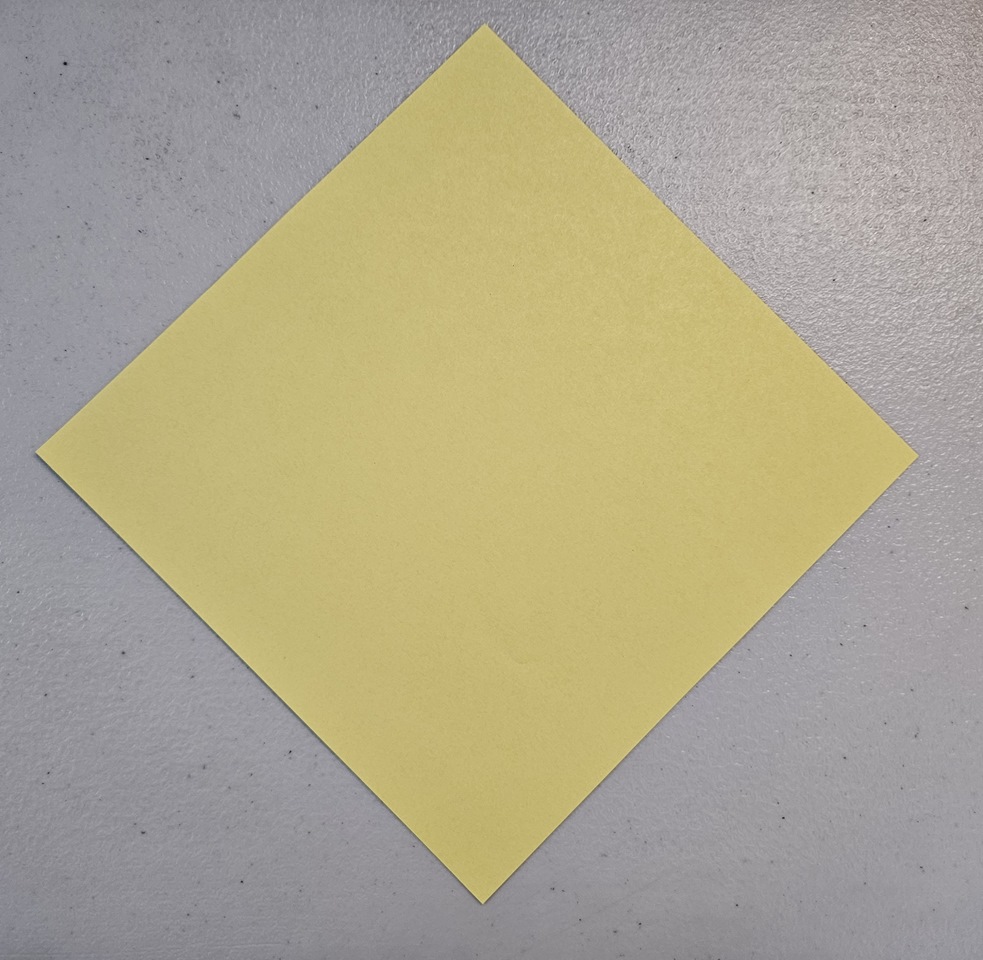
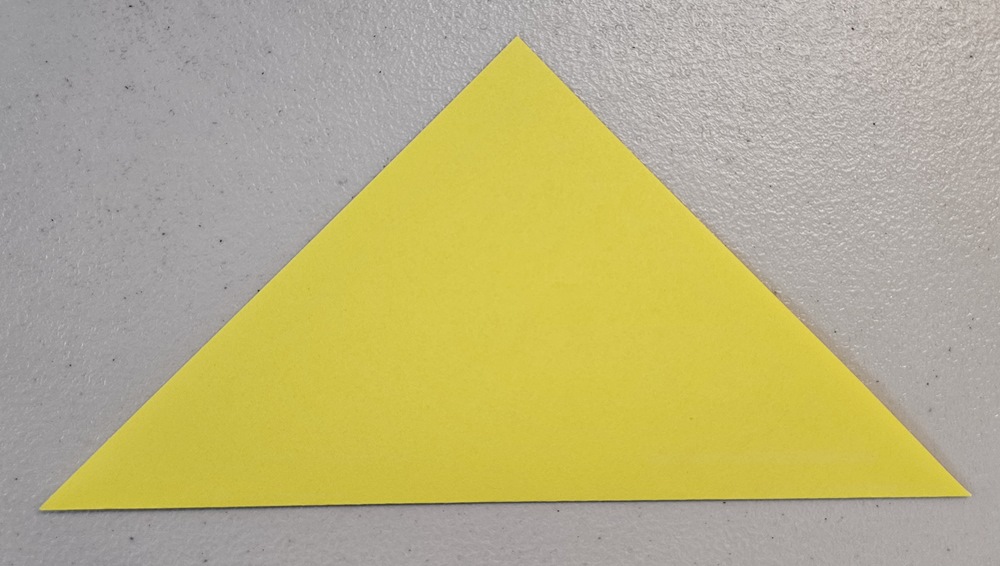
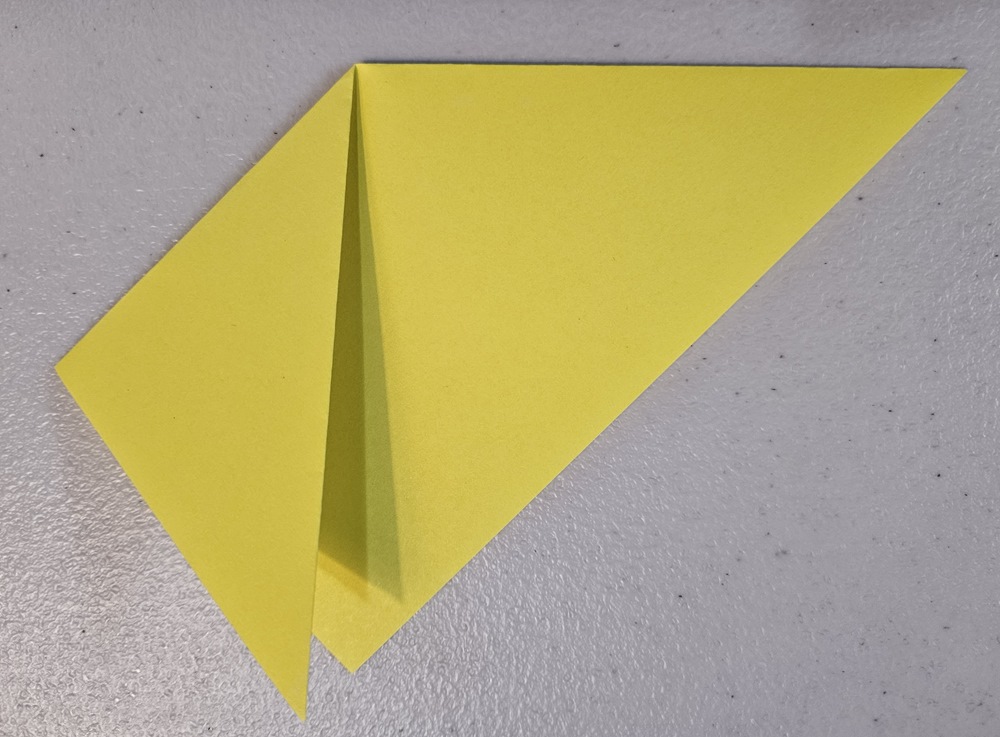
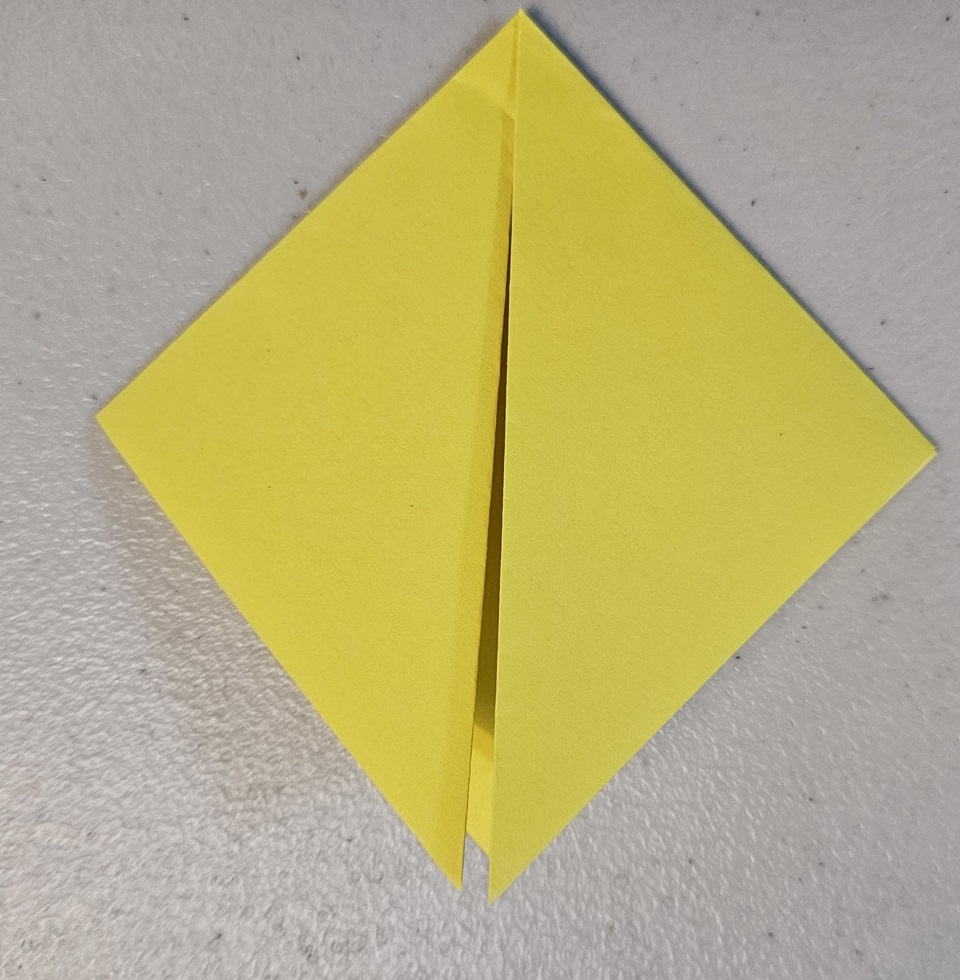
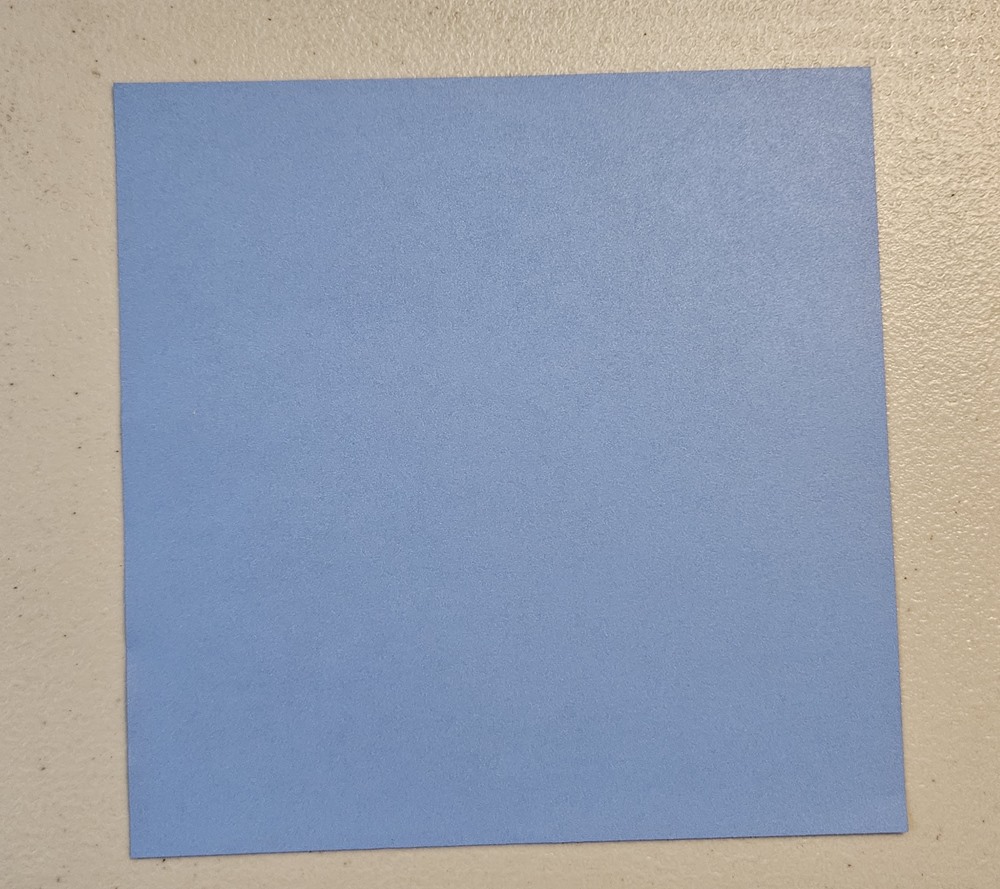
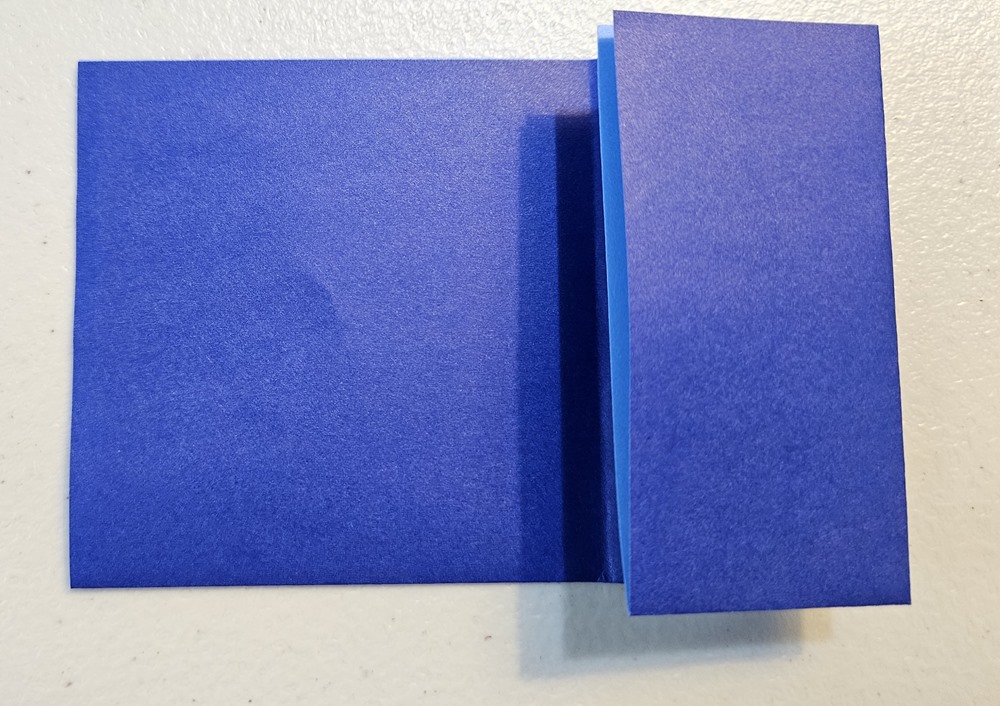
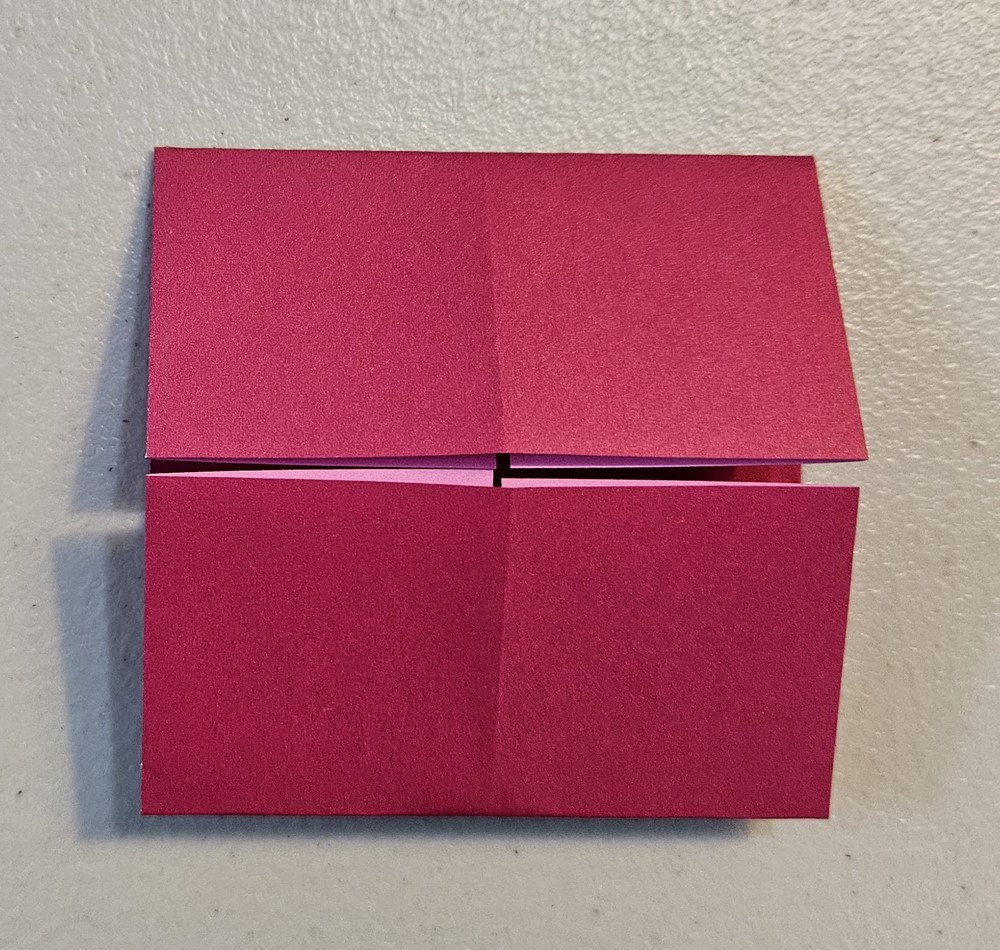
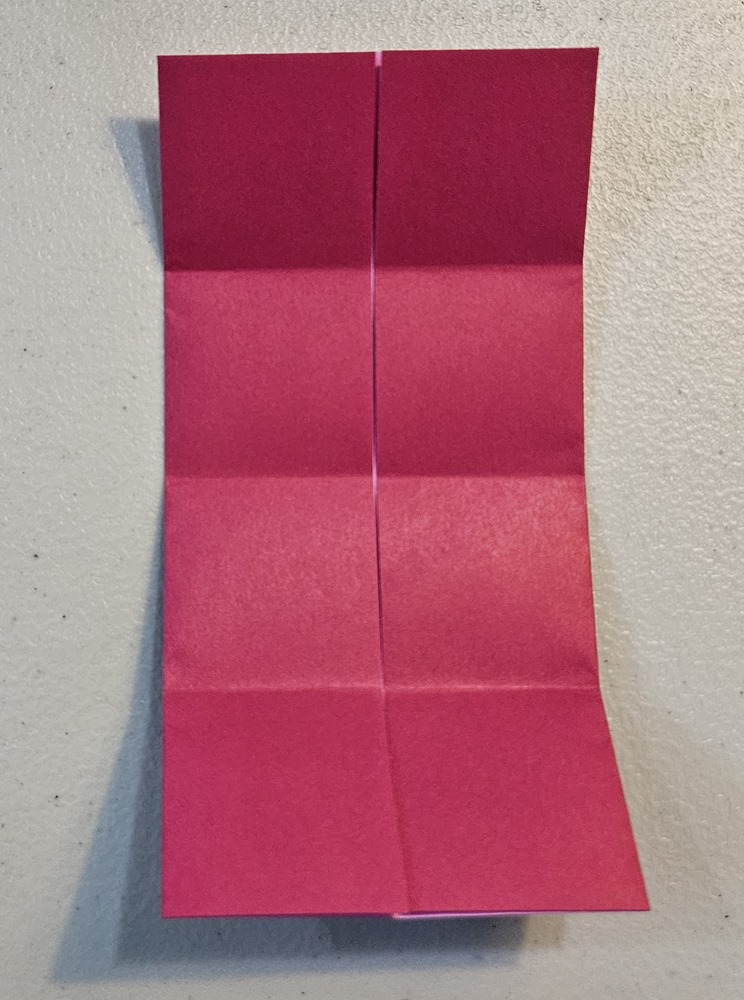
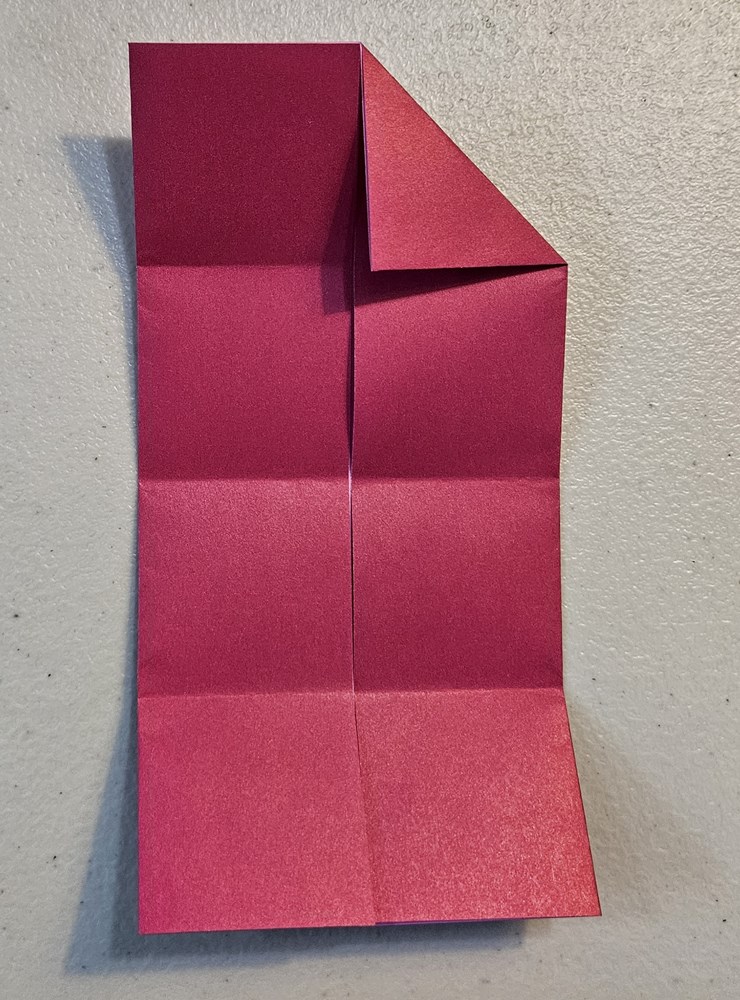
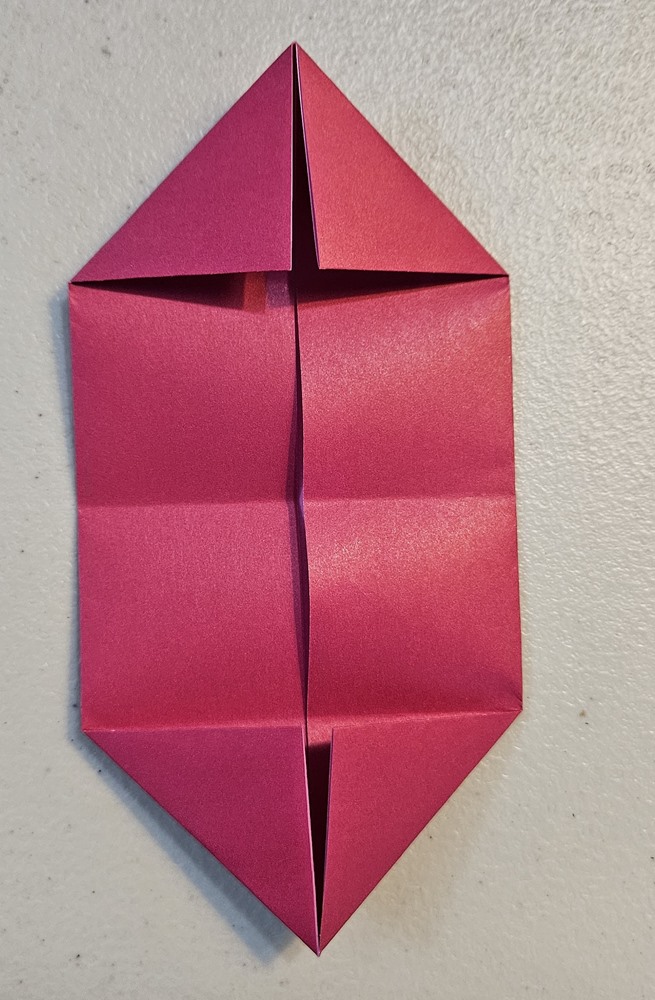
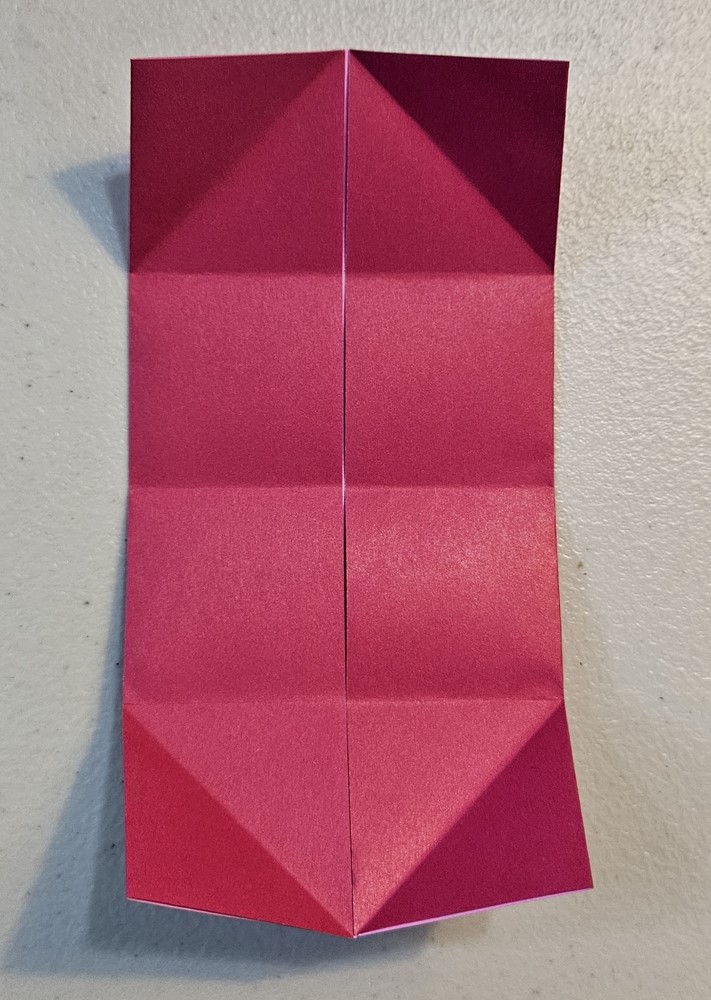
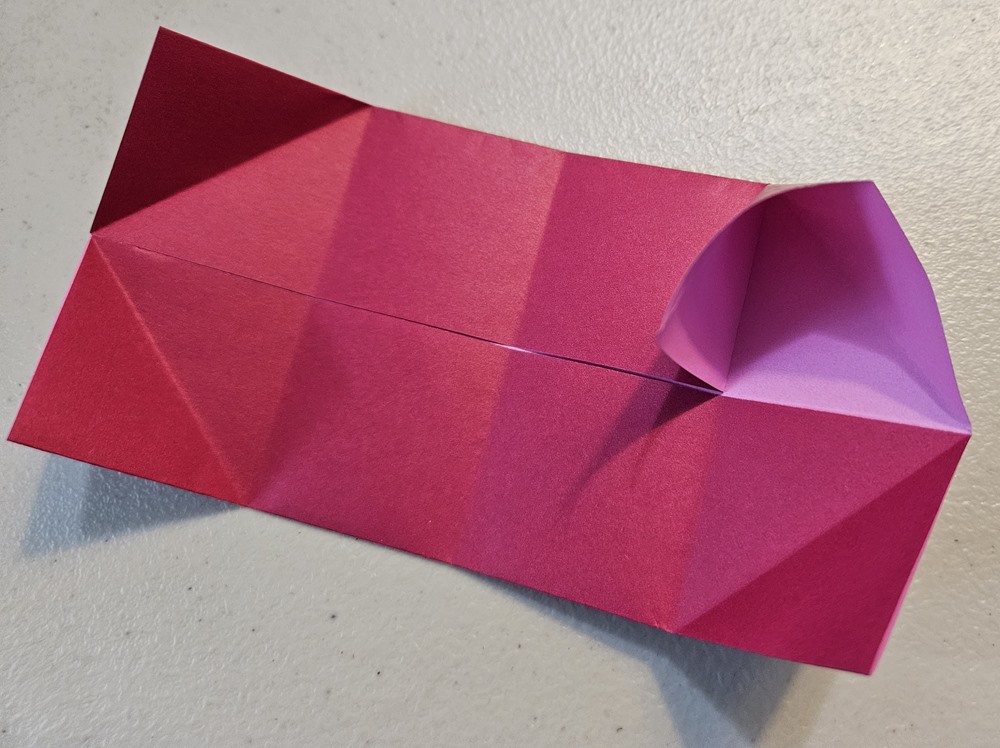
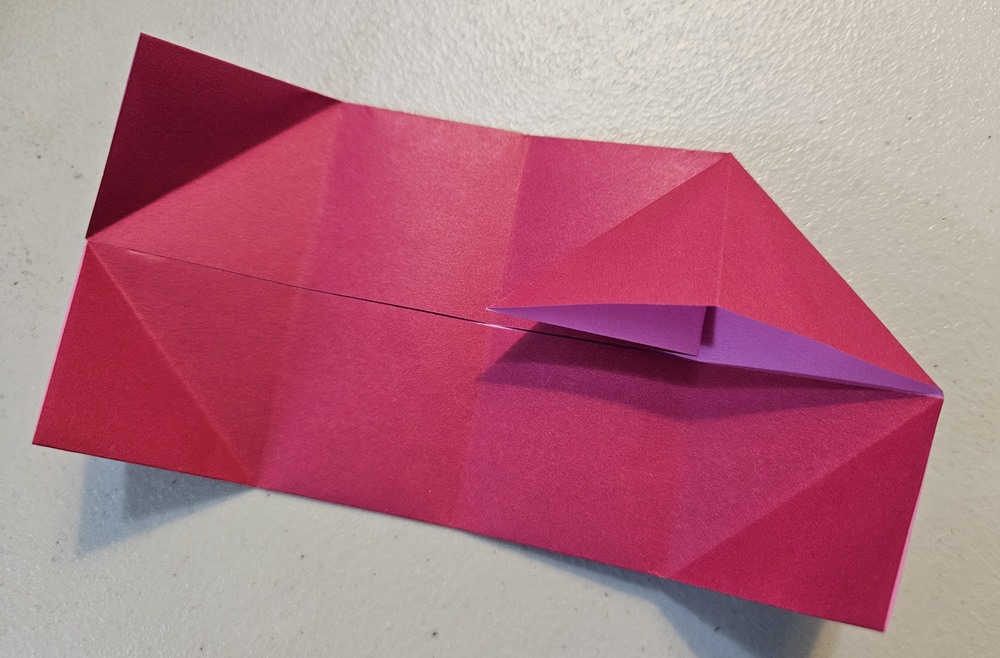
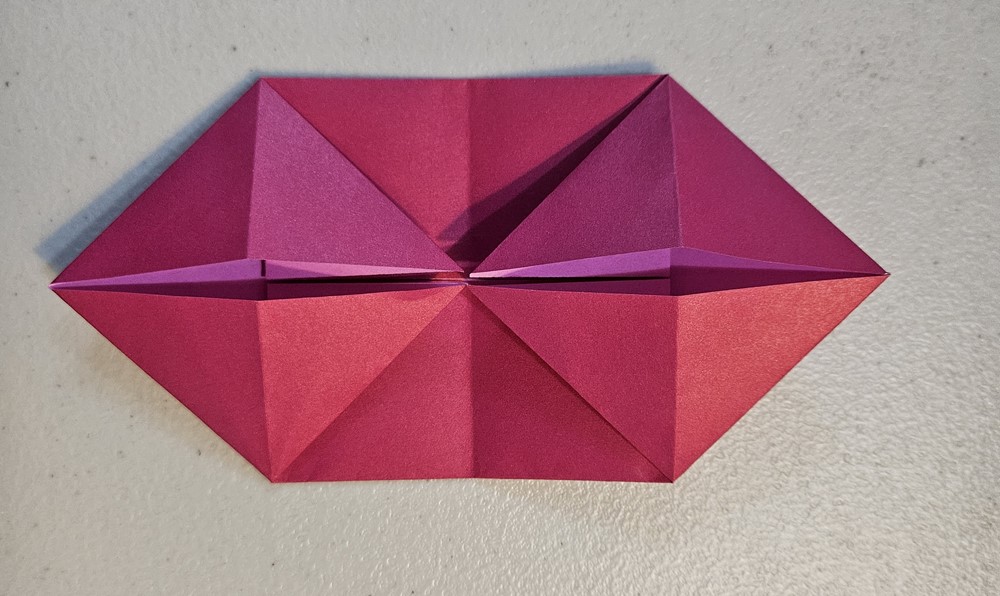
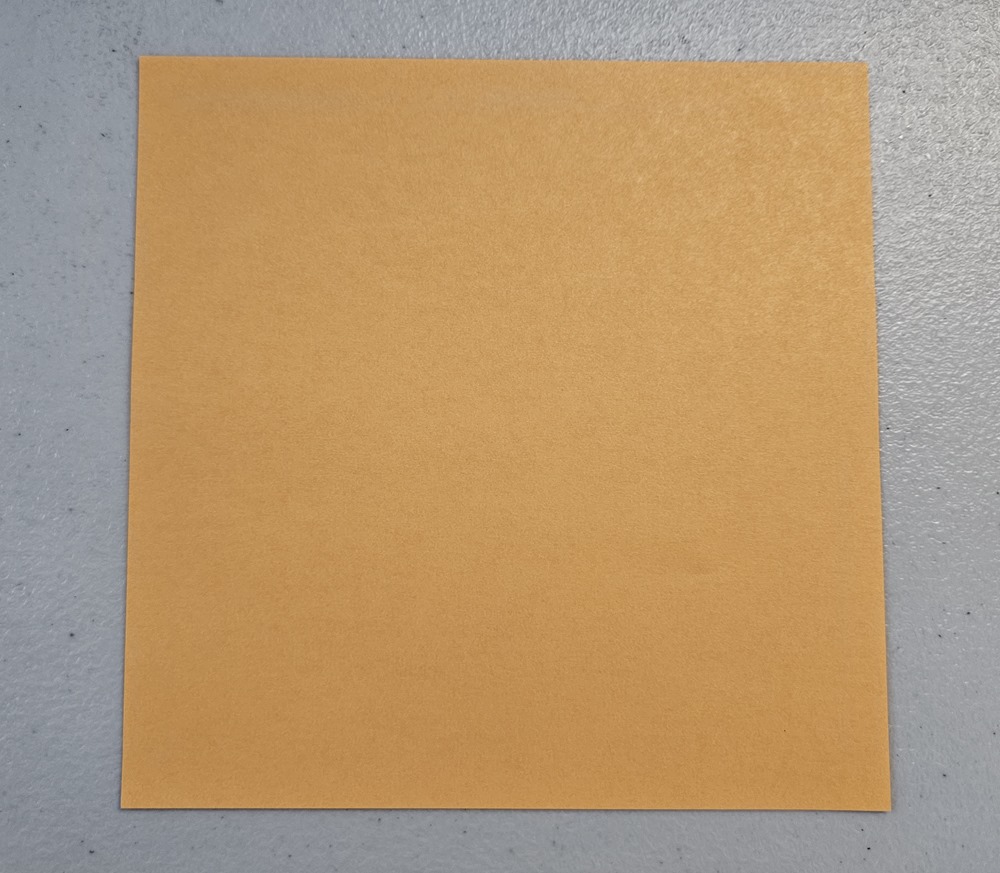
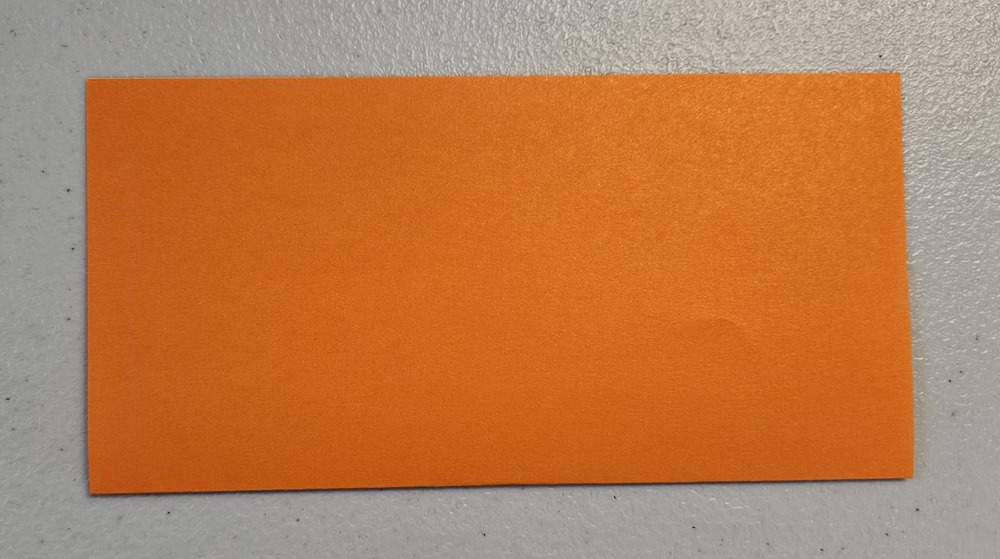
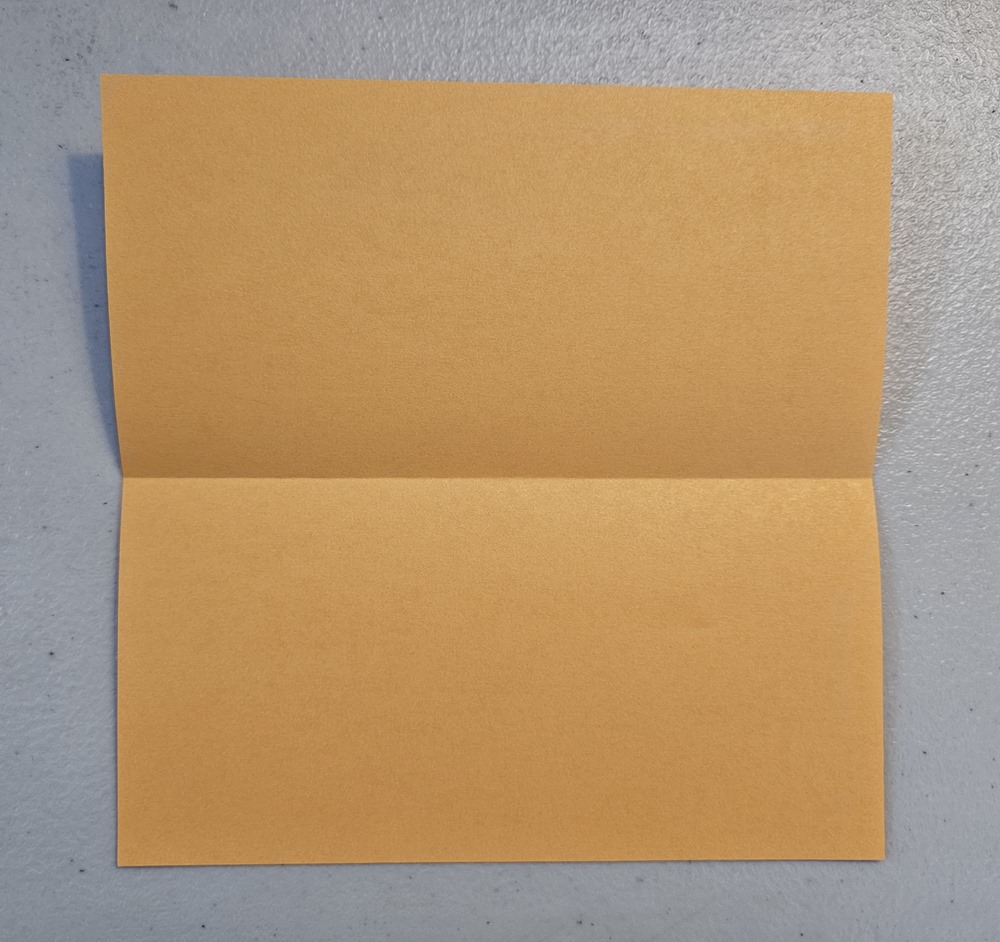
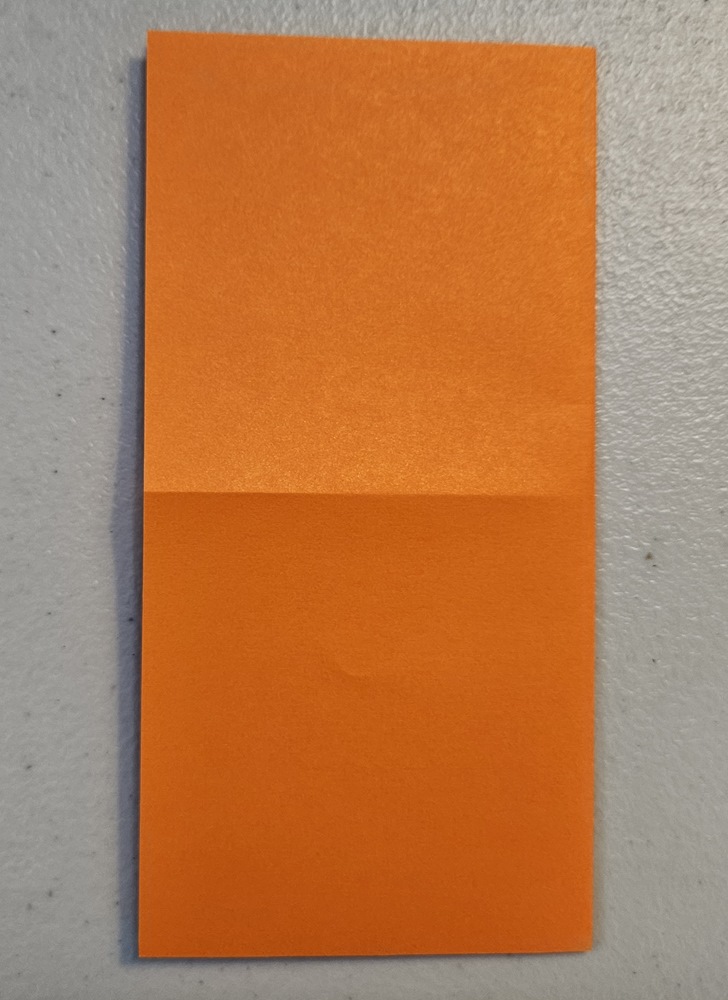
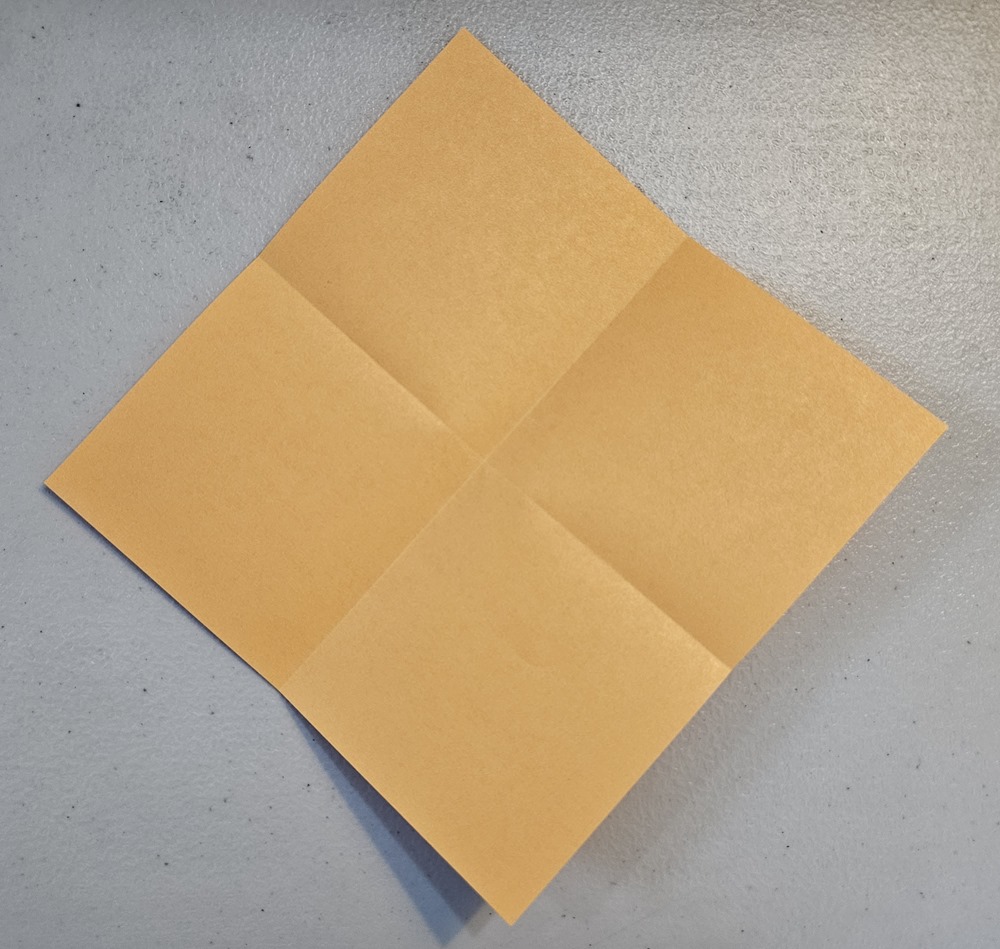
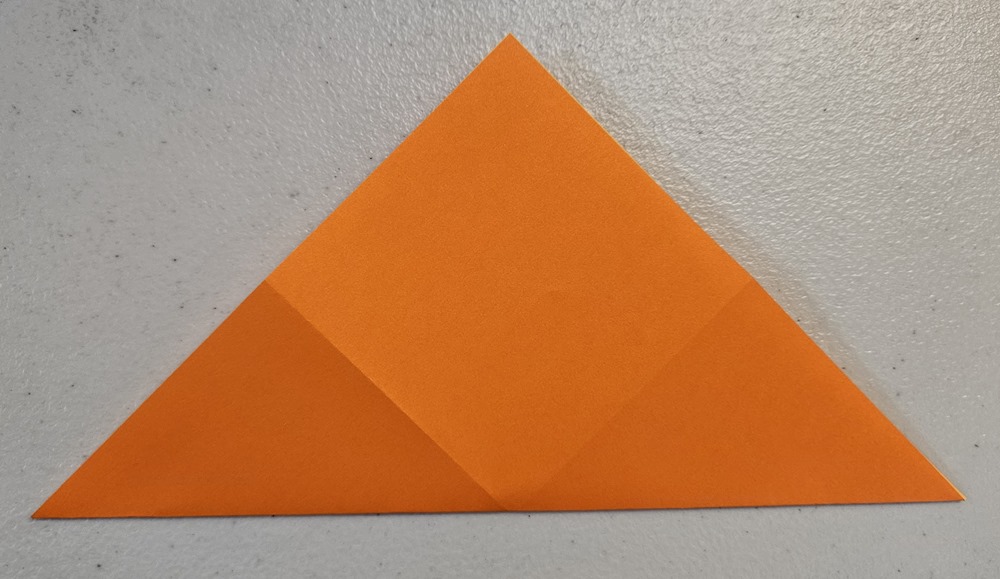
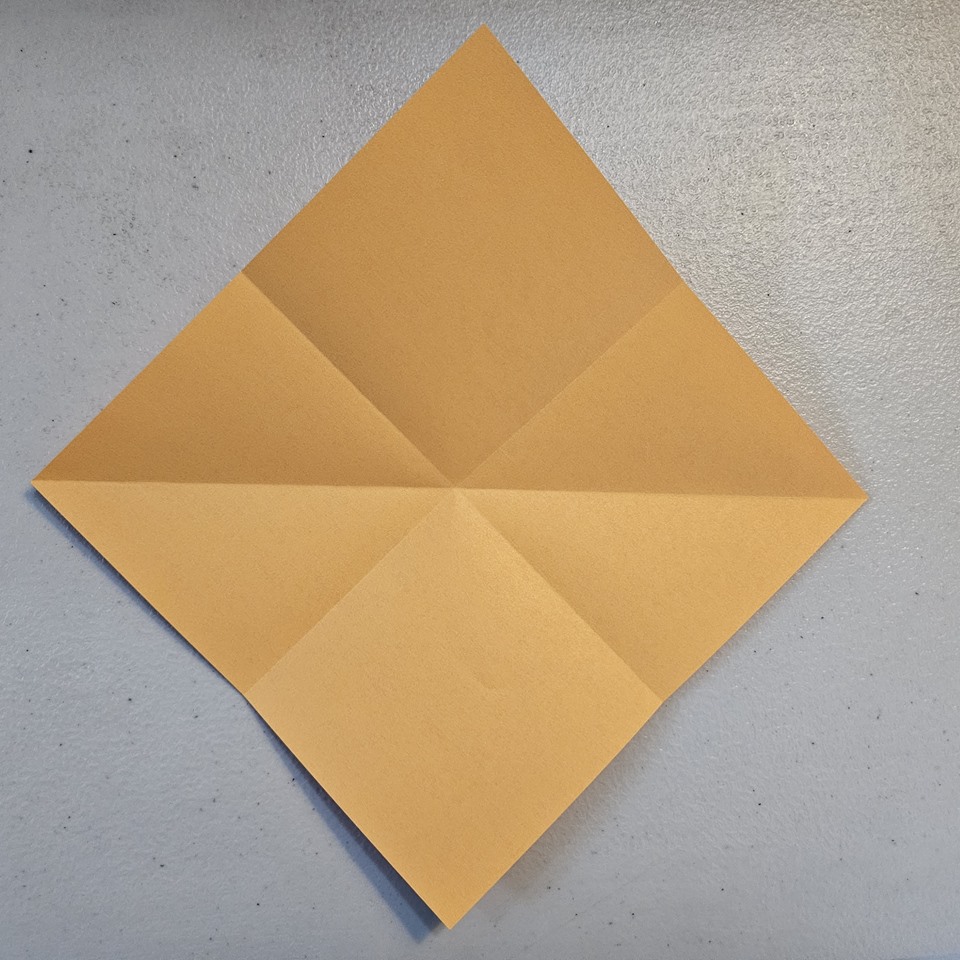
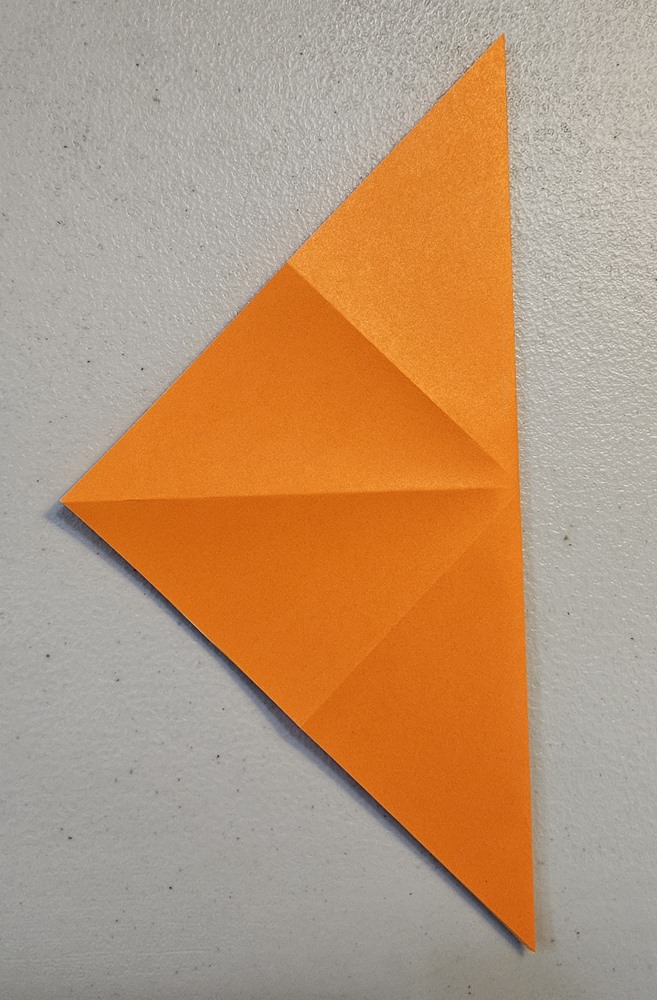
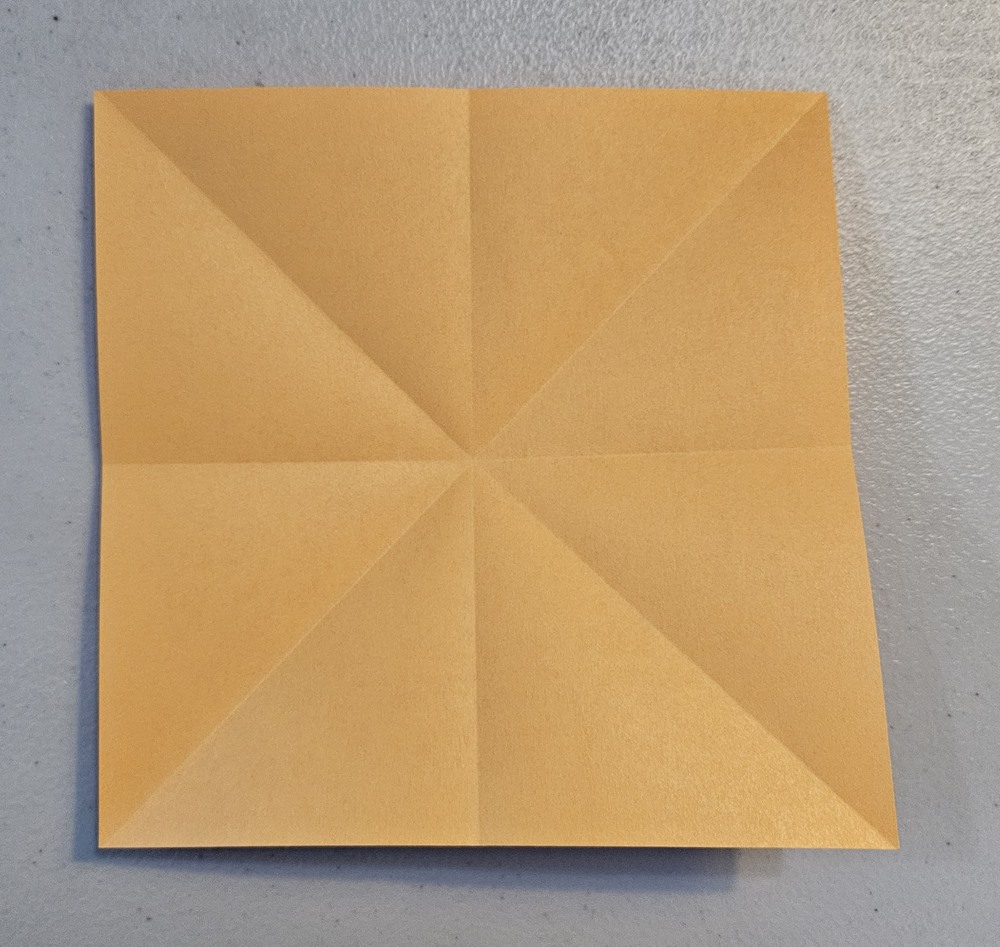
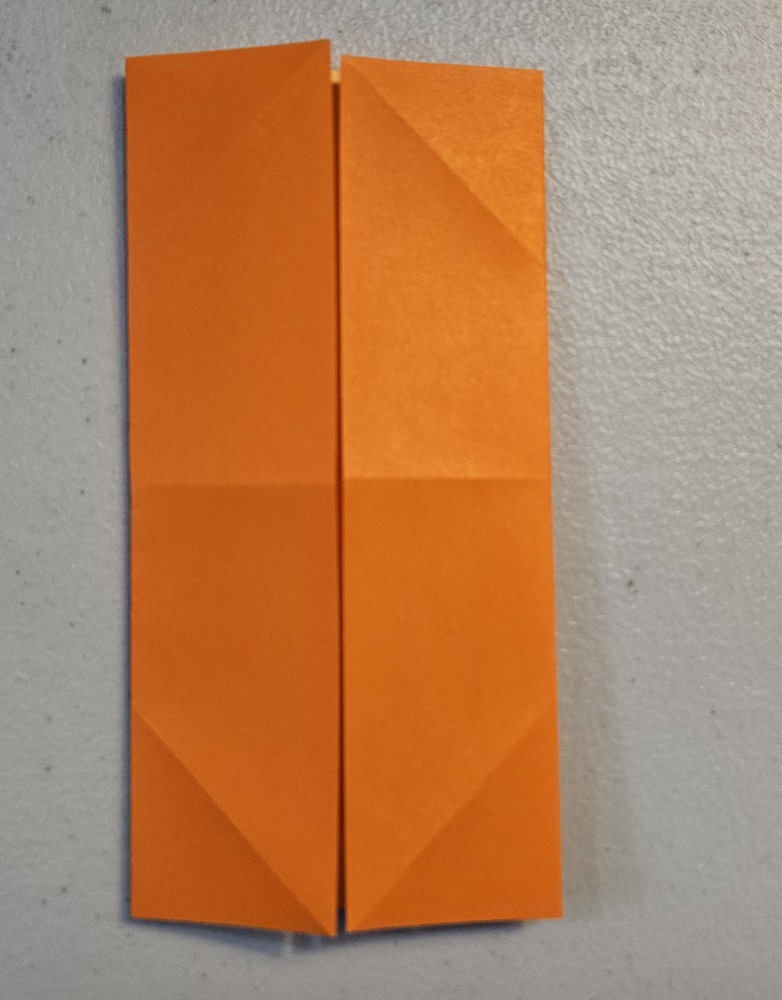
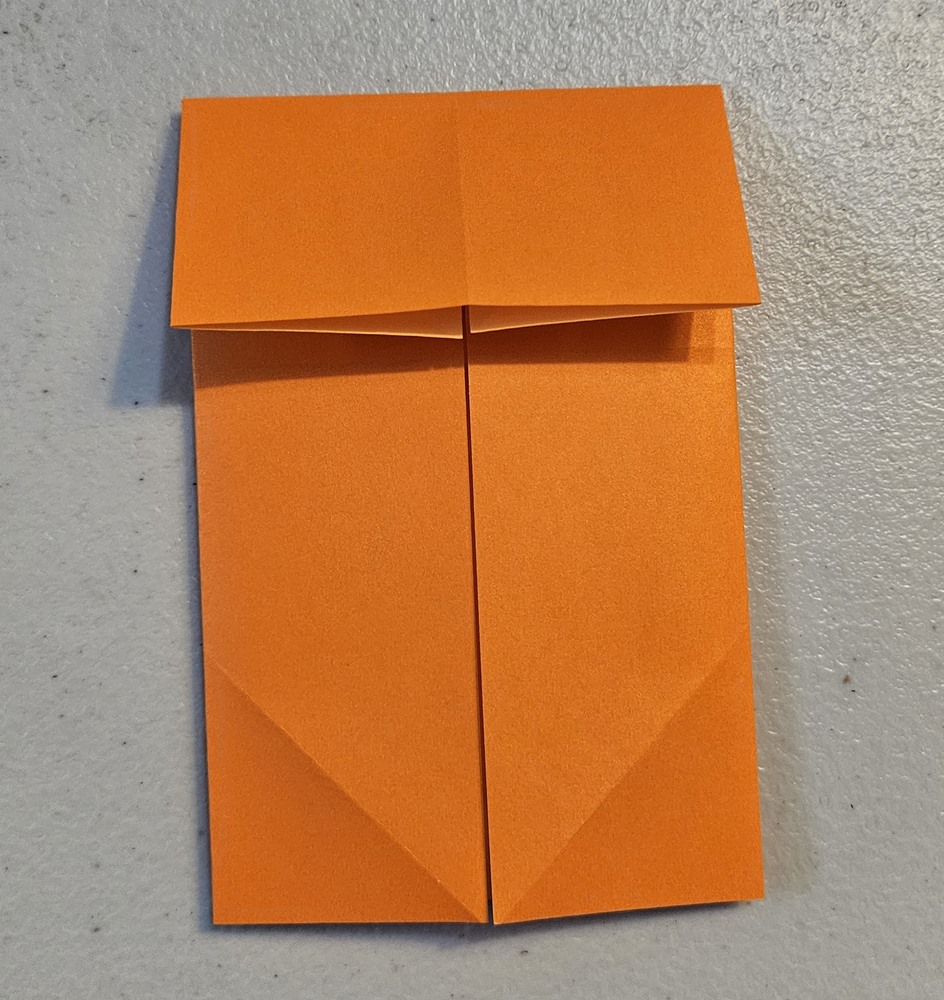
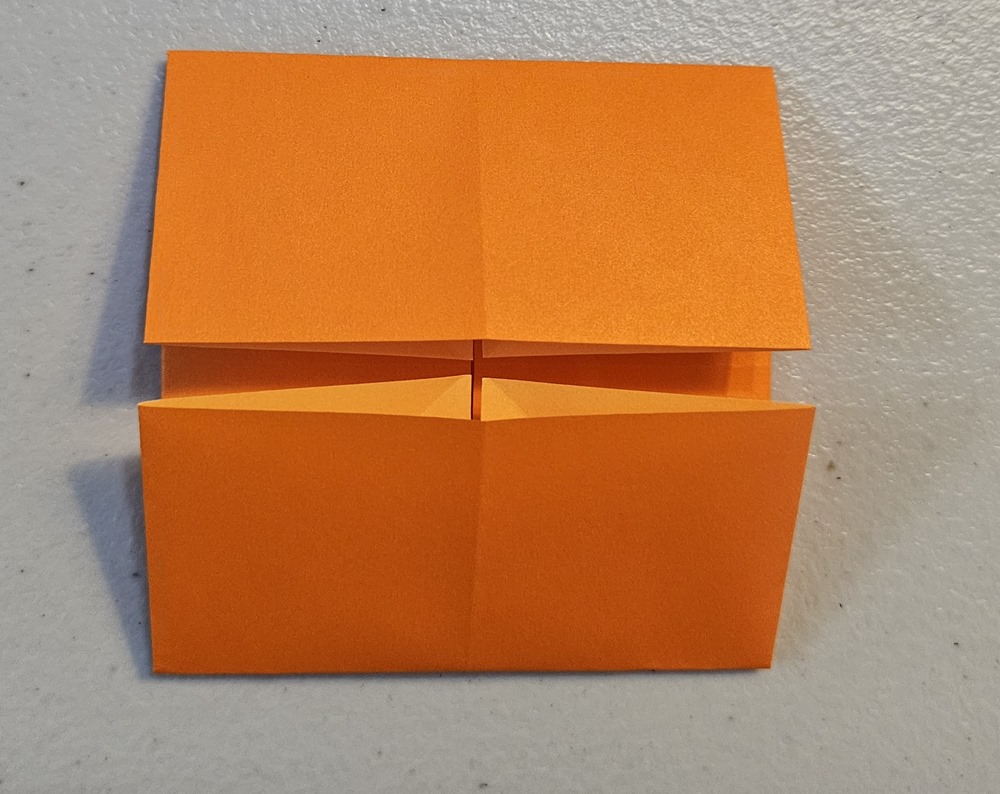
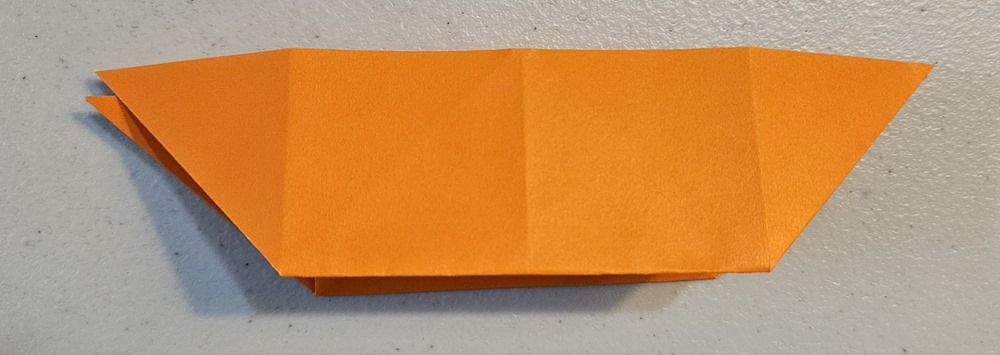
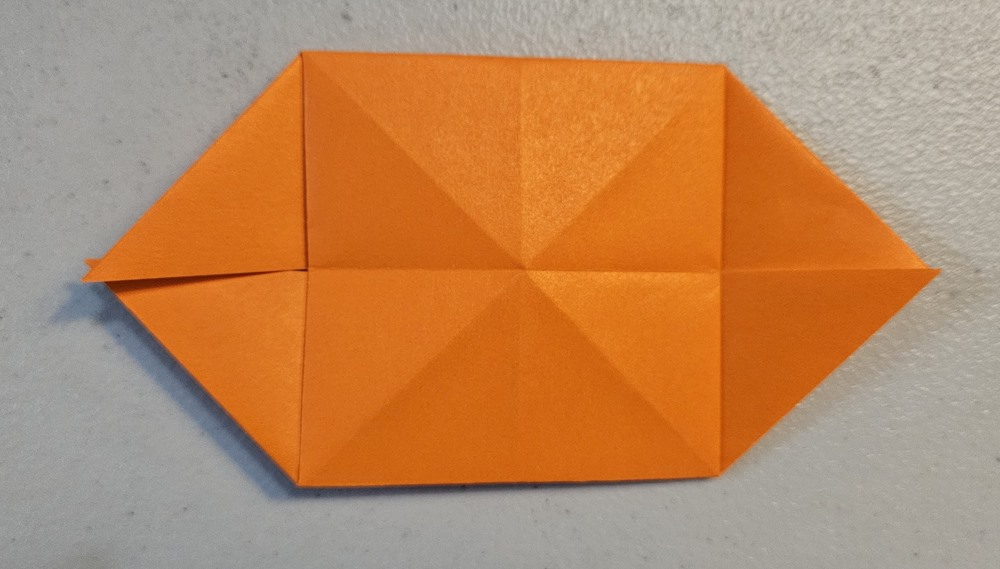
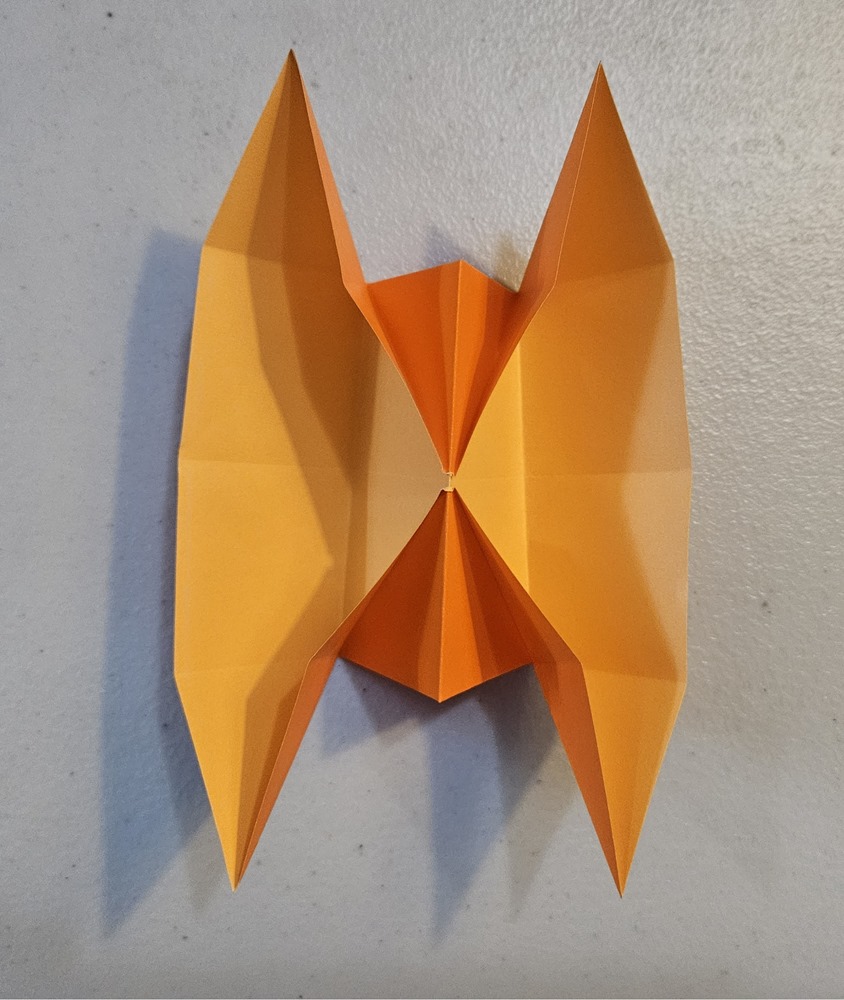
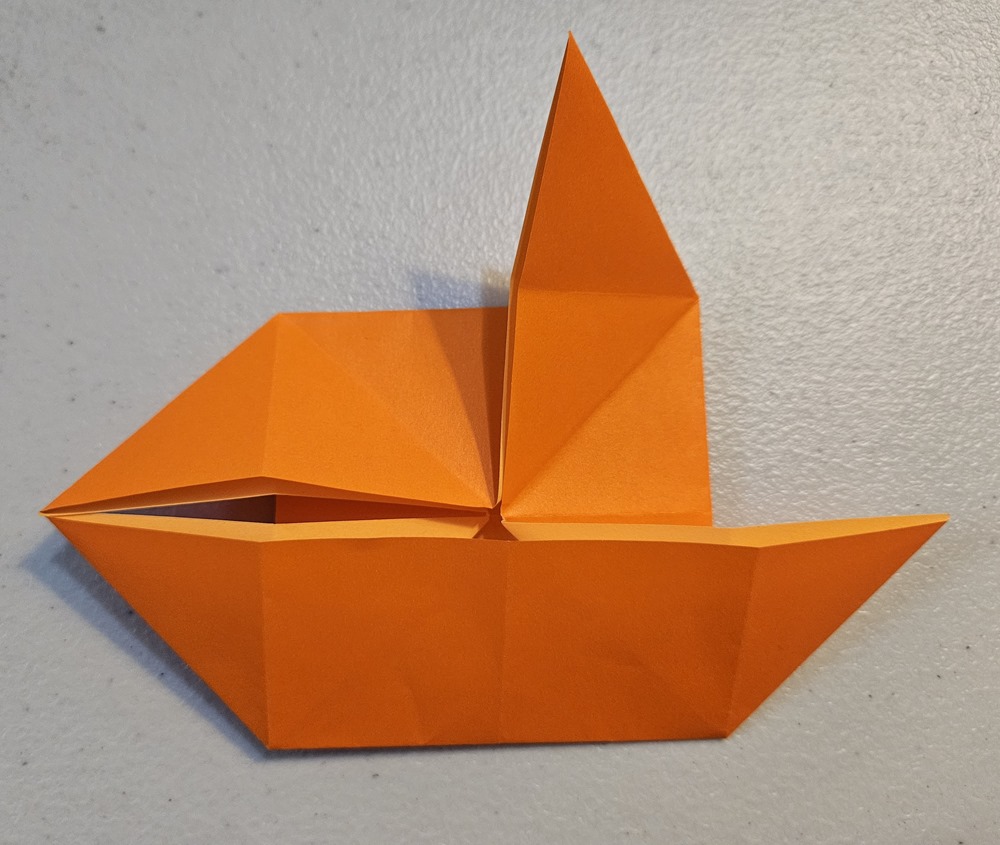
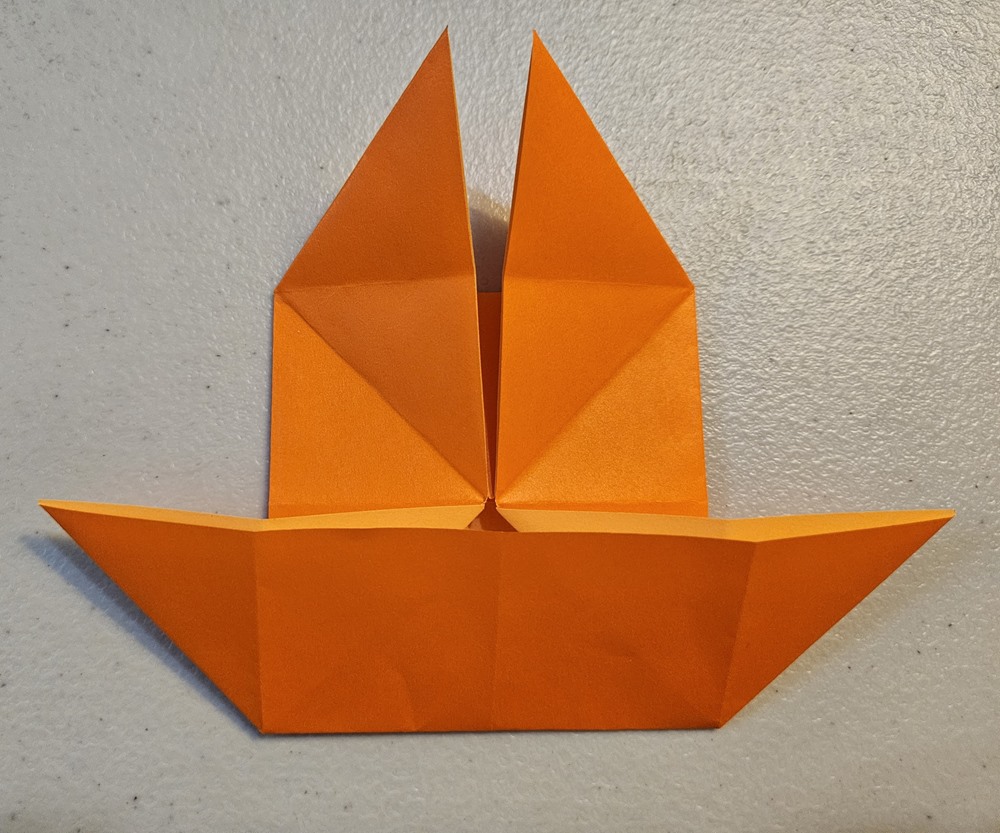
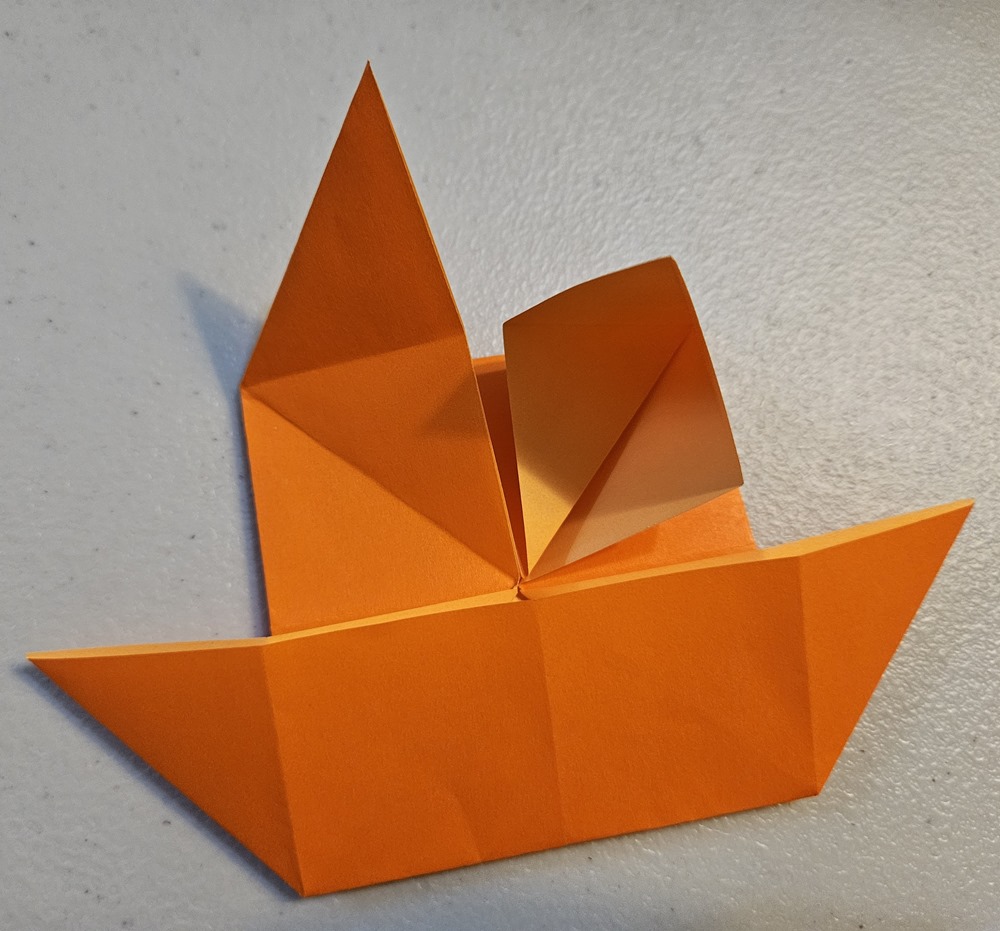
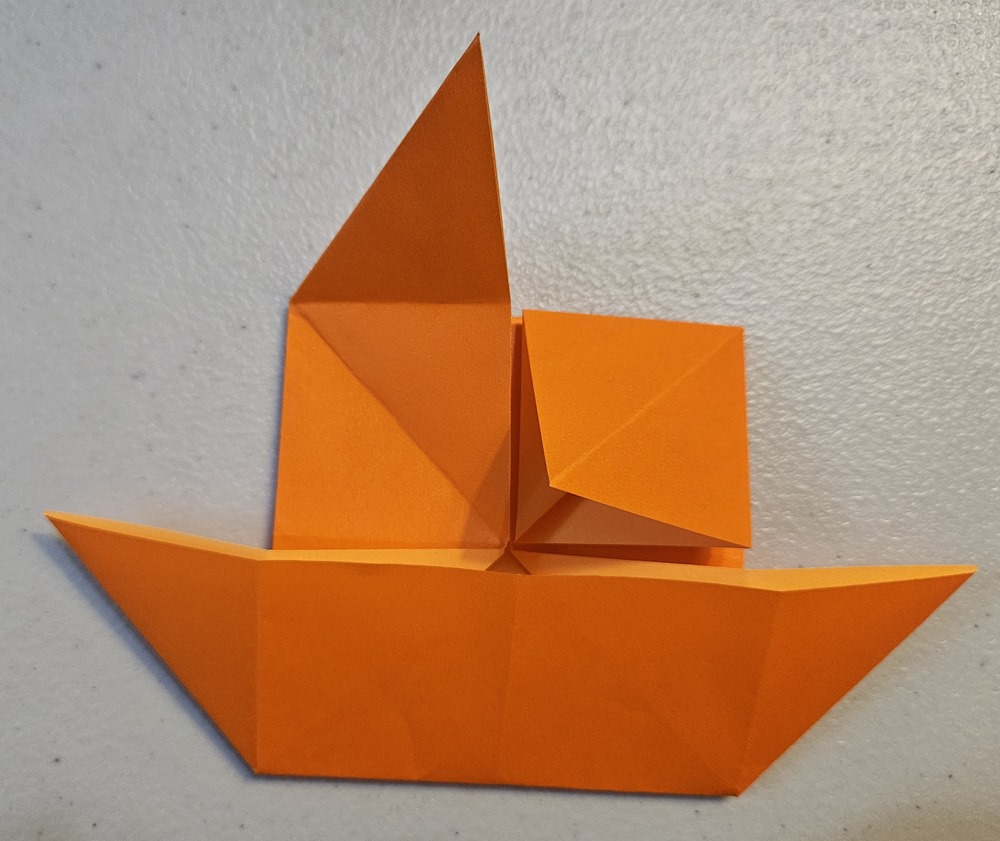
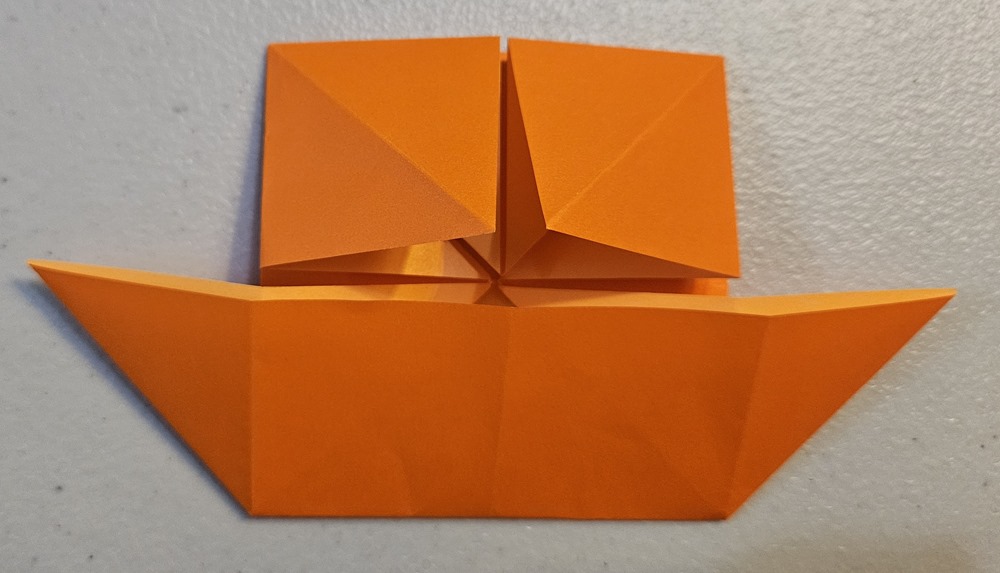
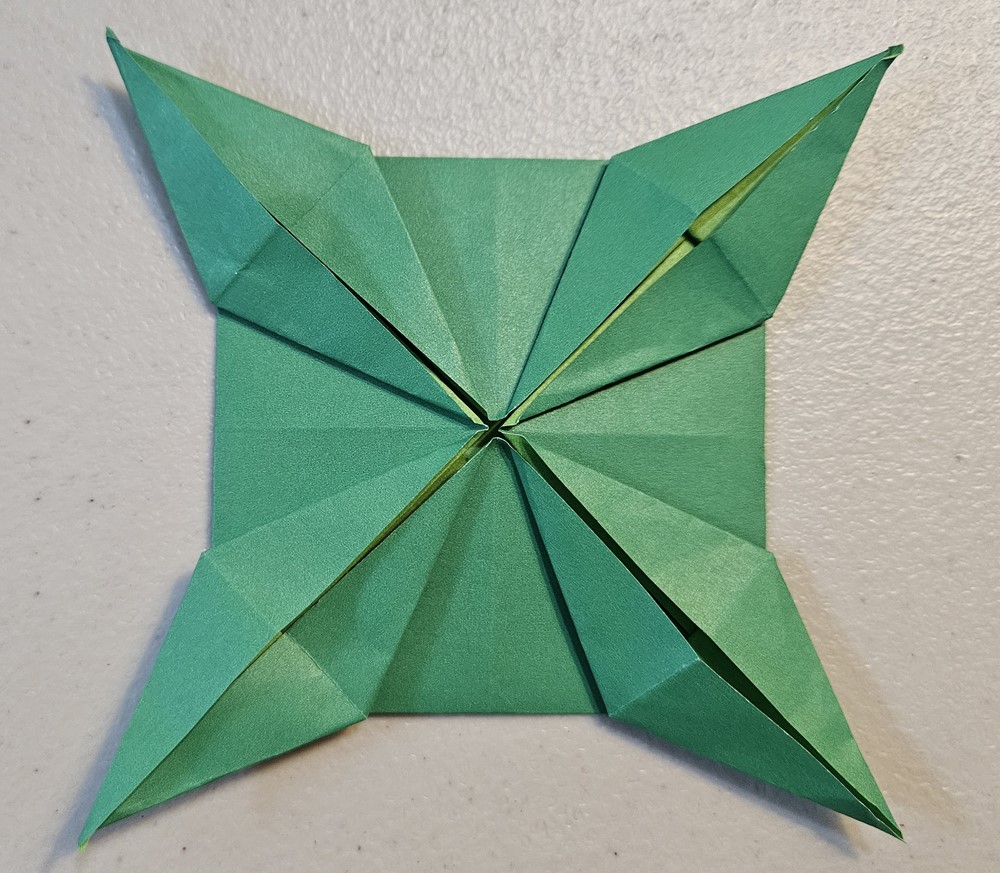
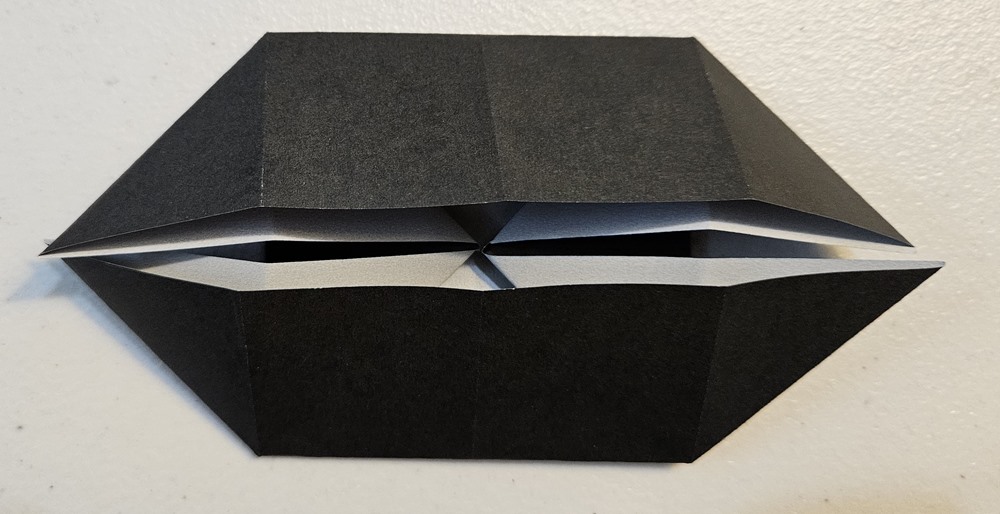
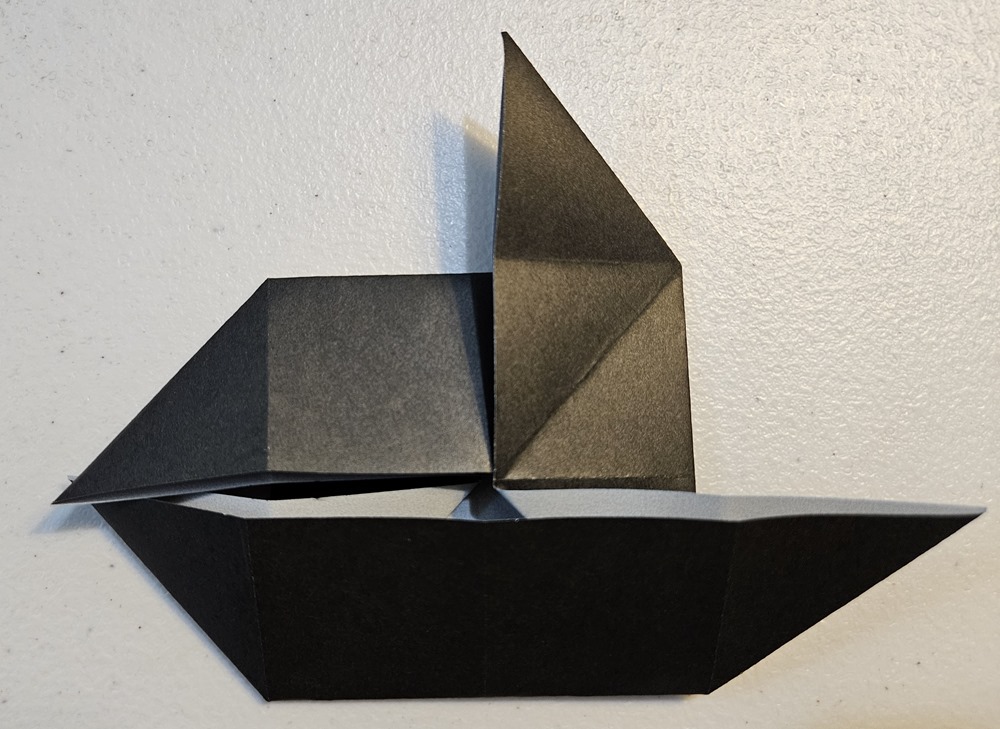
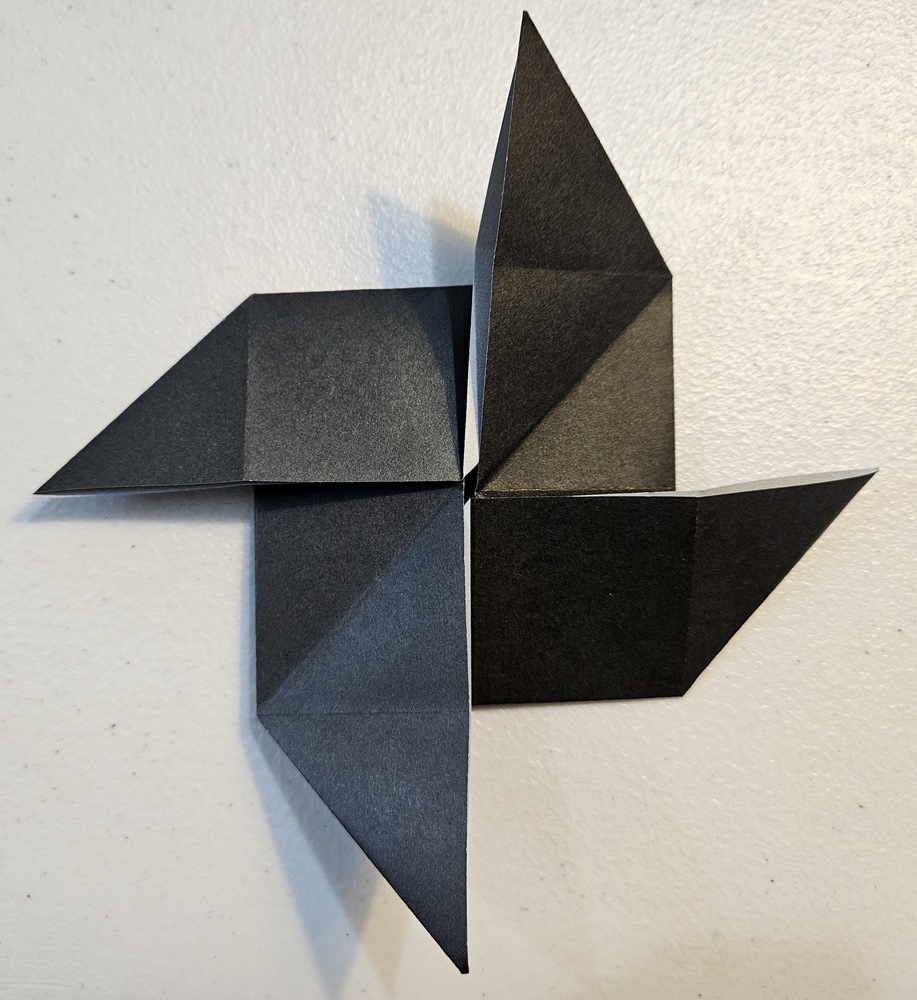
Table of Contents
Kite or Ice Cream Base
This is one of the simplest bases to make, having only three creases. It is named for its shape resembling a rhombus-shaped kite, but is also sometimes compared to an ice cream cone.Step 1
Start with the paper rotated as shown.
Step 2
Fold the bottom corner to the top corner.
Step 3
Unfold the previous step and rotate the paper.
Step 4
Fold the right edge to the center.
Step 5
Repeat the same with the left edge. The kite base is now complete!
Diamond Base
This base is also pretty simple, just two folds apart from the kite base. It looks more like a diamond compared to the shape of the kite base, so it is called the diamond base.Step 1
Starting off from the kite base, rotate the paper and fold the right edge to the center.
Step 2
Repeat the same with the left edge. Now you have made a diamond base.
Fish Base
This is another base you can make from a kite base. Unlike the diamond base, this base is a bit more complicated. It gets its name from being the base for origami fish models.Step 1
Unfold the completed kite base as shown.
Step 2
Rotate the paper 180 degrees and fold the right edge to the center.
Step 3
Repeat the same with the left edge.
Step 4
Unfold the paper again.
Step 5
Bring the right edge to the center as shown, following the creases made in the previous steps.
Step 6
Make a new crease in the middle of the raised portion.
Step 7
Press down the fold towards the top of the base (left side of the image).
Step 8
Repeat the same with the left edge.
Step 9
This is how the fish base looks when finished.
Square or Preliminary Base
This base gets its name for its square shape, but is also called the preliminary base because it is so commonly used in origami.Step 1
Start with the paper as shown.
Step 2
Fold the bottom edge to the top edge.
Step 3
Unfold the previous step.
Step 4
Fold the right edge to the left edge.
Step 5
Unfold the paper, then flip it over and rotate it as shown.
Step 6
Fold the bottom corner to the top corner.
Step 7
Unfold the previous step and rotate the paper.
Step 8
Fold the bottom corner to the top corner.
Step 9
Unfold the paper and flip it over.
Step 10
Press down on the middle so it pops out as shown.
Step 11
Bring in the left and right corners to fold the square base (intermediate step shown).
Step 12
This is the completed square base.
Try making an origami morning glory flower with this base!
Bird or Crane Base
The bird base is used as the base for the crane and other origami bird models; hence, its name.Step 1
Starting from the square base, fold the left and right edges to the center as shown.
Step 2
Fold the top down, its base meeting the top of the folded left and right edges.
Step 3
Unfold the previous steps.
Step 4
Make a petal fold by opening the bottom as shown.
Step 5
Continue folding the flap towards the top of the base while bringing the sides in. The end result should be able to be pressed flat.
Step 6
Flip the model over and repeat steps 1 through 5 for the other side.
Step 7
The bird base is now complete!
Frog or Lily Base
As the name suggests, this base can make the frog and lily origami models.Step 1
Starting with the square base, fold the right corner to the center from the top.
Step 2
Unfold the previous step.
Step 3
Start making a squash fold by opening the fold made previously.
Step 4
Continue making the squash fold by pushing it out over the center. This is how the end result should appear.
Step 5
Turn the right edge to go to the next side, then repeat steps 1 through 4.

Step 6
Again, turn to the next side and repeat steps 1 through 4. Do this for the remaining sides (total four sides).
This is the end result after all four sides have been folded.

Step 7
Now, fold the left and right corners into the center from the bottom as shown.
Step 8
Unfold the previous step.
Step 9
Make a petal fold by opening from the bottom.

Step 10
Turn to the next side and repeat steps 7 through 9.

Step 11
This is the completed frog base!
Waterbomb or Balloon Base
This base is very similar to the square base except for the last few steps and can be considered to be an inverted square base. The English "waterbomb" name comes from Samuel Randlett's book "The Art of Origami" (1961).Step 1
Start with the paper as shown. If your paper has two different colors, start with the darker or colored side up.
Step 2
Fold the bottom edge to the top.
Step 3
Unfold the previous step and rotate the paper.
Step 4
Fold the bottom edge to the top.
Step 5
Unfold the paper, then flip it over and rotate it as shown.
Step 6
Fold the bottom corner to the top.
Step 7
Unfold the previous step, then rotate the paper.
Step 8
Fold the bottom corner to the top.
Step 9
Unfold the paper.
Step 10
Bring the top left and bottom right corners (or bottom left and top right) in to fold the waterbomb base.
Step 11
This is the finished waterbomb base.
Blintz or Cushion Base
This base gets its name from a type of traditional Eastern Europe pancake that is folded similarly. It is also called the cushion base because of the appearance of its final form.Step 1
Start with the paper as shown.
Step 2
Fold the bottom edge to the top edge.
Step 3
Unfold the previous step.
Step 4
Fold the right edge to the left edge.
Step 5
Unfold the previous step.
Step 6
Fold one corner to the center.
Step 7
Repeat this for the three other corners. The end result looks as shown.
Helmet Base
The helmet base can make the origami samurai helmet model; hence, its name.Step 1
Start with the paper rotated as shown.
Step 2
Fold the bottom corner to the top corner.
Step 3
Rotate the paper and fold the left corner down, lining up with the center.
Step 4
Do the same with the right corner and the helmet base is complete.
Organ Base
This base gets its name from its visual similarity to the musical instrument called an organ.Step 1
Start with the paper as shown.
Step 2
Fold the bottom edge to the top edge.
Step 3
Fold the right edge to the left edge.
Step 4
Unfold the previous step.
Step 5
Fold the right side to the center.
Step 6
Do the same with the left side.
Step 7
Open the right fold to make a squash fold.
The completed squash fold:

Step 8
Repeat the same for the left fold and the organ base is done.
Pig Base
This base gets its name from its use for folding the origami pig model.Step 1
Start with the paper as shown.
Step 2
Fold the right edge to the left edge.
Step 3
Unfold the previous step.
Step 4
Fold the right edge to the center.
Step 5
Do the same with the left edge.
Step 6
Fold the bottom edge to the top edge.
Step 7
Unfold the previous step.
Step 8
Fold the top edge to the crease in the middle made in step 6.
Step 9
Do the same with the bottom edge.
Step 10
Unfold the previous two steps.
Step 11
Fold a corner to the closest horizontal crease.
Step 12
Do the same with the other three corners as shown.
Step 13
Unfold the corners.
Step 14
Open a corner fold to make a squash fold.
The completed squash fold:

Step 15
Repeat the same for the other three corners. You have now made the pig base!
Boat Base
Step 1
Start with the paper as shown.
Step 2
Fold the bottom edge to the top edge.
Step 3
Unfold the previous step.
Step 4
Fold the right edge to the left edge.
Step 5
Unfold the previous step and rotate the paper as shown.
Step 6
Fold the bottom corner to the top corner.
Step 7
Unfold the previous step.
Step 8
Fold the right corner to the left corner.
Step 9
Unfold the previous step and rotate the paper as shown.
Step 10
Fold the left and right edges to the center.
Step 11
Fold the top edge down to the middle.
Step 12
Do the same with the bottom edge.
Step 13
Open the top fold to make a squash fold.
Step 14
Do the same with the other side of the fold.
Step 15
The completed squash fold appears as shown.
Step 16
Repeat steps 13 through 15 with the other side and the boat base is complete.
Double-Boat Base
This base is relatively simple and is just a few folds away from the boat base. As the name suggests, it makes two boats that are connected to each other.Step 1
Continuing from the boat base, fold model in half down the center line.
This image shows the horizontal crease made after folding it as specified for demonstration purposes.

Step 2
With the model folded, open the two squash folds on the sides to form the double boat.
Pattern Base
This base is also quite versatile and can be used to make a variety of origami models, such as a flower basket.Step 1
Starting with the boat base, fold one corner up as shown.
Step 2
Do the same with the other corner.
Step 3
Open the fold to make a squash fold.
The completed squash fold:

Step 4
Do the same with the other corner.
Step 5
Repeat this for the other half and you will have made the pattern base!
Table Base
This base is used to make the origami table model, as well as origami stars.Step 1
Start with a pattern base as shown.
Step 2
Fold the flaps of one quadrant to its center as shown.
Step 3
Do the same for the three other quadrants.
Step 4
Fold the top part of the quadrant down as shown.
Step 5
Unfold the previous steps.
Step 6
Open the fold to make a petal fold.
The completed petal fold:

Step 7
Repeat steps 4 through 6 for the other three quadrants. This is the completed table base:
Pinwheel Base
The name of this base is self-explanatory and it can be used to make the traditional four-pointed star.Step 1
Start with the boat base.
Step 2
Fold one corner up as shown.
Step 3
Rotate the paper and do the same with the opposite corner to form the pinwheel as shown.